
With the rise of artificial intelligence (AI), integrating chatbots into websites has become a popular way to enhance user experience and streamline communication. Integrating a chatbot in a WordPress site can revolutionize the way users interact with your platform. These chatbots can provide real-time support, answer frequently asked questions, and even guide users through various processes, all within the familiar WordPress environment.
With the rising demand for personalized user experiences, integrating a chatbot in WordPress emerges as a strategic decision for website owners looking to enhance user satisfaction and drive conversions. If you’re a WordPress user looking to add a chatbot to your website, you’re in luck! In this guide, we’ll walk you through the process step-by-step.
What is a Chatbot?
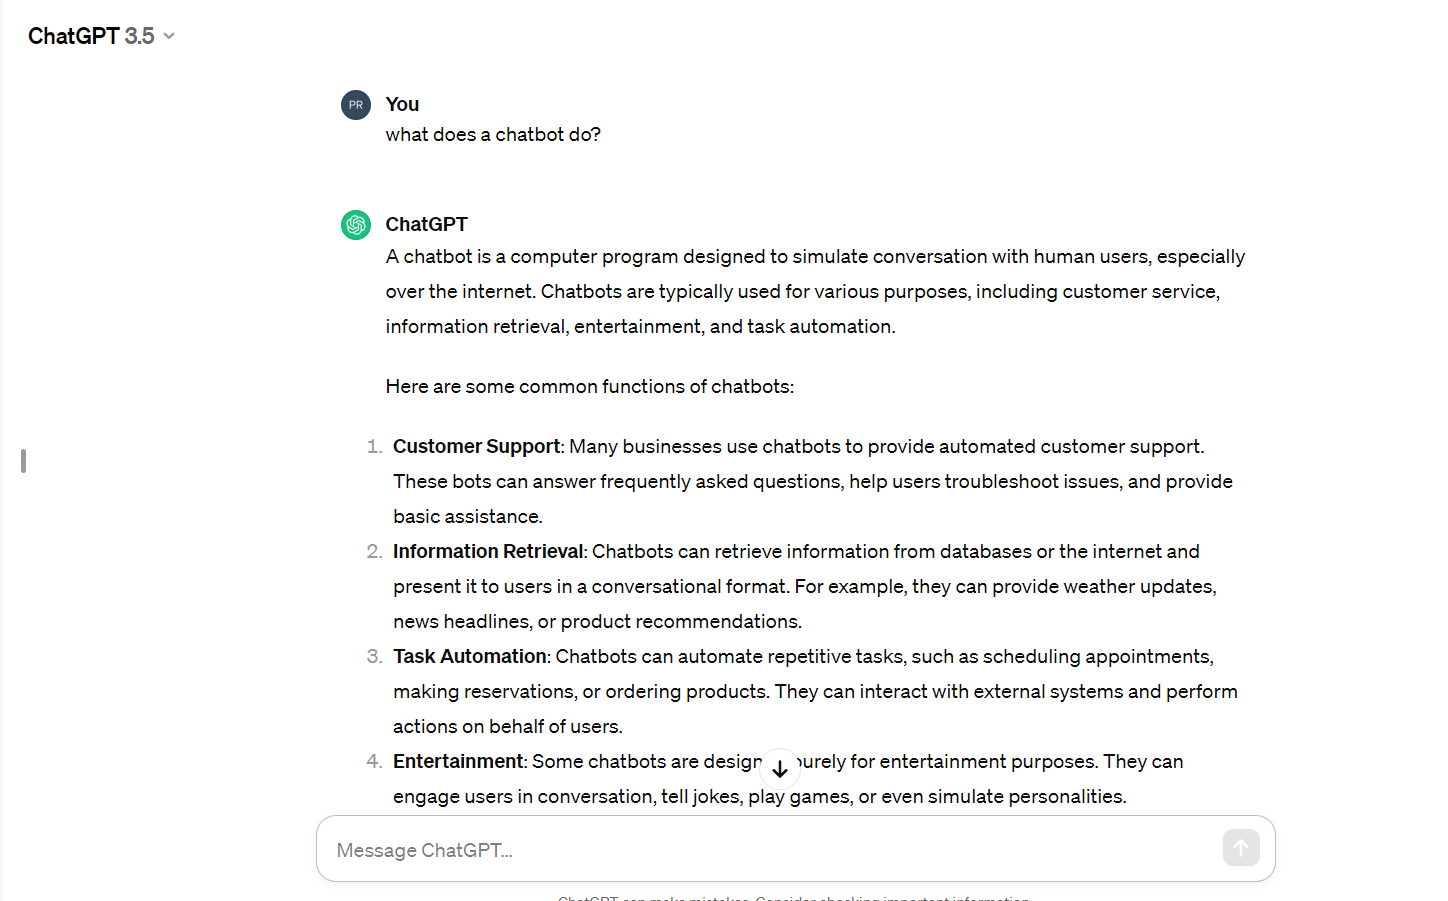
A chatbot is a software application crafted to imitate dialogue with human users, usually through text or voice exchanges. Chatbots use artificial intelligence (AI) algorithms to understand and respond to user queries, offer information, perform tasks, or facilitate transactions. They can be incorporated across various platforms, including websites, messaging apps, social media platforms, and customer service portals, to automate communication and assist users in real time.
Chatbots come in various forms, from simple rule-based systems to more sophisticated models powered by natural language processing (NLP) and machine learning algorithms.
Also Read: Top AI-Powered Technologies You Should Know About In 2024
Uses of Chatbot in WordPress Site
Integrating a chatbot in WordPress site offers several benefits and can serve various purposes, including:
- Customer Support: A chatbot in WordPress can provide instant assistance to website visitors by answering frequently asked questions, providing troubleshooting guidance, and directing users to relevant resources or support channels.
- Lead Generation: Lead Generation Chatbots can engage visitors in interactive conversations, gather contact information, qualify leads, and schedule appointments or demos, thereby facilitating lead generation efforts.
- E-commerce Support: For e-commerce websites, a chatbot in WordPress can assist customers with product recommendations, order tracking, payment processing, and resolving issues related to shopping carts or transactions.
- Content Discovery: Content Chatbots can help users discover relevant content on the website by recommending articles, blog posts, videos, or other resources based on their interests or preferences.
- Feedback Collection: A chatbot in WordPress can solicit feedback from visitors, conduct surveys or polls, and gather insights to improve the user experience, website content, or product offerings.
- Booking and Reservations: A chatbot in WordPress can streamline the booking process for services such as appointments, reservations, or ticket purchases by guiding users through the booking flow and providing real-time availability information.
- Language Translation: For multilingual websites, chatbots equipped with language translation capabilities can break down language barriers and provide support to users in their preferred language.
- Personalized Recommendations: Using machine learning algorithms, chatbots can analyze user behavior, preferences, and past interactions to deliver personalized recommendations for products, services, or content.
- Event Promotion: A chatbot in WordPress can promote upcoming events, webinars, workshops, or promotions by sending reminders, answering inquiries, and assisting with registration or ticketing processes.
- Community Engagement: Chatbots can foster community engagement by facilitating discussions, answering questions, and connecting users with relevant community members or resources.
Steps to Add Chatbot to WordPress Site
Step 1: Choose a Chatbot Platform
Before you can integrate a chatbot in WordPress site, you’ll need to select a chatbot platform. There are many options available, each with its own features and pricing plans. Some popular choices include:
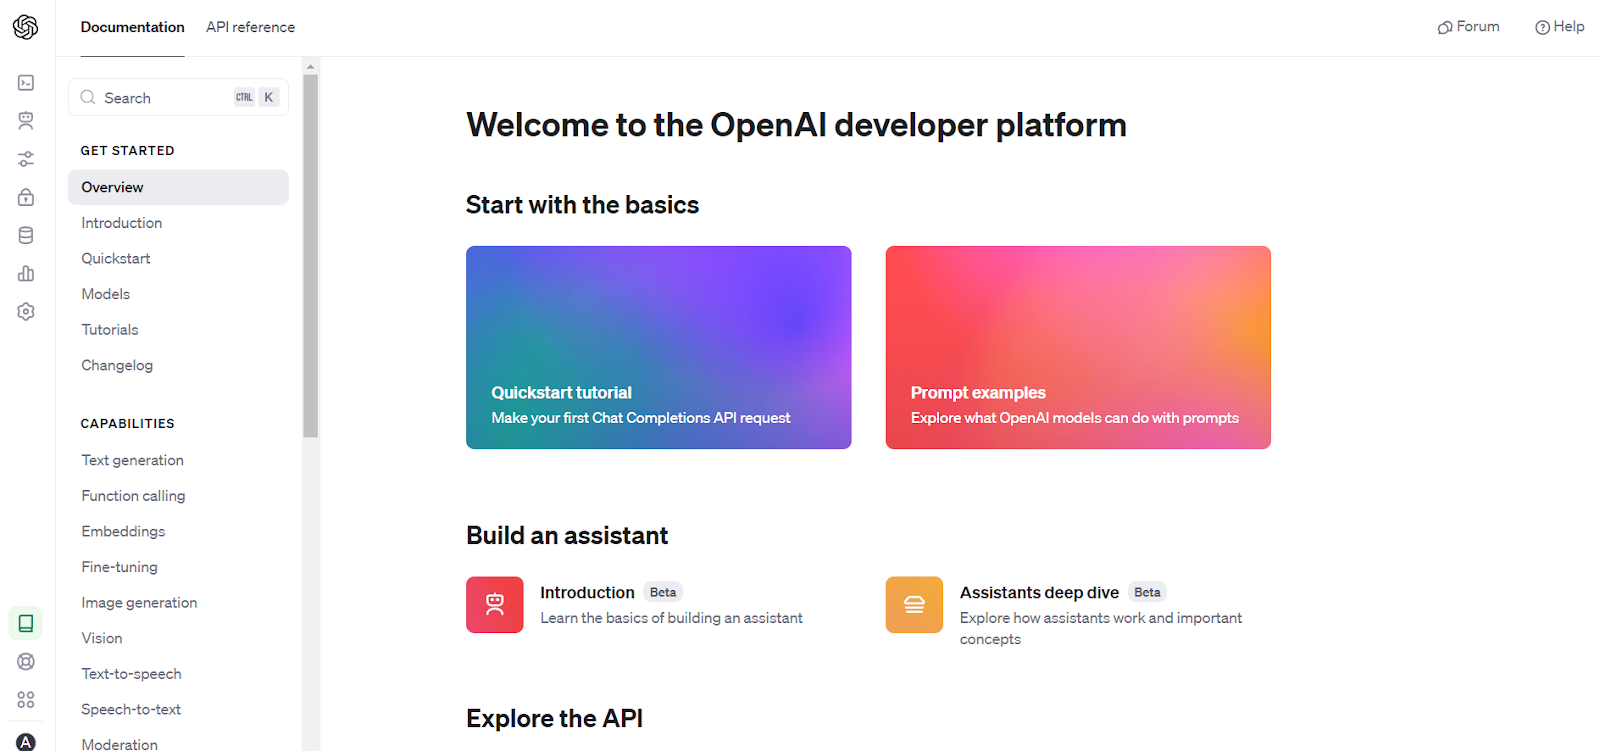
- ChatGPT: Powered by OpenAI, ChatGPT offers a versatile and customizable chatbot solution.
- Dialogflow: Developed by Google, Dialogflow is known for its natural language processing capabilities.
- ManyChat: Ideal for businesses, ManyChat specializes in Facebook Messenger bots but can also be integrated into websites.
Consider your specific needs, like the complexity of interactions you need, integration options, and budget, before making your decision.
Step 2: Create Your Chatbot
Once you’ve chosen a platform, it’s time to create your chatbot. Sign up for an account on your chosen AI platform and follow the instructions to build and train your bot. Depending on the platform, you may have access to features such as AI-driven responses, conversation flow management, and integration with third-party services.
Step 3: Customize Your Chatbot
Personalization is key to establishing a positive user experience. Customize your chatbot’s appearance, language, and behavior to align with your brand identity and fulfill the needs of your audience. Most chatbot platforms offer customization options through intuitive interfaces or code editors.
Step 4: Integrate Your Chatbot with WordPress
Now that your chatbot is ready, it’s time to integrate it into your WordPress site. Fortunately, this process is relatively straightforward, thanks to plugins. Here’s how to do it:
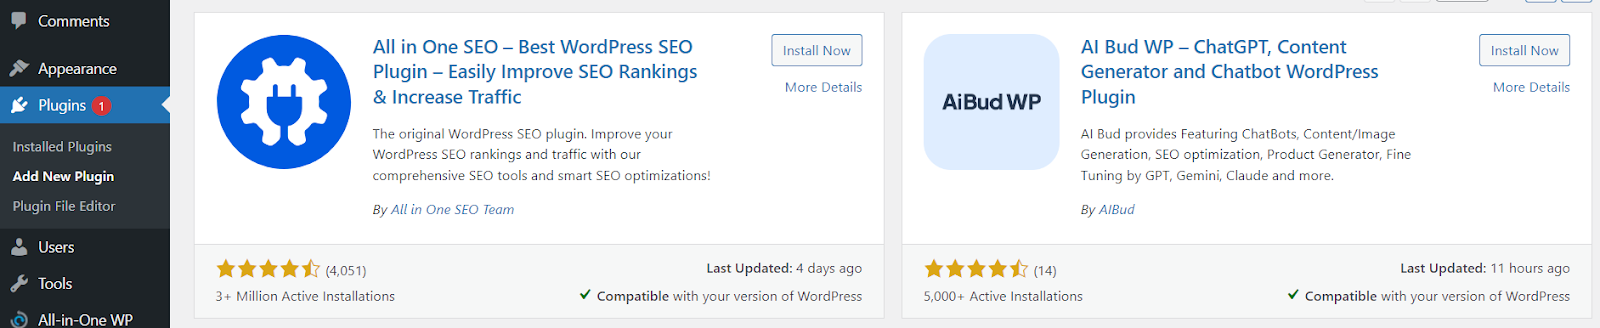
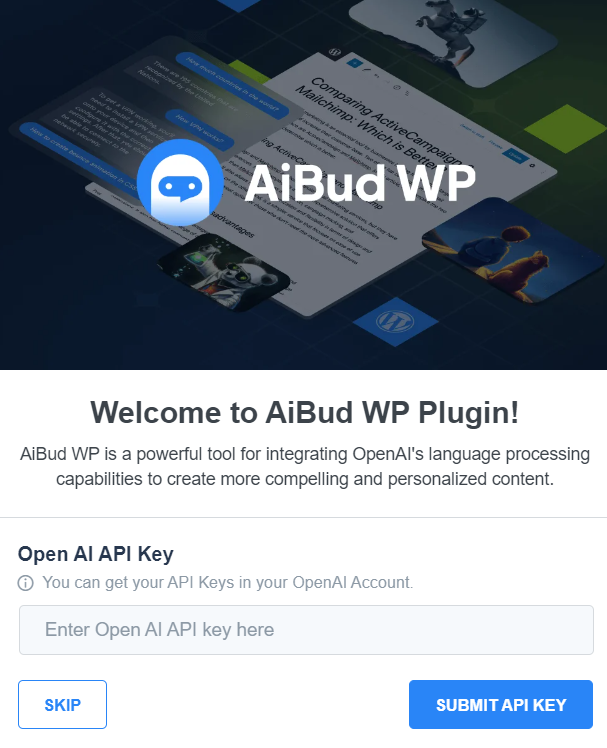
- Install a Chatbot Plugin: Search for and install a chatbot plugin from the WordPress plugin repository. Some popular options include WP Chatbot and ChatGPT for WordPress.
- Connect Your Chatbot in WordPress: Once the plugin is installed, navigate to its settings page and follow the instructions to connect your chatbot. You may need to provide an API key or authentication credentials, depending on the platform.
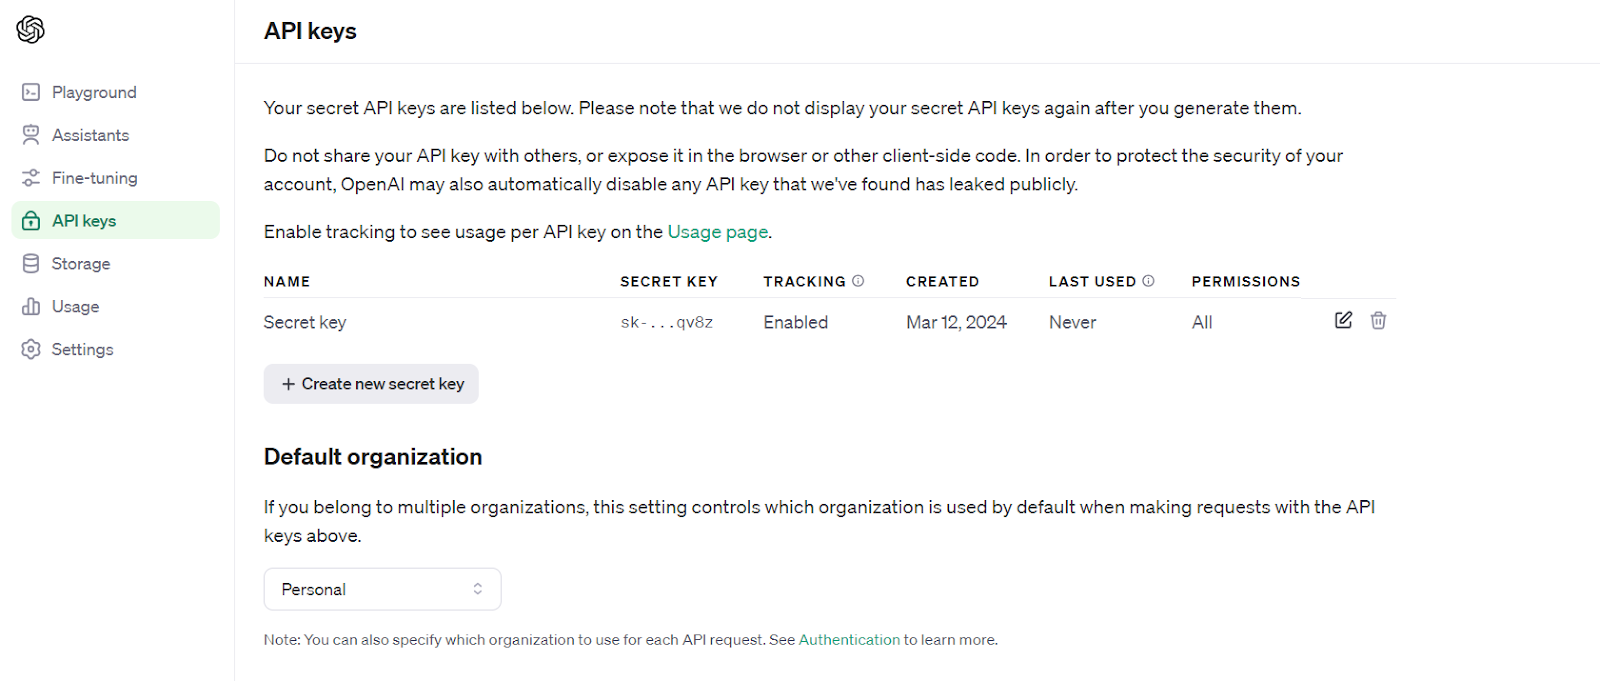
- You can find the API key in the account settings of your AI platform. We have created an account on the OpenAI platform.
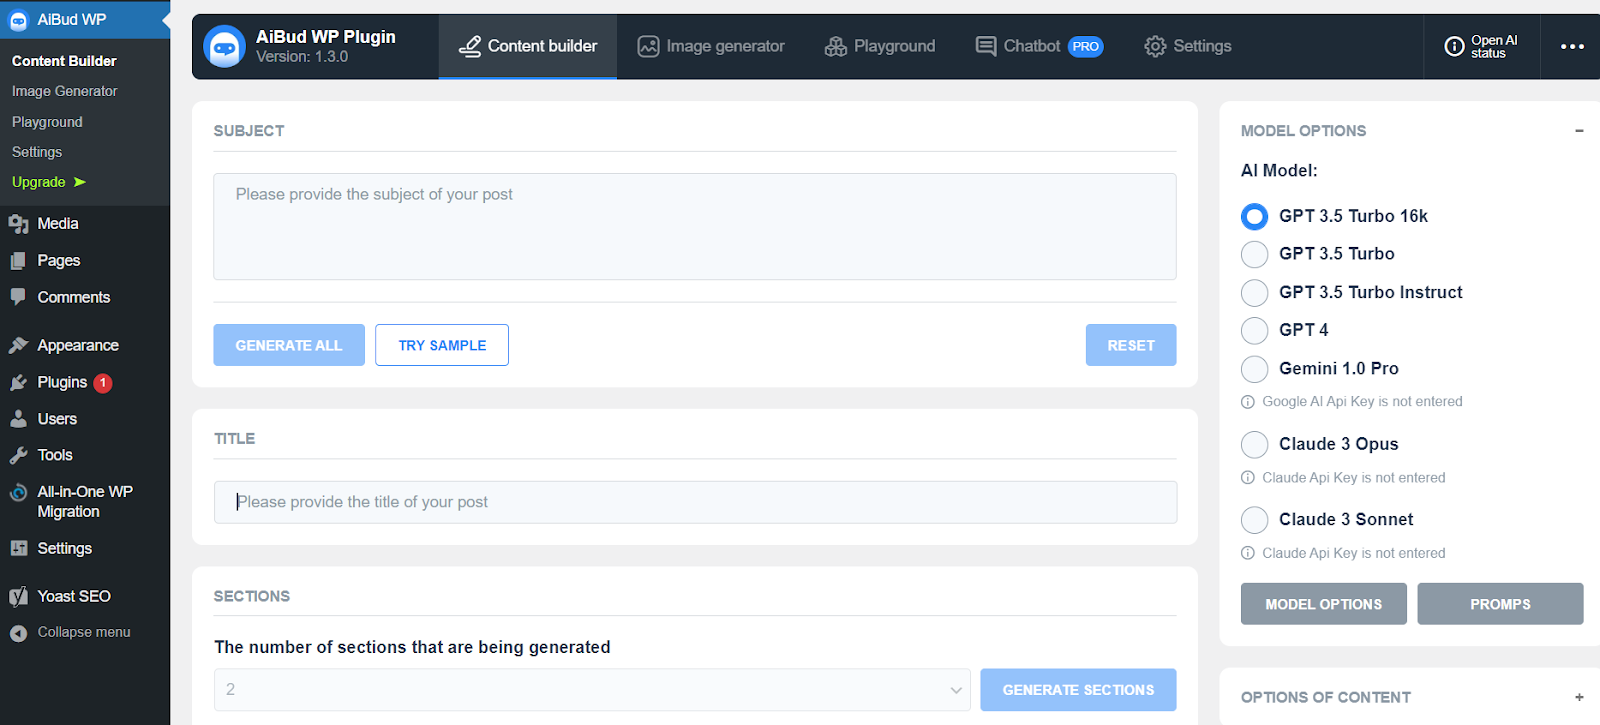
- Configure Settings: Customize the plugin settings according to your preferences. This may include choosing where the chatbot widget appears on your site, enabling specific features, and adjusting the chatbot’s behavior.
Step 5: Test and Iterate
Before going live with your chatbot in WordPress, thoroughly test it to ensure it functions as intended. Experiment with different user scenarios to identify any issues or areas for improvement. Solicit feedback from friends, colleagues, or website visitors and make adjustments based on their input.
Remember that building an effective chatbot is an iterative process. Continuously monitor its performance, gather insights from user interactions, and make refinements accordingly.
Conclusion
Adding a chatbot or AI assistance to your WordPress site can enhance user engagement, streamline communication, and provide valuable support to your audience. By following the steps outlined in this blog guide, you can seamlessly incorporate a chatbot into your website and reap the benefits of AI-powered automation.
FAQs
Is it possible to integrate the chatbot in WordPress with other tools or services on my site?
Yes, many chatbot platforms offer integrations with third-party tools and services, like email marketing platforms, CRM systems, e-commerce platforms, and more. This permits you to automate processes and streamline workflows on your WordPress site.
How do I monitor the performance of the chatbot on my WordPress site?
Most chatbot platforms provide analytics and reporting tools that allow you to assess the performance of the chatbot, track user interactions, gather insights, and identify areas for improvement.
Where can I find support if I encounter any issues with integrating a chatbot into my WordPress site?
Most chatbot platforms offer comprehensive support resources, including documentation, tutorials, community forums, and customer support channels, to assist users with any problems or questions they may have.
