As an online store owner, it’s important to have full control over the appearance and functionality of your cart page. The steps to edit WooCommerce cart page involves making changes to its layout and adding or removing elements. We will show you how to modify the cart page layout to suit your preferences and improve the user experience. Additionally, we will guide you on how to add or remove specific elements to ensure your cart page contains all the necessary information and features.
But customization doesn’t stop at layout and elements. We will also delve into how you can customize the appearance of your WooCommerce cart page. From selecting the colors and fonts to adding custom CSS, you’ll learn how to make your cart page visually appealing and consistent with your brand identity. Furthermore, we’ll explore how to add special features and functions to enhance the functionality of your cart page.
Whether you’re a beginner or an experienced WooCommerce user, this blog post will equip you with the knowledge and step-by-step instructions to edit this page like a pro. So, let’s get started and take your online store to the next level!
Understanding the Basics: Getting to Know the WooCommerce Cart Page
This page is a vital component of any online store powered by WooCommerce. It serves as a virtual shopping cart where customers can review and manage the items they have added for purchase. Before diving into the editing process, it’s important to have a solid understanding of the basics of this page. So, let’s explore its key features and functionalities in the settings of your store.
- Cart Icon or Link: Typically located in the header or navigation menu, this cart icon or link serves as a quick access point for customers to view their cart. Clicking on it will redirect them to the WooCommerce cart page.
- Cart Page Title: The cart page title is usually displayed at the top of the page, indicating that it is the cart page and providing a clear visual cue to customers.
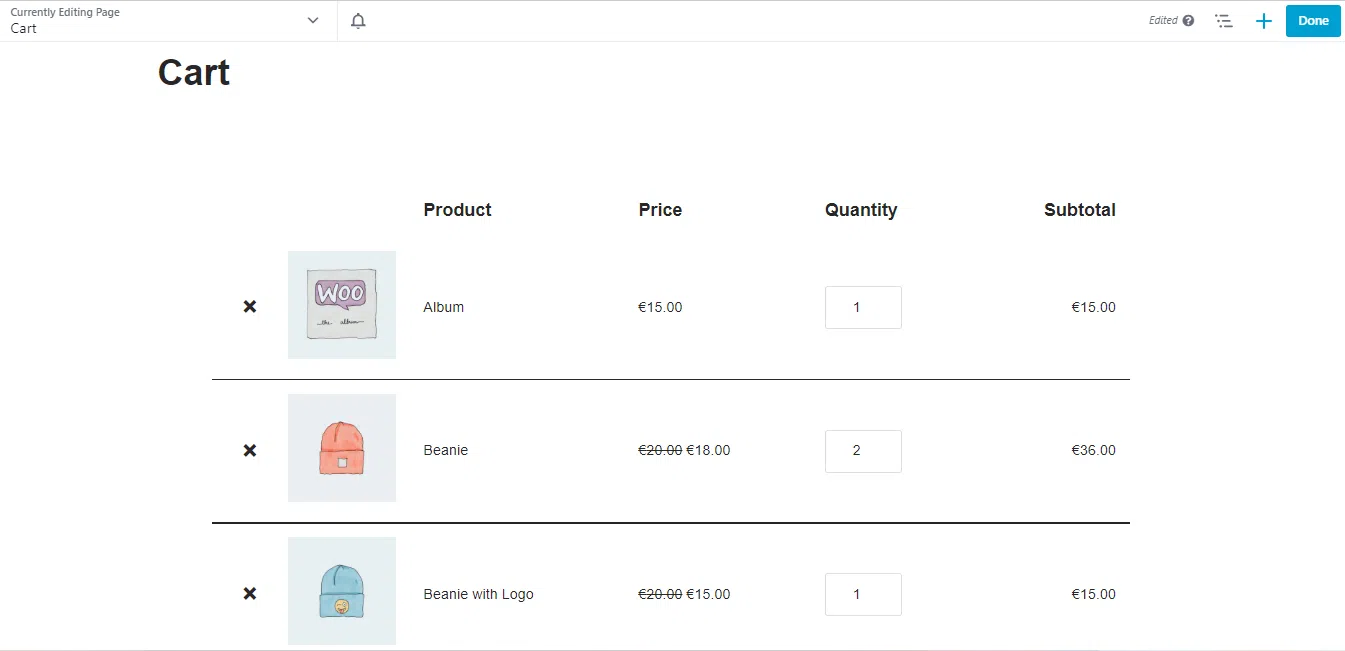
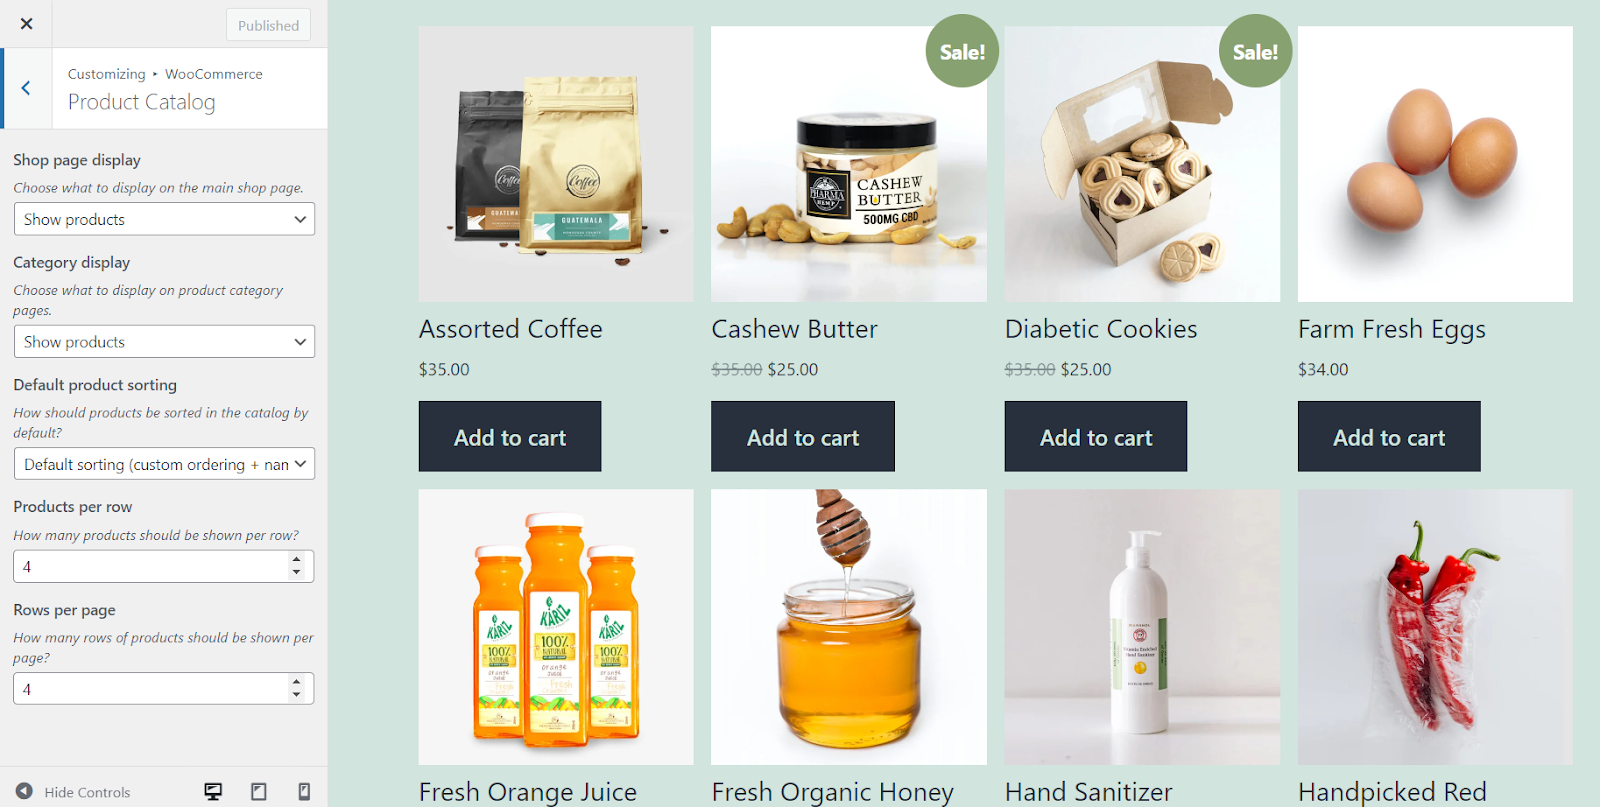
- Product Listing: On the cart page, customers can see a detailed list of the categories. They can choose products to add to their cart. Each product is typically displayed with its name, price, quantity, and subtotal. Customers can easily identify the items they have selected for purchase.
- Product Image: A thumbnail image of each product is often displayed on the cart page. This visual representation helps customers recognize the products they intend to purchase.
- Product Quantity: The cart page allows customers to adjust the quantity of each product they have added. They can increase or decrease the quantity as needed, providing flexibility in their purchasing decisions.
- Subtotal: The subtotal represents the total cost of all the items in the cart before any additional charges, like taxes or shipping fees, are applied. It gives customers an overview of their potential expenses.
- Cart Total: The cart total is the final amount that customers will need to pay, including any additional charges and discounts. It calculates the total cost based on the products in the cart and any applied promotional offers.
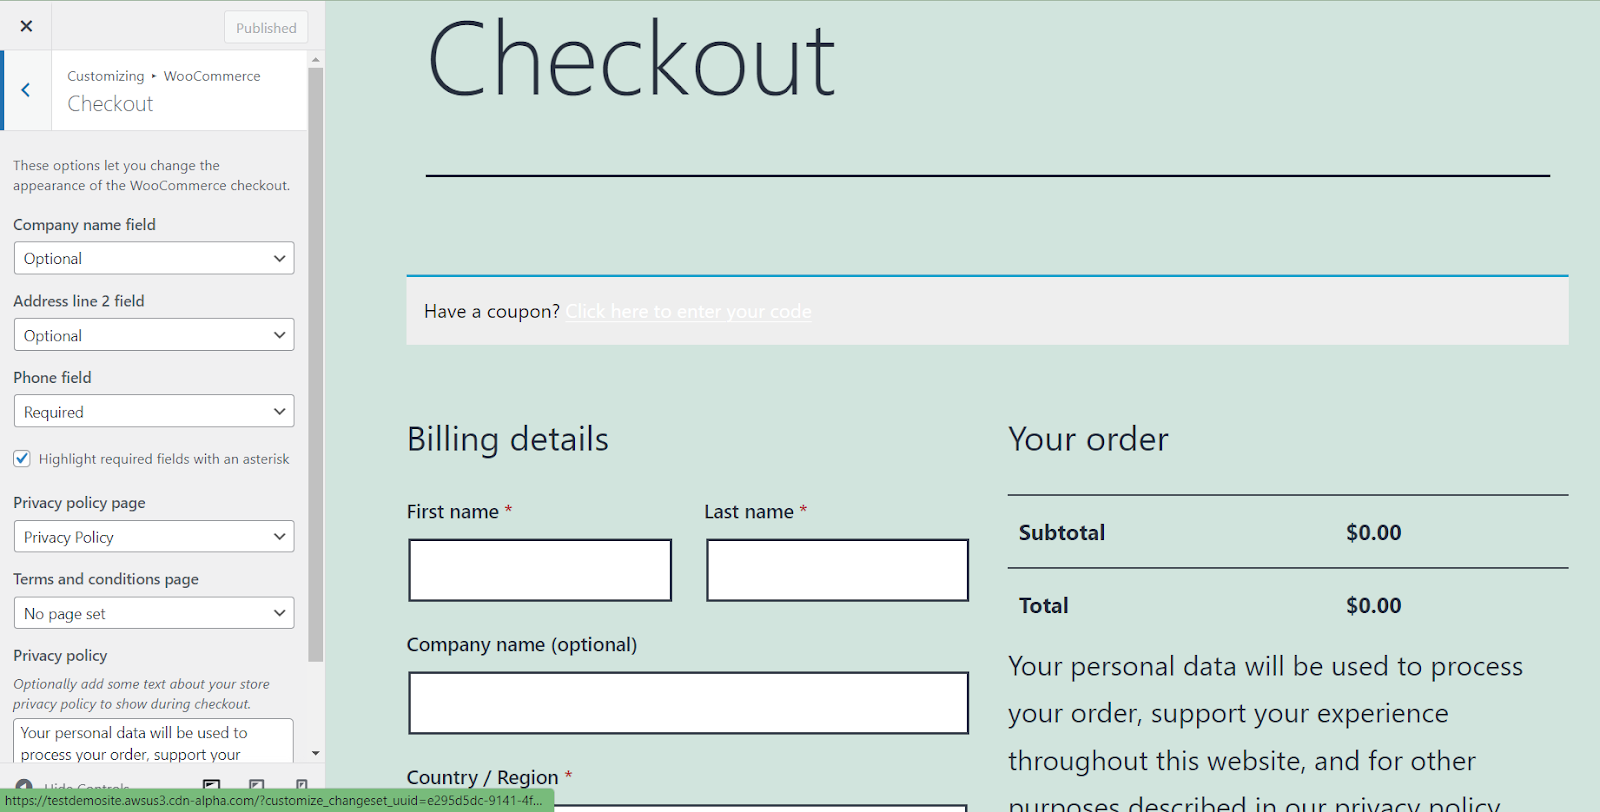
- Coupon Code Field: If you have enabled coupon codes for your store, the cart page often includes a field where customers can enter their coupon code to apply any available discounts.

9. Proceed to Checkout Button: The cart page typically features a prominent “Proceed to Checkout” button that directs customers to the checkout process. This button allows them to move forward with their purchase once they are satisfied with the items in their cart.
10. Cart Page Messaging: Depending on your store settings, you can display informative messages on the cart page. For example, you can let your customers know about free shipping thresholds, estimated delivery times, or any other important information related to their purchase.
Understanding these basic elements of the WooCommerce custom cart page is essential before diving into the editing process. It allows you to have a clear understanding of the customer’s journey and enables you to make informed decisions when customizing this page to enhance the user experience. Now that you are familiar with the basics, let’s move on to accessing and navigating the WooCommerce cart page.
Step-by-Step Tutorial: How to Access and Manage Your WooCommerce Cart Page
To edit this page, you first need to access and navigate to the specific page within your WooCommerce dashboard. In this section, we will guide you through the steps to log in to your WooCommerce account and locate this page.
A. Logging into Your WooCommerce Account
To access your WooCommerce account and begin editing the cart page, follow these steps:
- Enter the URL for your WooCommerce website in the browser. For example, “www.yourstore.com”.
- Once on the homepage, look for a login or account link. This is typically located in the header or footer section of the website.
- Enter your login credentials associated with your WooCommerce account to get access to your WooCommerce dashboard.
B. Navigating to the WooCommerce Dashboard
Once you have successfully logged in to your WooCommerce account, you will be directed to the WooCommerce dashboard. The dashboard is where you can check out all aspects of your online store, including editing the cart page. Here’s how to navigate the dashboard:
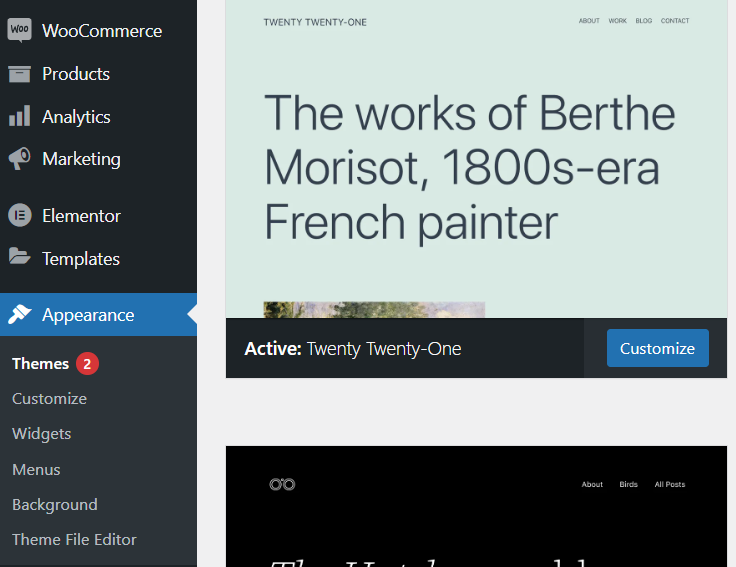
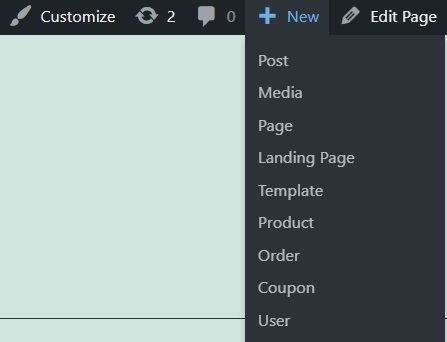
- Main Menu: On the left-hand side of the dashboard, you will find the main menu. This menu provides access to various sections, including Orders, Products, Coupons, Settings, and more. To edit the cart page, we will focus on the “Appearance” or “Customize” section, which may vary depending on your WooCommerce setup.
- Submenu: As you select a section from the main menu, a submenu will appear, displaying additional options related to that section. For example, when you click on “Appearance,” you may see options like “Themes,” “Customize,” or “Widgets.” Look for the submenu option that allows you to customize or edit the cart page.
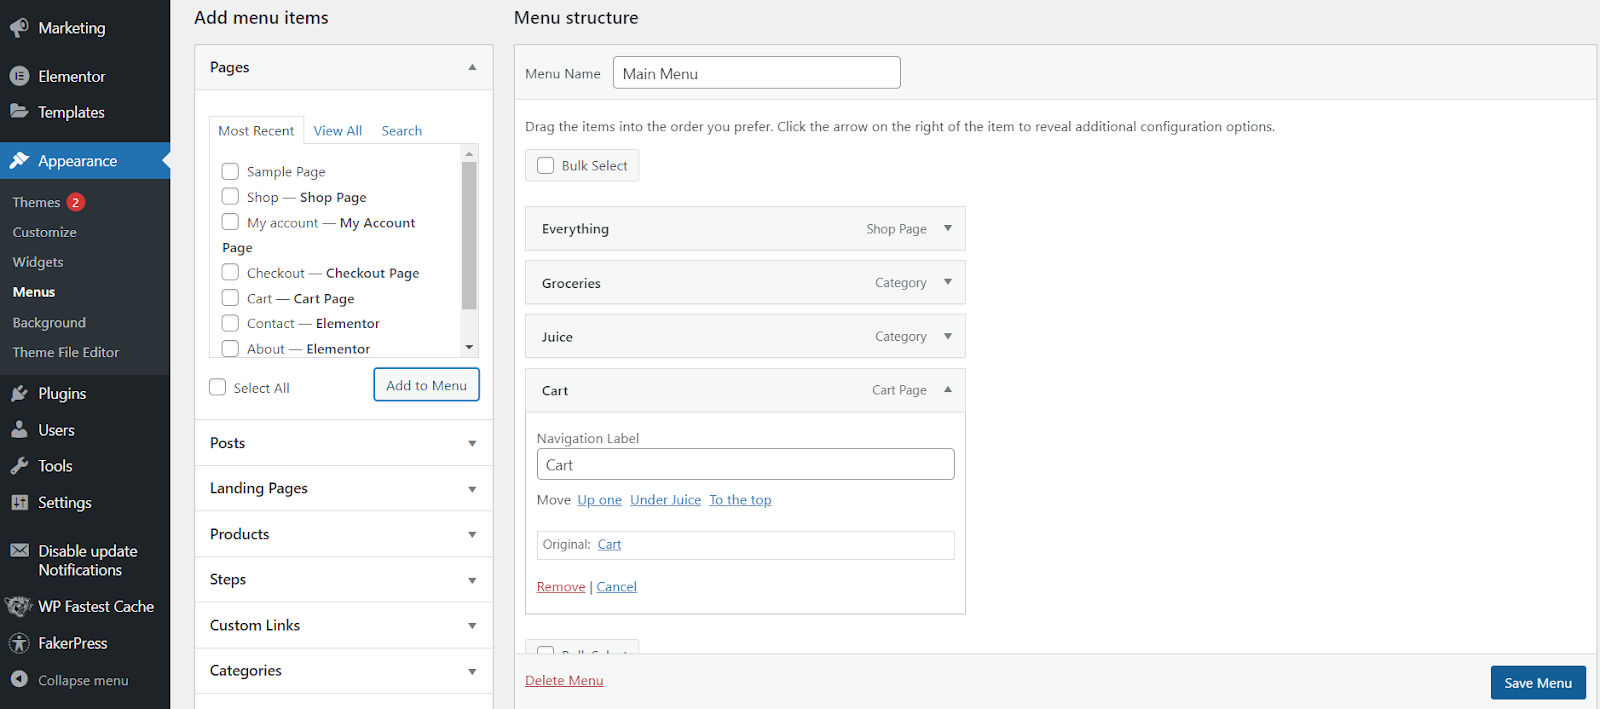
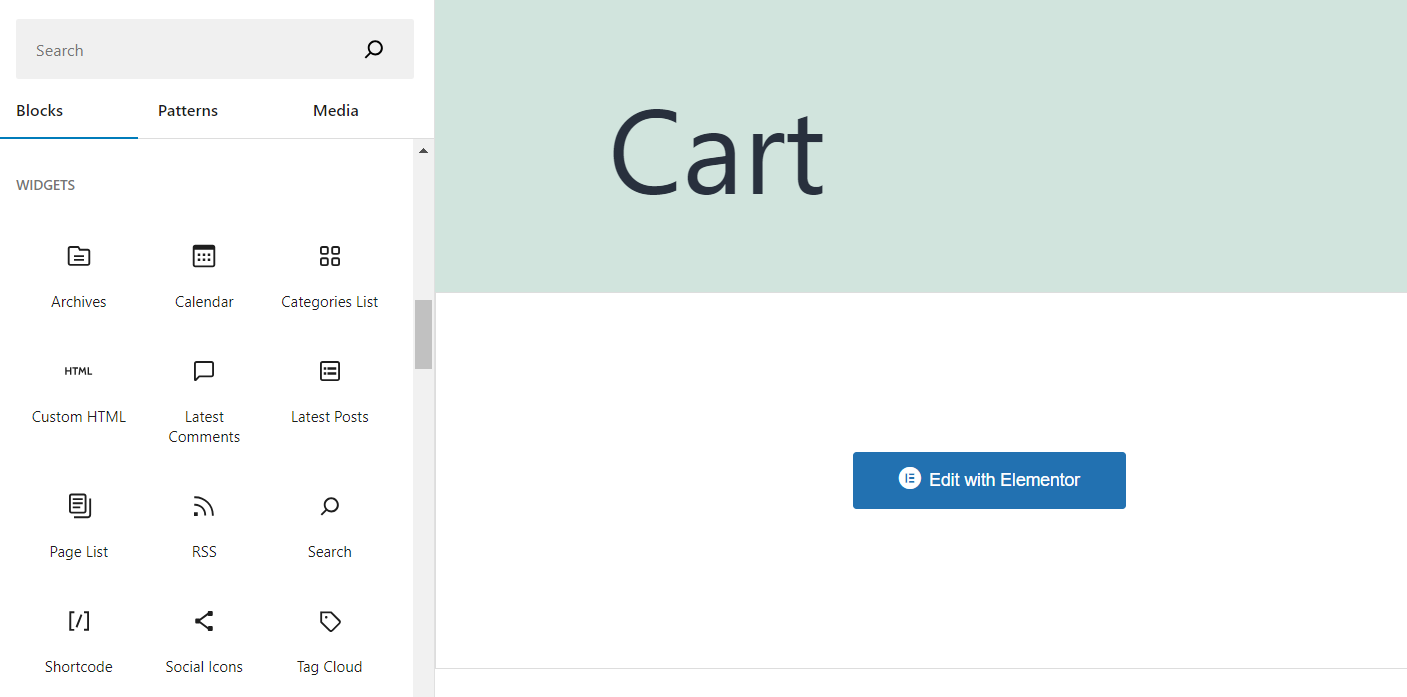
- Cart Page Settings: Within the submenu, locate the specific settings related to the cart page. Click on the option “Cart” or “Cart Page” to access the settings and customization options for the cart page.
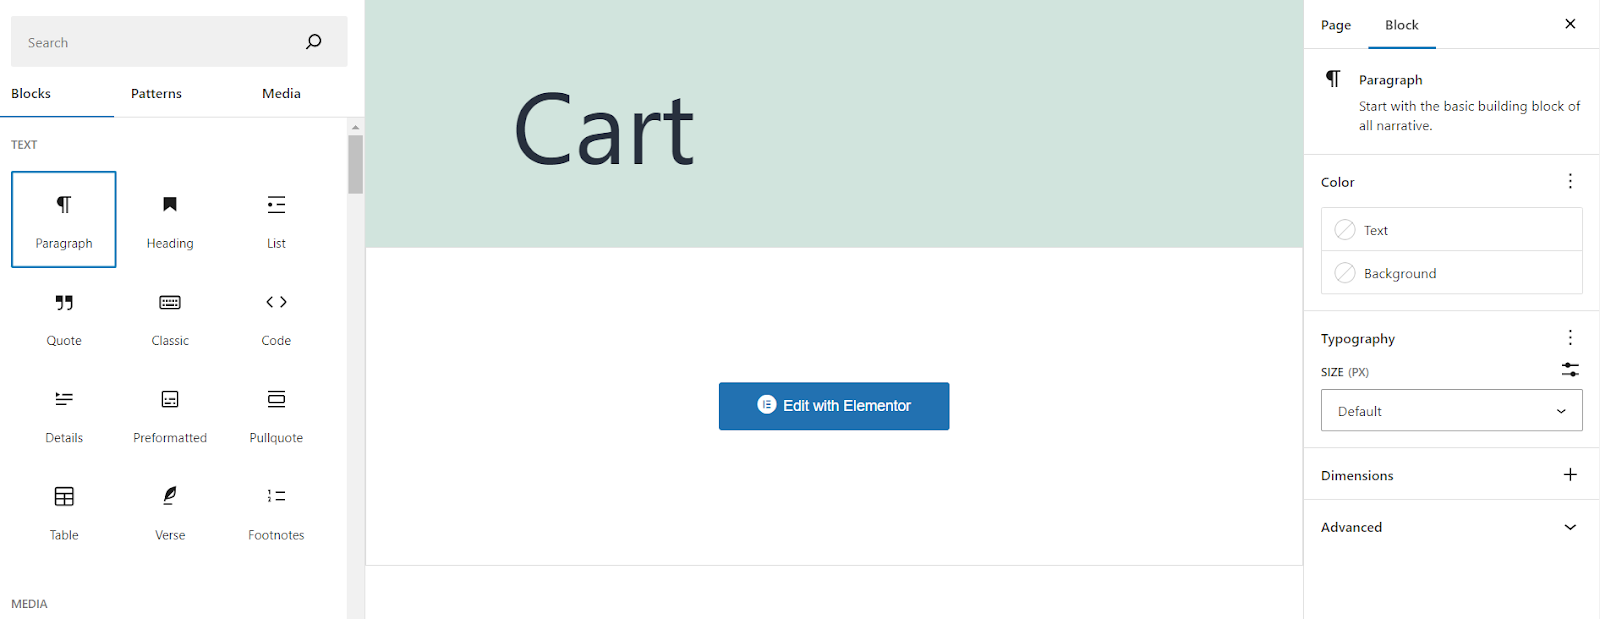
- Cart Page Editor: Once you have accessed the cart page settings, you will be directed to the cart page editor. This is where you can make changes to the layout, elements, and appearance of the cart page.
Now that you know how to access and navigate your WooCommerce account, as well as locate the custom cart page settings, you are ready to start editing the WooCommerce cart page. In the next section, we will dive into the details of editing the cart page, including its structure and layout.
C. Editing the WooCommerce Cart Page
Editing the cart page allows you to customize its layout, modify elements, and enhance the overall user experience.
1. Understanding the WooCommerce Cart Page Structure
Before making any edits, it’s crucial to understand the structure of the cart page. This will help you identify the different sections and elements that make up the page. Here are the key components of the cart page structure:
- Header: The header section usually contains the cart page title, indicating that it is the cart page.
- Product Listings: This portion showcases a compilation of items that shoppers have placed in their carts. Each product is generally presented with its name, price, quantity, subtotal, and a choice to delete it from the cart.
- Subtotal: The subtotal area reveals the overall price of the items in the cart prior to the inclusion of extra expenses, such as taxes or shipping fees.
- Coupon Code Field: If you have enabled coupon codes, there may be a field where customers can enter their coupon code to apply any available discounts.
- Cart Total: The cart total section shows the final amount that customers will need to pay, including any additional charges and discounts.
- Proceed to Checkout Button: This button allows customers to proceed to the checkout process and complete their purchase.
Understanding the default WooCommerce cart page structure will help you determine which elements you want to modify or customize. Now, let’s move on to making changes to the cart page layout.
2. How to Edit Cart Page Layout
To edit the default WooCommerce cart page layout, follow these steps:
- Access the WooCommerce cart page editor by navigating to the appropriate settings in your WooCommerce dashboard.
- Once in the cart page editor, you can typically drag and drop elements to rearrange their positions on the page. For example, you may want to move the subtotal section above the product listings.
- Some cart page editors offer pre-designed templates or layouts that you can choose from. Explore the available options and select the one that best suits your store’s aesthetics and functionality.
- If you have coding knowledge, you can also edit the cart page layout by modifying the HTML, CSS, or template files. This provides more flexibility and customization options.
Remember to save your changes as you go to ensure that the updated layout is applied correctly. Now, let’s move on to adding or removing elements in the WooCommerce cart page.
3. Adding or Removing Elements in the Cart Page
To add or remove elements in the default WooCommerce cart page, follow these steps:
- Access the cart page editor in your WooCommerce dashboard.
- Look for options or settings that allow you to add or remove specific elements. This could be checkboxes, buttons, or dropdown menus.
- If you want to add an element, such as a custom message or a promotional banner, select the appropriate option and input the desired content.
- If you want to remove an element, such as the coupon code field, uncheck the corresponding box or disable the option.
By selectively adding or removing elements, you can tailor the cart page to your specific requirements and provide a seamless shopping experience for your customers.
D. Customize Your WooCommerce Cart Page
Customizing your cart page is an essential step in creating a unique and cohesive shopping experience for your customers. In this section, we will explore various customization options, including changing cart page colors and fonts, adding custom CSS, and incorporating special features and functions.
- Changing Cart Page Colors and Fonts
To customize the colors and fonts of your WooCommerce cart page, follow these steps:
- Access the cart page editor in your WooCommerce dashboard.
- Look for options or settings related to colors and fonts. This may be labeled as “Customize,” “Styling,” or “Appearance.”
- Depending on the settings available, you can typically modify the following:
- Background color: Background color of the cart page can be changed to match your brand or overall website design.
- Text color: By adjusting the color of the text displayed on the cart page, you can check if there are no readability and visual appeal issues.
- Font styles: You can select different font styles for the various elements on the cart page, such as product names, prices, and subtotal.
- Button styles: You can customize the appearance of buttons on the cart page, including color, shape, and hover effects.
- Use the color picker or input specific color codes to achieve the desired color scheme.
- Preview your changes as you go, ensuring that the colors and fonts align with your brand identity and create a visually appealing cart page.
2. Add Custom CSS to the WooCommerce Cart Page
If you have advanced coding knowledge or personalized design requirements, you can add custom CSS to further customize the cart page. Here’s how to do it:
- Access the cart page editor in your WooCommerce dashboard.
- Look for options or settings related to custom CSS. This may be labeled as “Custom CSS,” “Additional CSS,” or “Advanced Styling.”
- Enter your custom CSS code in the designated area.
- Use CSS to modify specific elements, such as adjusting margins, changing font sizes, or adding custom styles to buttons and other elements.
- Save your changes and preview the cart page to ensure that the custom CSS is applied correctly.
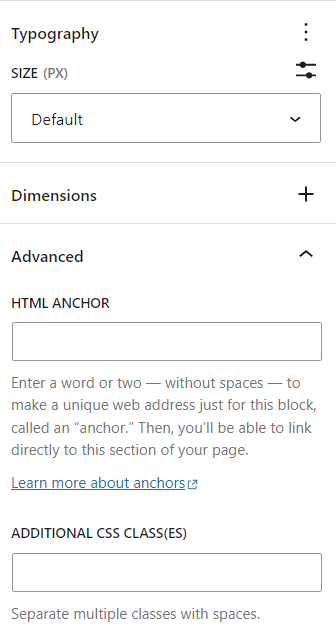
Adding custom CSS allows for more granular control over the appearance and styling of your WooCommerce cart page. However, it is recommended to have a basic understanding of CSS before making any modifications.
3. How to Add Special Features and Functions
To improve the functionality of your custom cart page, you can consider adding special features and functions. Here are a few options:
- Upsells and Cross-sells: Offer related products or additional items that complement what customers have added to their cart. This can increase the average order value.
- Shipping Calculator: Provide a shipping calculator on the cart page to give customers an estimate of shipping costs before proceeding to checkout. You can do this with the help of a plugin called measurement price calculator.
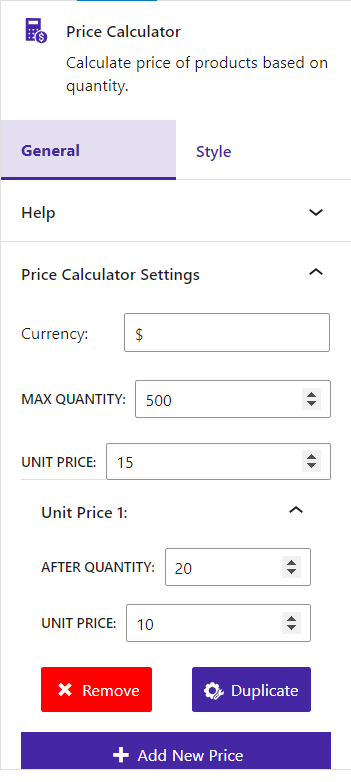
- Quantity Increment Buttons: Add buttons that allow customers to easily increase or decrease the quantity of a specific product in their cart.
- Ajax Refresh: Implement Ajax technology to update the WooCommerce cart page dynamically without requiring a full page reload.
To add these special features, you can explore WooCommerce extensions or plugins that offer such functionalities. Install and configure the chosen extension or plugin according to the provided instructions to integrate it into default WooCommerce cart page.
By customizing your WooCommerce cart page, you can create a user-friendly interface that aligns with your brand and enhances the shopping experience for your customers. In the next section, we will discuss how to test your changes and ensure compatibility with different devices.
E. Testing and Publishing Your Edited WooCommerce Cart Page
Once you have edited your custom cart page, it is essential to thoroughly test your changes before publishing them live on your website. In this final section, we will discuss the steps to test your edited cart page and ensure its compatibility with different devices. We will also cover the process of publishing your changes.
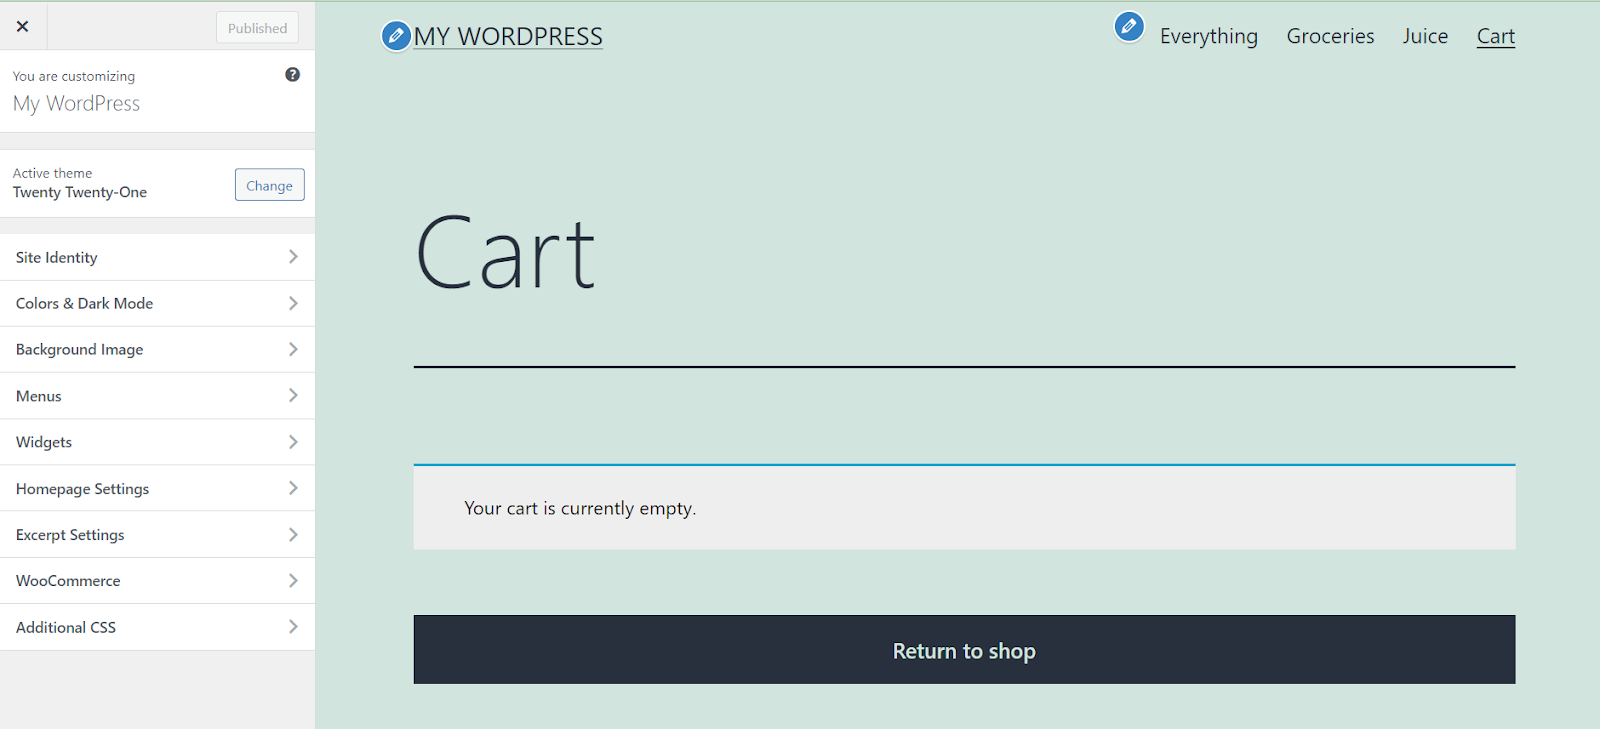
1. How to Preview Changes
Before making your edited cart page live, it is crucial to preview your changes to ensure everything appears as intended. Follow these steps to preview your edited WooCommerce cart page:
- Access the cart page editor in your WooCommerce dashboard.
- Look for a preview or preview changes button, typically located within the editor interface.
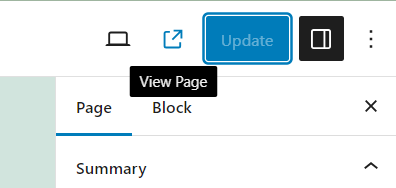
- Click on the preview button to see a live preview of your edited cart page.
- Take the time to review the layout, colors, fonts, and any added elements or functionalities.
- If you notice any issues or inconsistencies, go back to the editor and make the necessary adjustments.
- Repeat the preview process until you are satisfied with the appearance and functionality of your edited cart page.
Previewing your changes allows you to catch any potential errors or issues before making them live for a smooth shopping experience for your customers.
2. Ensuring Compatibility with Different Devices
In today’s mobile-driven world, it is crucial to ensure that your custom cart page is compatible with different devices, including desktops, tablets, and smartphones. Here are a few tips to ensure compatibility:
- Responsive Design: Make sure your cart page layout is responsive, meaning it adjusts and adapts to different screen sizes automatically. Follow our guide on mobile optimization techniques to make it mobile-friendly.
- Test on Multiple Devices: Use various devices and browsers to test your edited WooCommerce cart page. This includes desktop computers, laptops, tablets, and smartphones.
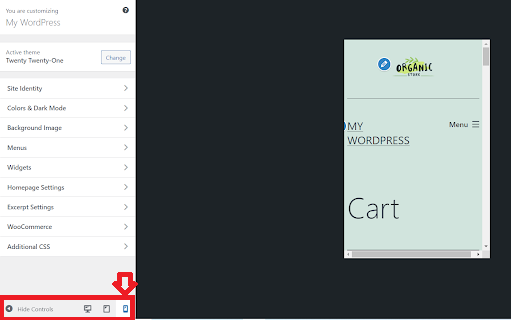
- Check Element Placement: Verify that all elements on the cart page are properly aligned and displayed on different devices. Pay attention to font sizes, button sizes, and overall visibility.
- Test Checkout Process: Go through the checkout process on different devices to confirm that it functions correctly and is user-friendly.
By testing your edited cart page on different devices, you can ensure a consistent and optimal shopping experience for all your customers.
3. Publishing Your Changes
Once you have thoroughly tested your edited WooCommerce cart page and are satisfied with the results, it’s time to publish your changes. Follow these steps to make your edited cart page live:
- Save Your Edits: Ensure that you have saved all your changes within the cart page editor.
- Exit the Editor: Close the cart page editor and return to your WooCommerce dashboard.
- Clear Caches: If you have caching plugins or services enabled on your website, clear the cache to ensure that your edited cart page is displayed to all visitors.

- Check Live Version: Visit your website and navigate to the WooCommerce cart page to confirm that your edited version is now live.
- Test Again: Once your changes are live, perform a final test to ensure that the edited cart page functions correctly and appears as intended.
Congratulations! You have successfully edited and published your WooCommerce cart page. Regularly monitor and analyze your cart page performance to identify areas for further improvement and optimize the shopping experience for your customers.
Learn about editing the checkout page here.
Mastering How to Edit WooCommerce Cart Page: Access, Navigation, and Customization Tips
Editing and optimizing your WooCommerce checkout page is a crucial step in enhancing the customer experience and boosting conversions. If you edit WooCommerce cart page, you can streamline the checkout process, improve clarity around pricing, offer upsells and discounts, and ensure your site is fully responsive for mobile users. These optimizations can lead to reduced cart abandonment and higher sales.
For a seamless WooCommerce store experience, it’s essential to focus on page load speed, user-friendly design, and security features. Customizing your cart page to align with your business goals will help create a more engaging and profitable shopping experience.
Ready to take your WooCommerce store to the next level? Sign up for a free trial with Nestify hosting, designed for high-performance WooCommerce stores. Benefit from faster load times, enhanced security, and top-notch support to ensure your site runs smoothly and efficiently. Start your free trial now and boost your WooCommerce performance!
FAQs on How to Edit WooCommerce Cart Page Like A Pro
How can I offer discounts on the WooCommerce cart page?
You can use WooCommerce’s built-in coupon features or use plugins to create discount codes. Display these discounts clearly on the cart page to entice customers and make them feel they are getting a good deal.
How do I make the WooCommerce cart page more secure?
Incorporate trust signals such as SSL certificates, security badges, and reputable payment options to reassure customers that their personal and payment information is secure during the checkout process.
Can I customize the WooCommerce cart page?
Yes, WooCommerce provides several options for customizing the cart page, from using themes and plugins to custom code adjustments. You can change the layout, add custom fields, or integrate additional functionality to suit your store’s needs.
How do I optimize WooCommerce cart page content for SEO?
Focus on adding a well-crafted meta description that summarizes the cart page, improve internal linking to product pages, and ensure that the content is clear and concise to help search engines understand your page’s relevance. However, avoid excessive keyword stuffing.
