
In today’s digital age, subscription websites have become increasingly famous as a way to monetize content and build a loyal customer base. Whether you’re offering exclusive articles, tutorials, videos, or any other type of premium content, WordPress makes it easy to create a subscription website with the help of plugins. In this guide, we’ll walk you through the process of setting up your own subscription website using a WordPress plugin.
A Step-by-Step Guide to Creating a Subscription Website Using a WordPress Plugin
Step 1: Choose a Reliable Hosting Provider
Before diving into the world of subscription websites, it’s imperative to select a reliable hosting provider for your WordPress site. A good hosting provider will make sure that your website loads quickly, remains secure, and can handle the traffic generated by your subscribers. Consider factors such as uptime guarantees, customer support, scalability options, and pricing when choosing a hosting provider that meets your needs.
Step 2: Select a Theme Optimized for Subscriptions

Once you’ve chosen a hosting provider, the next step is to select a WordPress theme optimized for subscription websites. A well-designed theme will not only beautify the visual appeal of your website but also equip it with essential features and functionality for managing subscriptions, displaying premium content, and facilitating user engagement. Look for themes specifically tailored to membership sites or subscription-based businesses, and consider factors such as customization options, mobile responsiveness, and compatibility with your chosen subscription plugin.
Step 3: Choose a WordPress Subscription Plugin
The first step is to choose a WordPress plugin that will enable you to set up subscription plans, manage subscribers, and restrict access to premium content. Some popular subscription plugins include MemberPress, Restrict Content Pro, and Paid Memberships Pro. Take some time to research and compare features to determine which plugin best suits your needs.
Also Read: 7 Best Woocommerce Subscription Plugins for Repeated Sales on Your Online Store
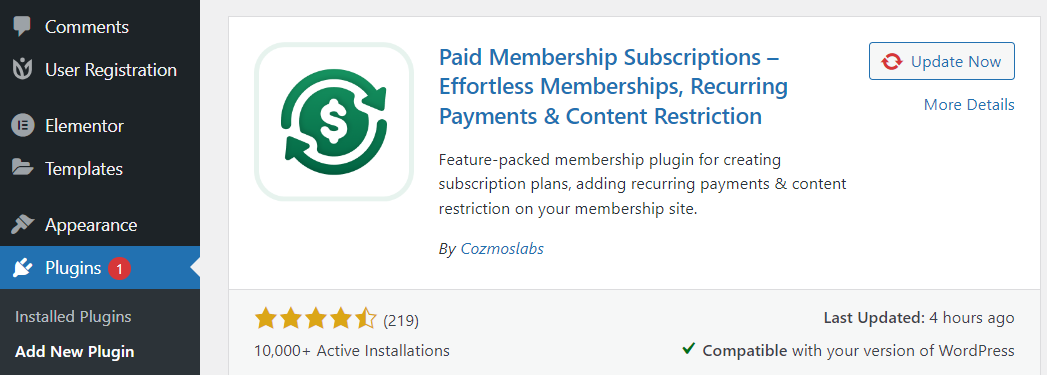
Step 4: Install and Activate the Plugin

Once you’ve chosen a subscription plugin, you’ll need to install and activate it on your WordPress site. To do this, log in to your website dashboard, locate the “Plugins” menu, and click on “Add New.” Search for the plugin you’ve chosen, then click “Install” and “Activate” to activate the plugin on your site.
Step 5: Set Up Subscription Plans
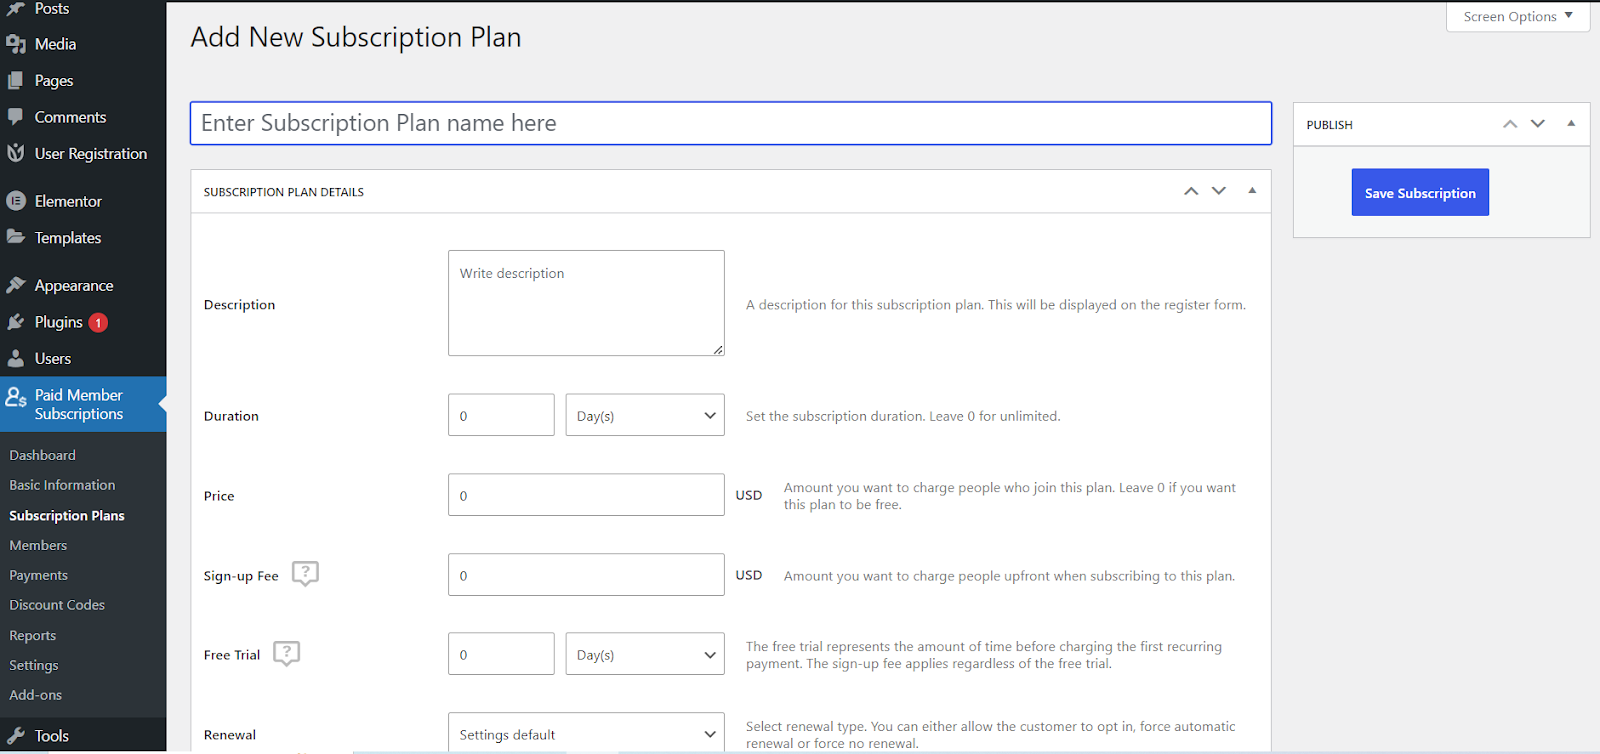
After activating the plugin, you can start setting up subscription plans for your website. Most subscription plugins will have a user-friendly interface that allows you to create various membership levels, set pricing, and define access levels for each plan. Consider offering multiple subscription tiers to cater to different audience segments and maximize revenue potential.
Step 6: Customize Subscription Options
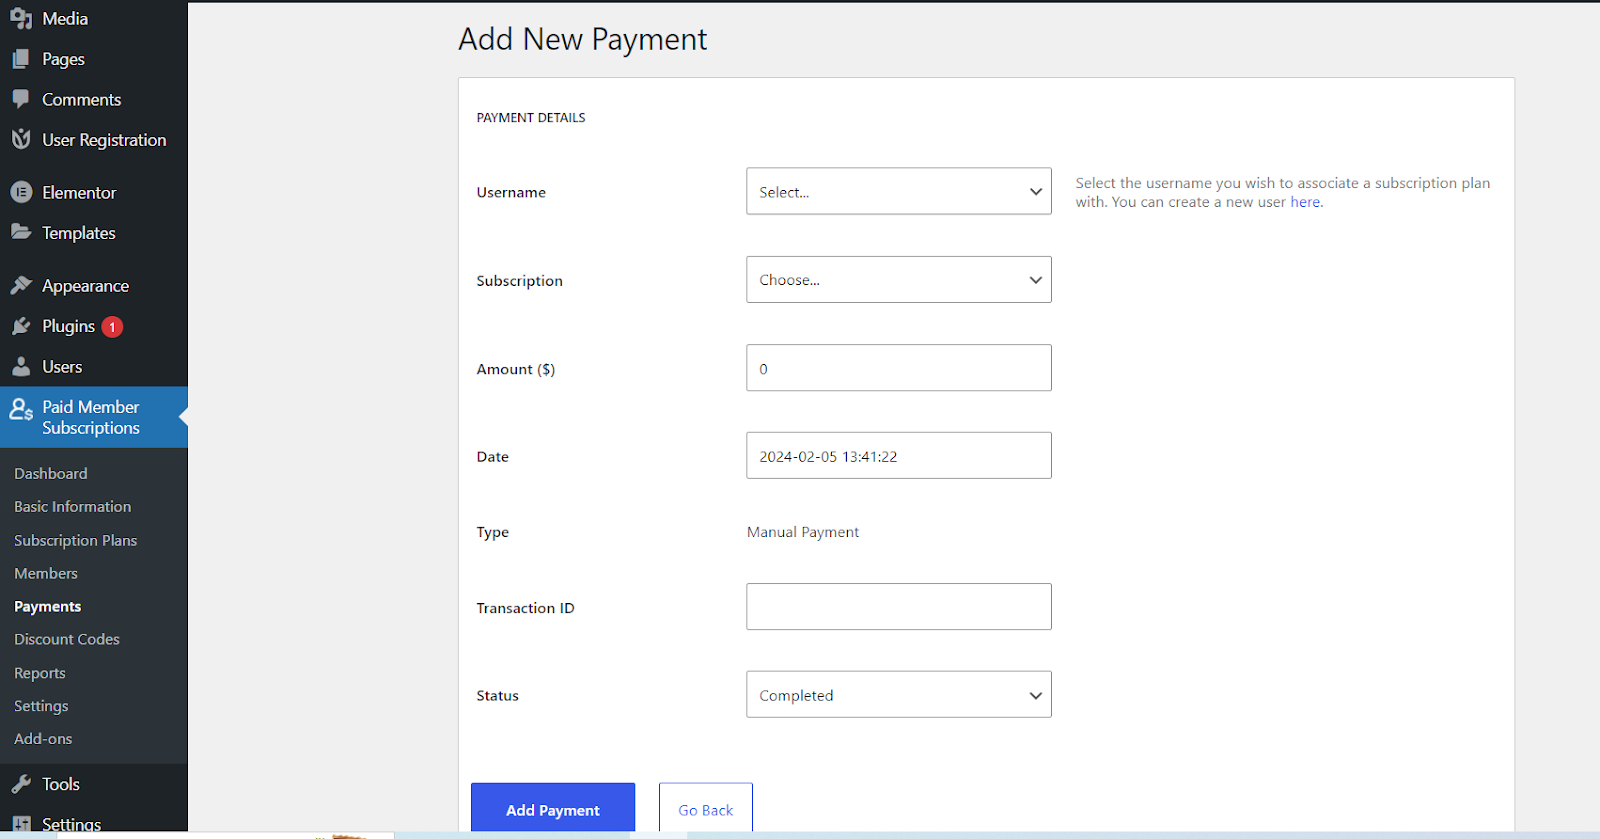
Once you’ve created your subscription plans, you can customize various options to fit your website’s branding and requirements. This may include configuring payment gateways, setting up recurring billing, configuring email notifications, and designing subscription signup forms. Pay attention to the user experience to ensure that the subscription process is seamless and intuitive for your audience.
Step 7: Create and Restrict Premium Content
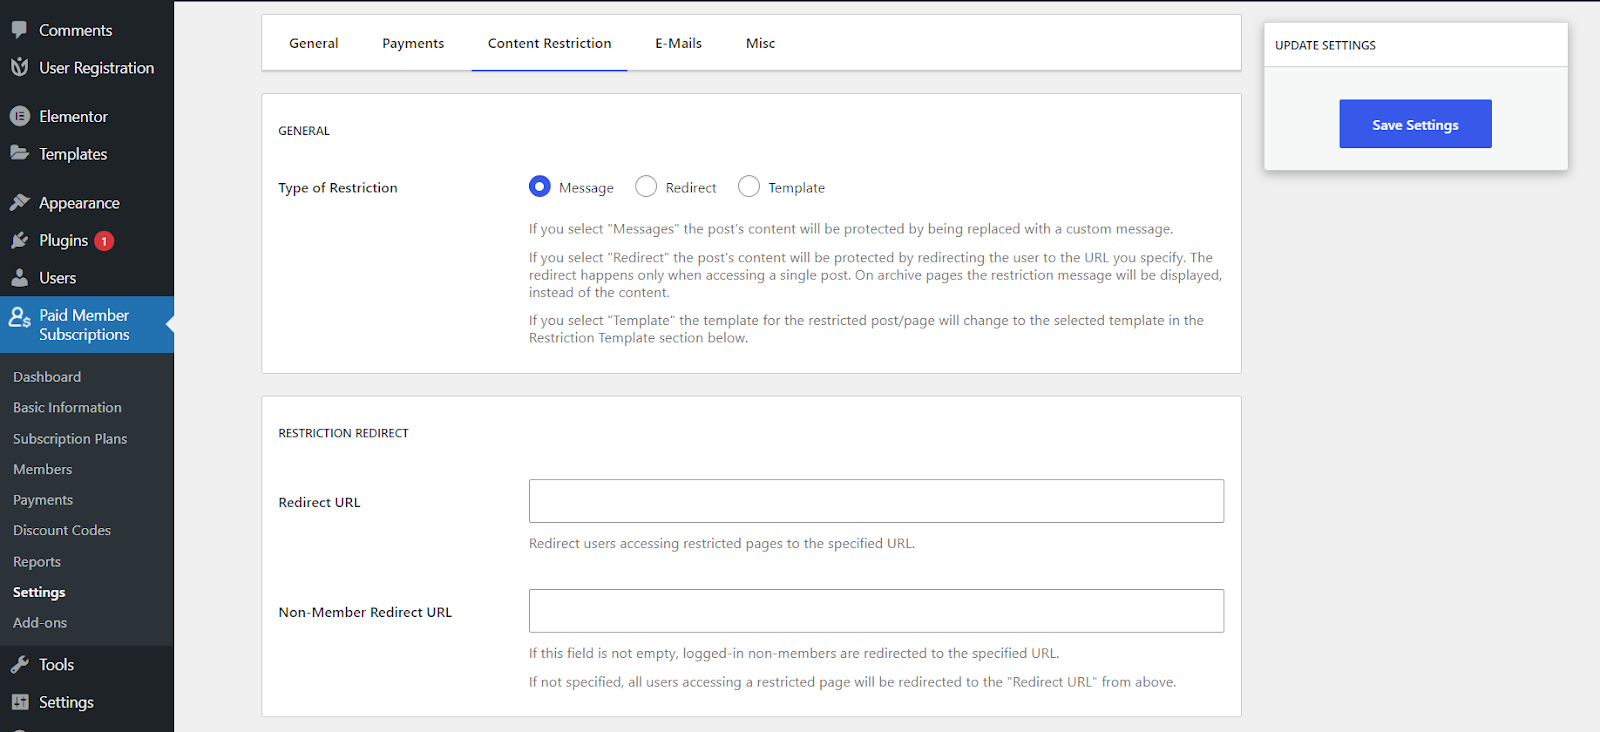
With your subscription plans in place, you can now start creating premium content that will be accessible only to subscribers. This could include articles, videos, webinars, downloadable resources, e-books, and more. Depending on your chosen plugin, you can easily restrict access to this content based on subscription level, ensuring that only paying members can view it.
Step 8: Test and Launch Your Subscription Website
Before launching your subscription website to the public, it’s essential to thoroughly test all aspects of the site, including subscription signup, payment processing, and content access. Make sure everything is functioning correctly and that the user experience meets your expectations. Once you’re satisfied with the results, you can officially launch your subscription website and start promoting it to your audience.
Step 9: Monitor and Optimize Performance
After launching your subscription website, it’s crucial to monitor its performance and make adjustments as needed to improve user engagement and maximize revenue. Pay attention to key metrics such as subscriber growth, churn rate, and revenue generated. Experiment with different pricing strategies, content offerings, and marketing tactics to optimize your subscription business over time.
Benefits of Creating a Subscription Website

Creating a subscription website offers several benefits for both content creators and consumers:
- Monetization: Subscriptions provide a recurring revenue stream, offering stability and predictability for content creators. This model can be more sustainable than relying solely on one-time sales or advertising revenue.
- Exclusive Access: Subscribers gain access to premium content that is not available to non-subscribers. This exclusivity can incentivize users to subscribe in order to access valuable resources, expertise, or entertainment.
- Community Building: Subscription websites often foster a sense of community among subscribers who share common interests or goals. This community aspect can lead to increased engagement, loyalty, and advocacy for the brand or content creator.
- Content Quality: With a subscription model, content creators have the financial resources to allocate to producing high-quality content. This can result in a better user experience and increased satisfaction among subscribers.
- Data and Analytics: Subscription models provide valuable data and insights about subscribers, including demographics, preferences, and behavior. This data can be used to tailor content, marketing collaterals, and product offerings to meet the needs of subscribers.
- Flexibility and Control: Content creators have greater control over their content and business model with a subscription website. They can experiment with different pricing tiers, content formats, and subscription plans to optimize revenue and user satisfaction.
In conclusion,
Creating a subscription website using a WordPress plugin is a straightforward process that can open up new revenue streams and opportunities for your online business. By following the steps outlined in this guide and choosing the right plugin for your needs, you can quickly get your subscription website up and running and start monetizing your valuable content.
Also Read: WordPress Subscription Forms: Go Beyond The Click
FAQs
What types of content can I offer on a subscription website?
You can offer a great range of content on a subscription website, including articles, videos, tutorials, webinars, downloadable resources, exclusive interviews, and more. The key is to provide value that justifies the subscription fee.
How do I promote my subscription website and attract subscribers?
Promoting your subscription website involves various marketing tactics, including content marketing, social media promotion, email marketing, partnerships, and paid advertising. It’s essential to clearly communicate the value proposition of your subscription offering to potential subscribers.
How do I handle customer support and billing for subscribers?
Many WordPress subscription plugins include built-in features for managing customer support tickets, handling billing and recurring payments, and sending automated email notifications to subscribers. You can also integrate third-party tools for additional functionality if needed.
