
WordPress is an open-source platform that anyone can use for their projects, so there is a shallow barrier to entry.
You can choose a hosting solution that fits your budget and level of expertise, from shared servers to fully managed WordPress hosting solutions (like Nestify, where you can launch a fully functional WordPress site in just a few clicks).
Importance of installing Local WordPress
-
Development and Learning
The offline platform is the best choice if you’re just getting started with local WordPress development and want to hone your abilities as a WordPress developer.
The best part is that you can learn WordPress development at your own pace without incurring any costs.
2. Check out new features
It’s not a good idea to test new features on an operational website because things could go wrong and have an impact on your operational procedures.
You can test out new features, themes,and plugins in a secure environment by installing WordPress locally.
3. An Isolated Development Environment
Local WordPress setup offers a risk-free development environment with maximum flexibility for trying novel tools and methods. To test concepts and experiment with code, you frequently need an environment. A finished prototype can be taken to a test location for quality assurance and improvements.
How to Set Up WordPress On Localhost?
WordPress is very simple to install on localhost. Remember that WordPress does not run directly on your local computer—this is crucial information.
It needs PHP, a database (MySQL is a popular option), and a web server for proper operation. The interaction of these elements creates the environment in which WordPress runs.
Step 1: Installing WordPress and XAMPP
Preparing the environment in which WordPress will run before downloading it is crucial. To do this on Windows, install XAMPP or WAMP to create a server-database stack (the industry favorites are Apache as a web server and MySQL as the database).
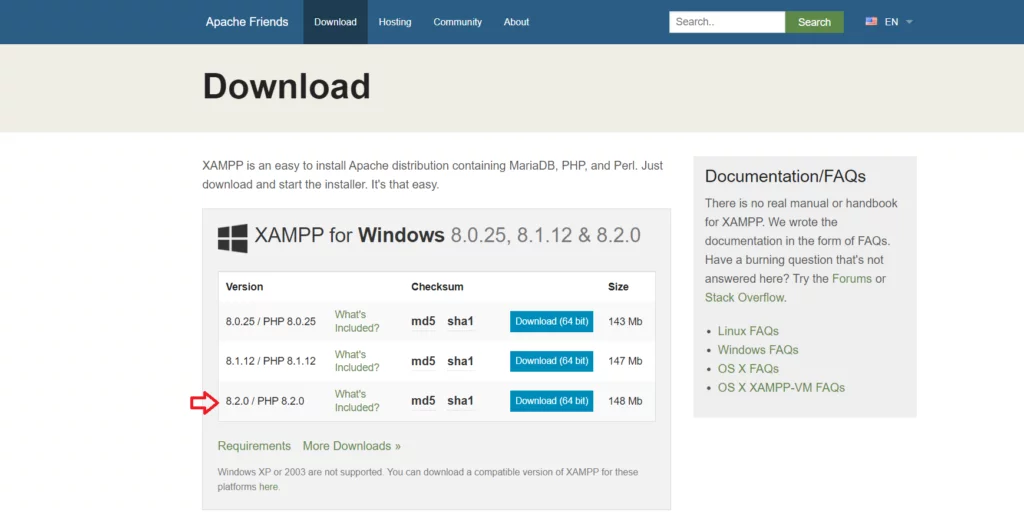
You will see several options that support various PHP versions. Choose the options that function the best with the most recent PHP version.
Run it once the download is complete to install XAMPP locally. Open the control panel after installation to view and modify the status of MySQL and Apache.
Step 2: Local WordPress Installation and Setup
Download WordPress setup from the official website once the webserver and database have been configured.
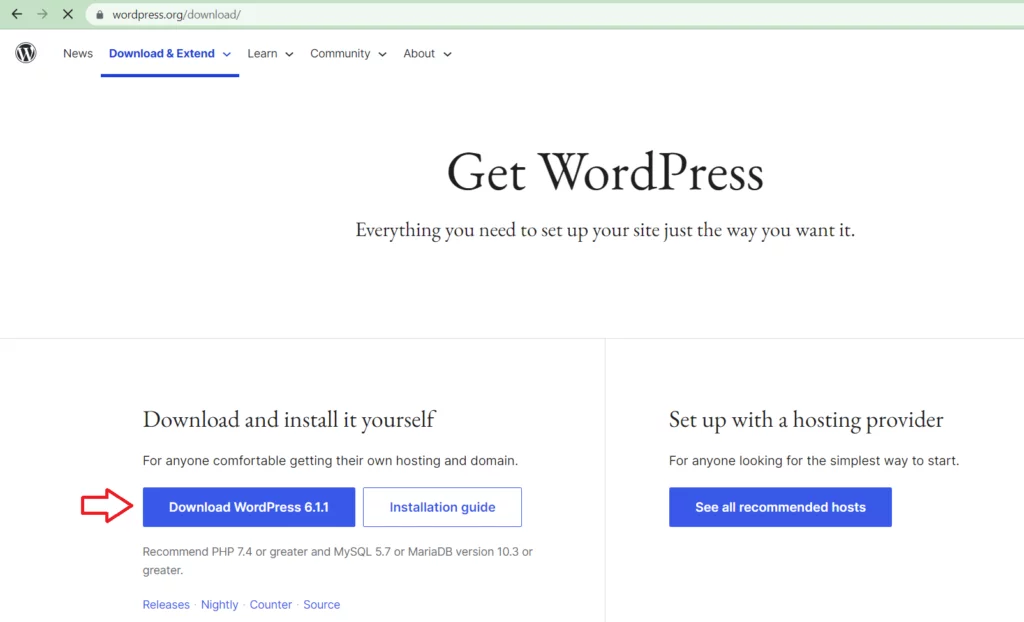
The /htdocs folder in the XAMPP directory should now contain the zip file. Go to the project directory after extracting the zip file.
IMPORTANT:
Check the status of the Apache and MySQL services in the XAMPP control panel. The database for your new WordPress site should then be created by going to the phpMyAdmin portal.
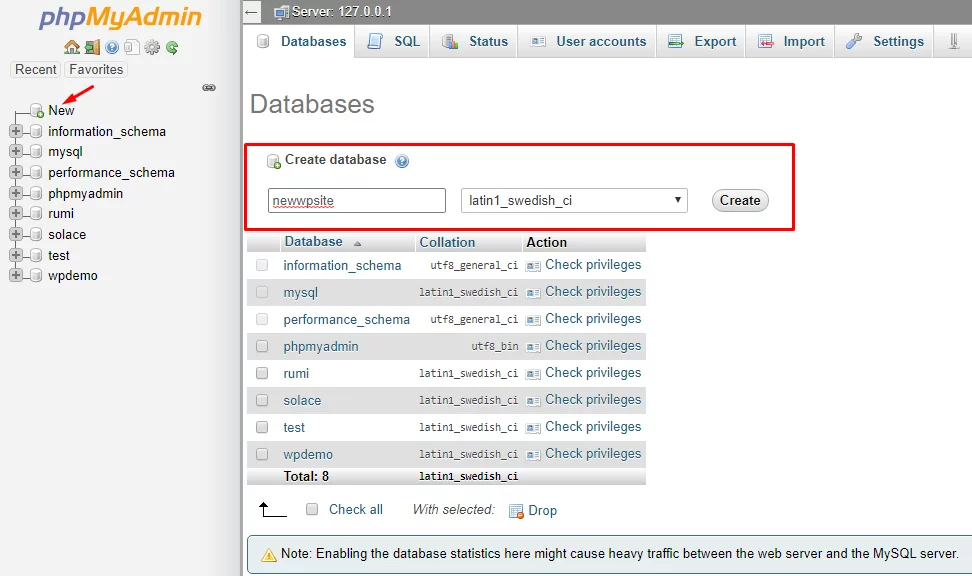
The portal is probably found at the following URL (depending on your port configuration). https://localhost:80/phpmyadmin/\sphpmyadmin
Visit the following URL to start the WordPress installation setup after creating the database.
https://localhost:80/newwpsite/wp-admin/setup-config.php
Activate WordPress. Click “Continue” after choosing the preferred language.
Follow the instructions on the following screen to add your database credentials to the wp-config.php file.
the wp-config.php file with the database login information
Open the wp-config.php file in your preferred code editor and enter the following database credentials:
/ ** MySQL settings – You can find this information from your web host ** / /** The WordPress database’s name */ define('DB NAME', 'newwpsite'); /** The MySQL database’s username */ define('DB USER', 'root'); /** The MySQL database’s password */ define('DB_
Back at the WordPress installation wizard, save the file.
The database name, user name, and password must be entered. Click “Submit” when finished. To launch the WordPress installation, click “Run the installation.”
Install the software. Set the username and password to access the WordPress dashboard and provide information about your website in the following screen.
Click ‘Install WordPress’ when you’re finished. The button to open the well-known WordPress dashboard login page will also be displayed along with the success message.
WordPress on Mac installation
WordPress can also be used locally on a Mac if you use one.
Like Windows, you must set up a stack to run WordPress locally.
The general procedure for using WordPress locally on a Mac is the same, despite the slight differences in the steps.
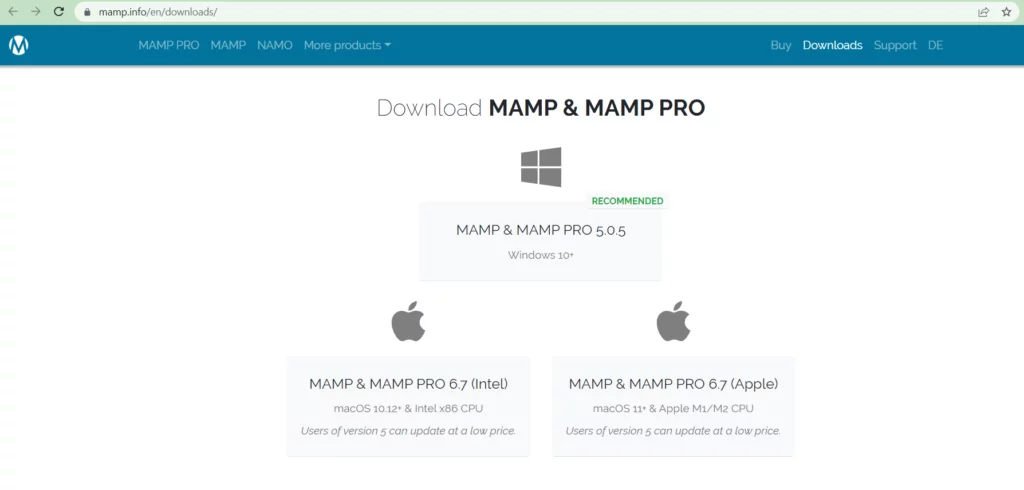
Step1: Obtain MAMP
Download MAMP, which creates a web server and database for the WordPress installation, as the first step.
To download the setup for macOS, visit the MAMP office website. Once the download is complete, launch the installation wizard to install MAMPP.
The Pro version might also need to be installed. This is not a requirement, and you can begin using the free version by selecting the grey folder.
Go to the MAMP controller and launch the server after installation is complete.
Controlling MAMP: Click Open WebStart page to start phpMyAdmin once the server is up and running.
Step 2: Local WordPress installation on a Mac
From the official website, Mac users can download the WordPress setup. Once WordPress for Mac has been downloaded, unzip the file and put the folder inside the MAMP document root folder. The name of the WordPress site can be used to rename this folder.
Create the database right away using phpMyAdmin from the MAMP control panel. Fortunately, phpMyAdmin functions exactly as they do on Windows.
Add the database name, then navigate to the wp-config.php file to add the database credentials.
At this point, launch the WordPress installation wizard by clicking the following link: https://localhost/newwpsite installation wizard
The remaining steps are identical to those for installing WordPress locally on Windows.
Final Remarks: Local WordPress Installation
Local WordPress installation is possible on your computer, and there are many situations in which doing so will greatly accelerate your learning curve.
The advantages are multifaceted, ranging from accelerated development cycles and enhanced security to the convenience of testing and experimenting without the constraints of a live environment.
Embracing a local WordPress installation empowers developers, designers, and content creators alike, fostering a dynamic and efficient workflow.
It becomes a second-nature that the decision to embark on the local installation journey is not merely a choice but a key facilitator in unlocking the full potential of the WordPress platform.
Suggested Read: WordPress Development Workflow 101: Easy and Effective Tips
