Interested in setting up WordPress on your Windows system? One popular way is to Install WordPress on WAMP. This method has become quite popular in recent times. With WAMP, you can easily run WordPress from the comfort of your computer.
WAMP stands for Windows, Apache web server, MySQL, and PHP—a software stack used to create a local server environment on Windows systems. Utilizing WAMP simplifies setting up WordPress on your local server/host, allowing you to develop and test websites offline before going live.
Localhost means your own computer. It’s a system that simulates the internet from within your computer. Using a particular configuration, WAMP or similar apps can function as a legitimate website while installed on your computer.
This guide walks you through the step-by-step process to install WordPress using WAMP.
Let’s get started!
Understanding WAMP
Before we begin the step-by-step tutorial on installing WordPress on WAMP, let’s first understand what WAMP is.
WAMP stands for Windows, Apache, MySQL, and PHP and is an integrated platform that makes it easier to install a web server on a Windows machine. It’s like having your private virtual environment to test updates, tweaks, and new features without compromising the functioning of your live website.
WordPress is written in PHP (Hypertext Preprocessor). PHP, like WordPress, is open-source and a popular programming and scripting language for building dynamic and interactive websites.
For your website to work properly, you need a database for your WordPress files that contains all the information displayed on your website, such as user profiles, blog entries, product details, and more.
WordPress uses MySQL databases, a DBMS (Database Management System), to store and retrieve all of your website’s information. MySQL, like WordPress and PHP, is open source.
For the sake of brevity, open-source software is defined as code that is freely available and can be redistributed and updated to meet your specific needs.
A web server is necessary to run PHP and MySQL on your WordPress website. And that web server is none other than the WAMP Server.
Steps to Install a WAMP Server:
Step 1: Get WAMP Server
WampServer, sometimes known as WAMP, is a Windows-based software package that includes the Apache web server, PHP, and MySQL databases.
All of them are independent open-source applications. However, even experienced users may find it cumbersome to install them separately. WampServer, for example, makes it simple to install and set up a working local environment in minutes.
First, download and install the WAMP program on your computer. Then, visit the WampServer website and choose the file highlighted in the image below under the ‘Installers Wampserver full install version’ option.
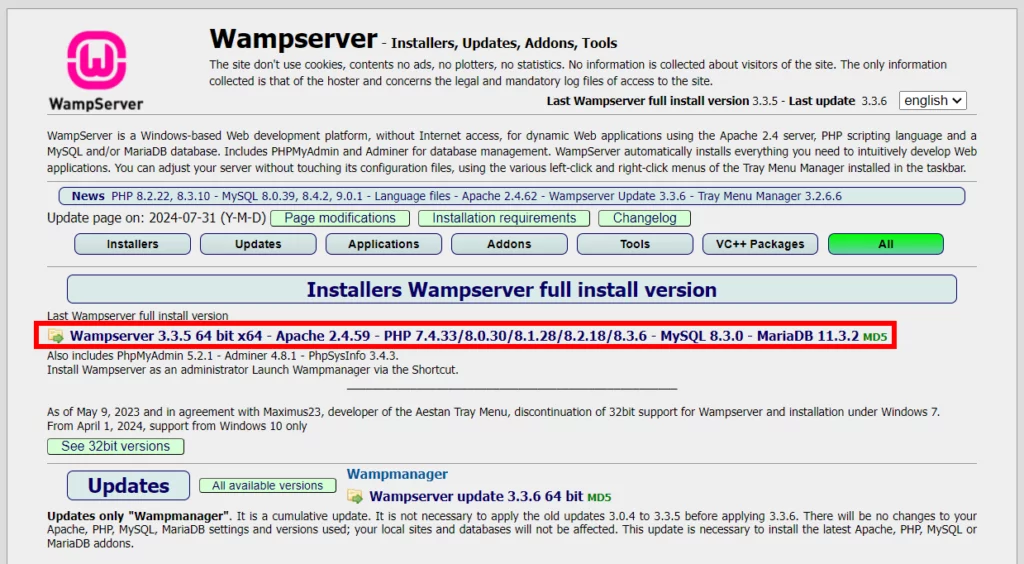
The WAMP software is available in two versions: 32-bit and 64-bit. Each version provides distinct compatibility and performance benefits. Choose the version that corresponds to your Windows system specs.
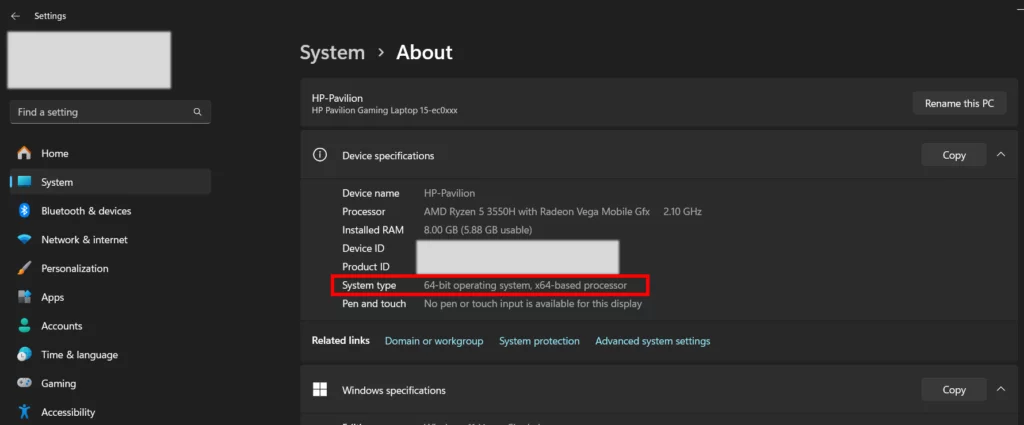
You can check your system type by going to the Windows Settings > System > Scroll down > About.
Once you’ve chosen the compatible version for your machine, you can download the WampServer executable file.
Remember that the key to an ideal WordPress installation is to follow the steps correctly, beginning with downloading the appropriate software version.
Clicking on the hyperlink will start the download of the WAMP Server on your PC. Once the download finishes, you will be asked to choose a folder to add the WAMP Server files.
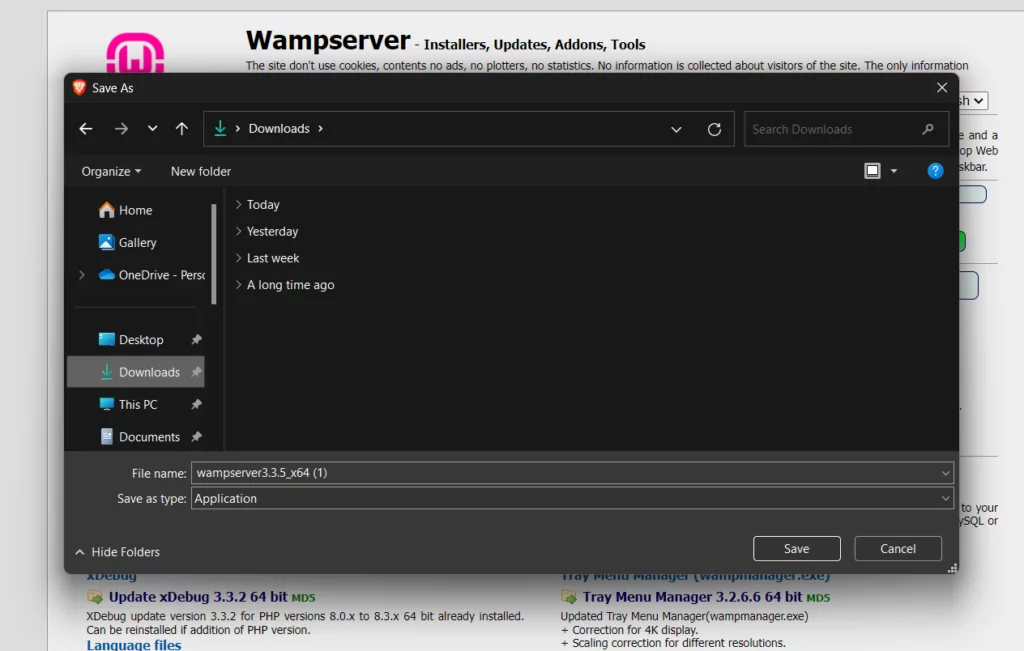
In the image above, you can see the Windows popup prompting us to choose a folder for the WAMP Server download file.
Step 2: Installing WAMP
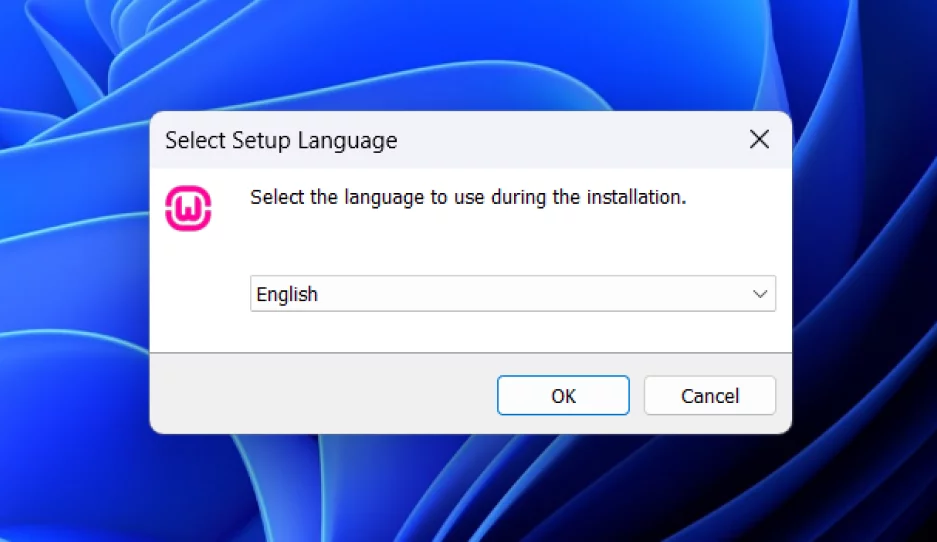
After downloading, double-click the WampServer execution file to begin the installation process.
Choose a suitable language from the dropdown menu and click the ‘OK’ button.
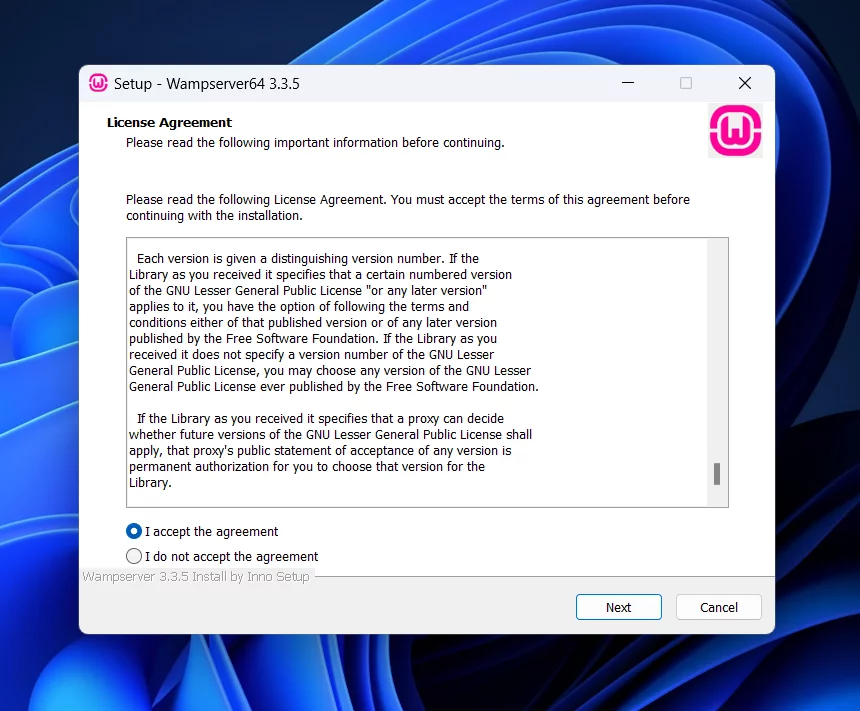
The next pop-up will display the License Agreement.
Select the ‘I accept the agreement‘ field and then click the ‘Next‘ button.
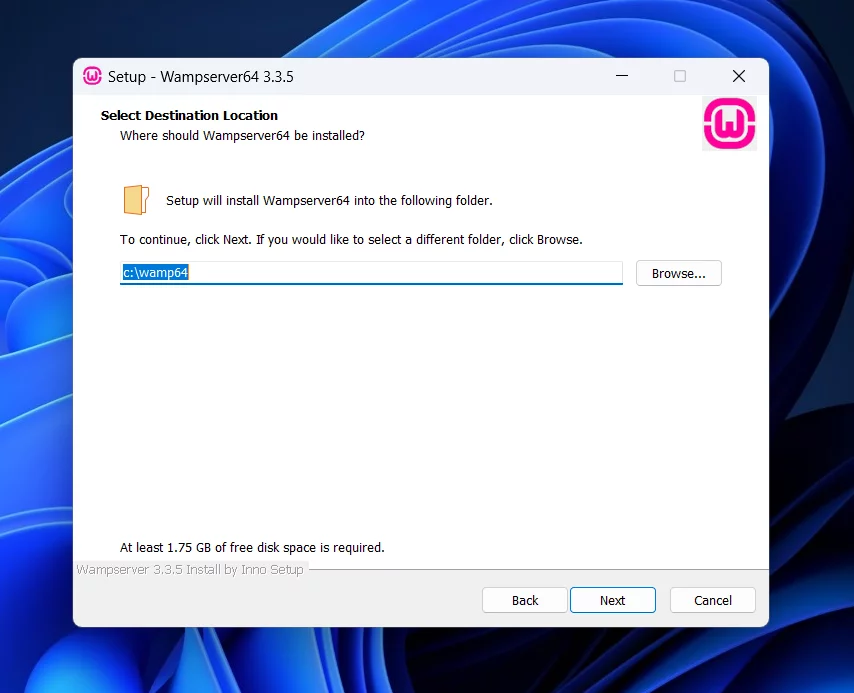
As previously stated, WAMP will be installed in the default disk and folder, ‘C:\WAMP64’. If you downloaded the 32-bit software, the location will be ‘C:\WAMP32’.
Note: If you want to change your settings, such as changing the destination folder or selecting or removing components, you can do it now by clicking ‘Back’.
If everything appears good, click ‘Install‘. Make sure to install WAMP in the root directory. Avoid installation within a subfolder like C:\Programs.
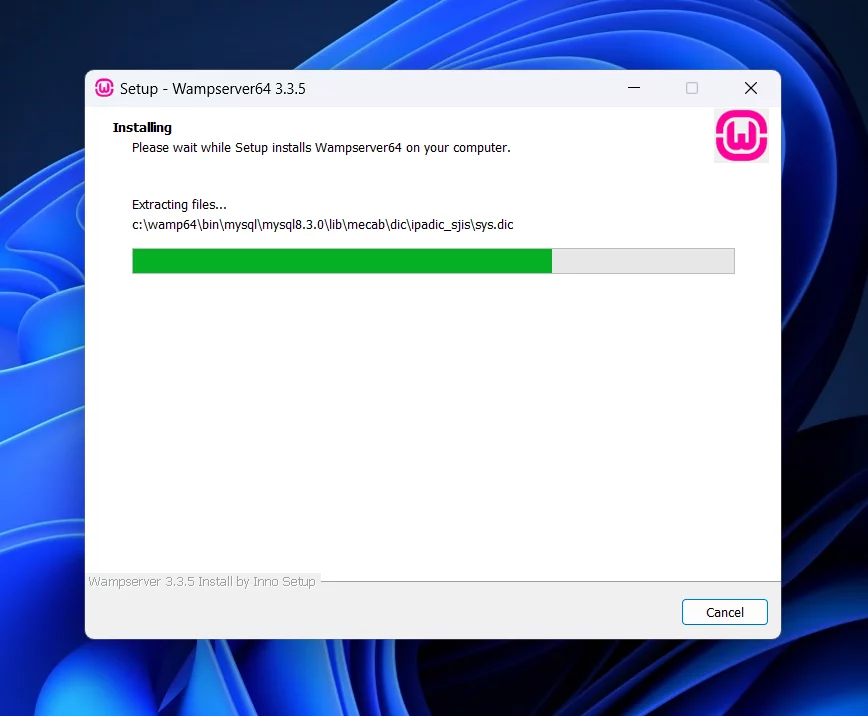
This installation process will now start.
WAMP defaults to Microsoft Edge as the browser. However, you get an option to change this.
To change the browser, navigate to the programs folder and pick your desired browser.
Additionally, you can set another text editor as the default instead of Notepad, like you did with the browser (if you changed the default browser). Now, choose your preferred text editor if you feel like doing so, and click “OK.”
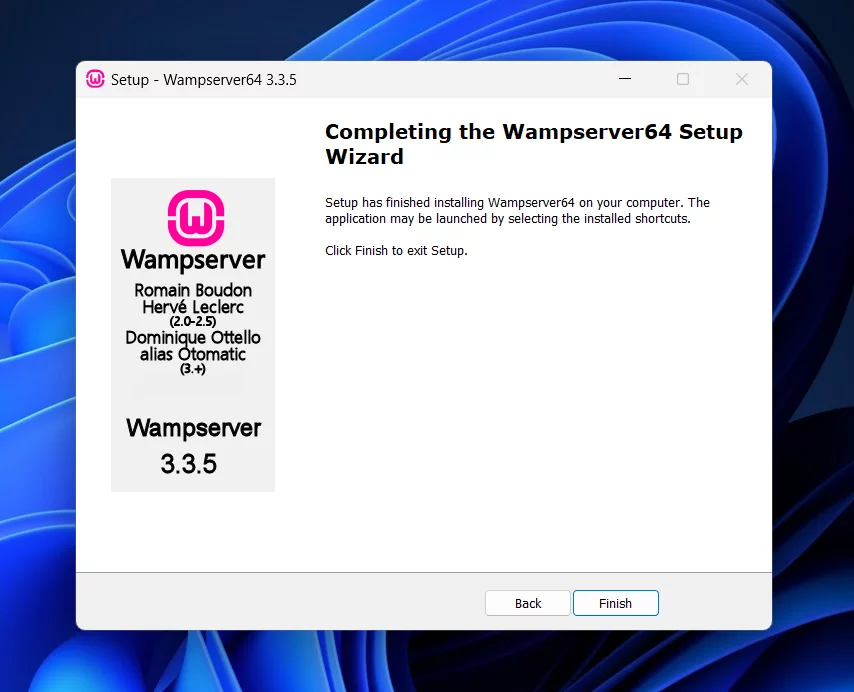
After making these selections, the setup will be swiftly completed.
Click on “Finish.”And now, you’ve successfully finished installing WAMP. Some of you might face an error while installing WordPress, so rest assured that we’ve added solutions to those at the end of this guide.
How can you know whether WAMP was successfully installed on your PC?
The WAMP symbol will appear in the systems tray, which is located in the bottom right corner of your desktop.
A green WAMP icon signifies that it is a successful setup.
If the WAMP icon is red or yellow, it indicates that the Apache web server, MySQL, and PHP services are not operating. Before configuring the database, you must start the services by clicking on the symbol. (Ensure your system meets the specified requirements mentioned during installation)
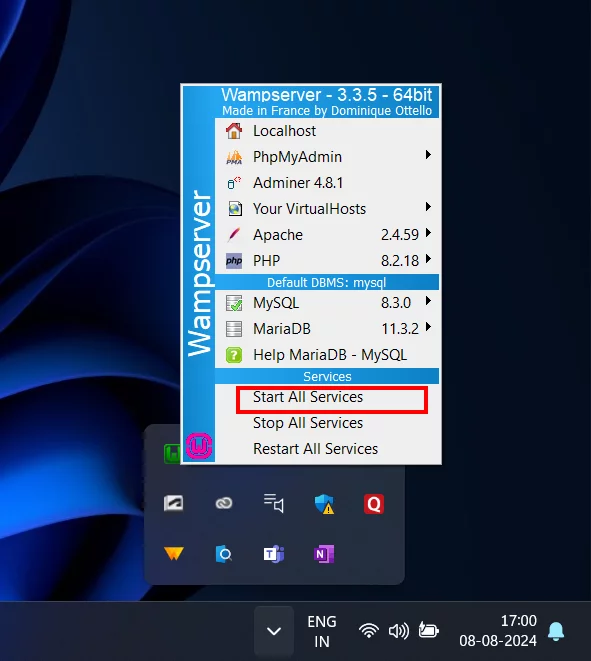
So, how do you start and stop these services? By clicking the WAMP icon.
Check the status of various Apache, PHP, and MySQL databases. You can pick between ‘Start All Services’, ‘Stop All Services’, and ‘Restart All Services’. You should choose the first option if the icon is any color other than green.
Once the symbol turns green, type ‘https://localhost‘ into your browser.
If you find yourself on this website, that’s a sign that you’ve successfully installed WAMP on your Windows machine.
Now that we’ve installed WAMP on our local Windows machine, we’ll continue with the WordPress installation.
Step 3: Configuring phpMyAdmin
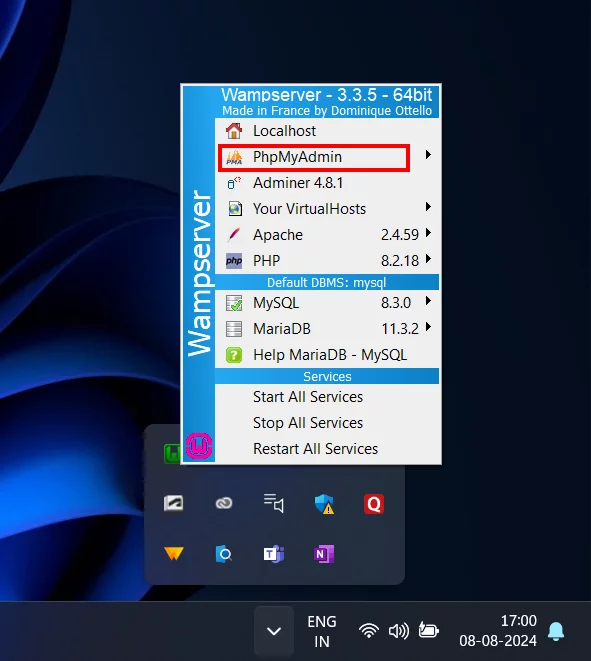
The first option is to click on the WAMP icon, which you access on your Windows taskbar in the hidden icons tray. This will display ‘phpMyAdmin‘. Click on it. The alternative option is to enter ‘https://localhost/phpmyadmin‘ into your web browser. You can choose either of the two. The image below shows the former option.
This action will open the default browser with the phpMyAdmin login screen.
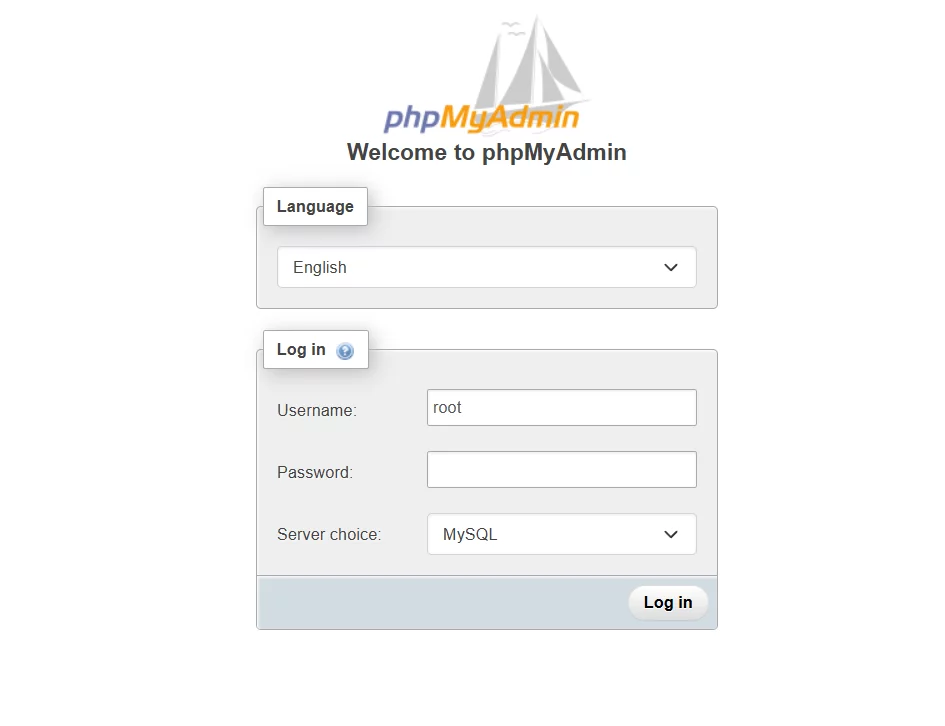
Enter the following login details to log in:
- Username: root
- Leave the password field empty, as these are default credentials.
- Click “Go” to access the phpMyAdmin Dashboard.
Within the phpMyAdmin Dashboard, navigate to the “Databases” tab.
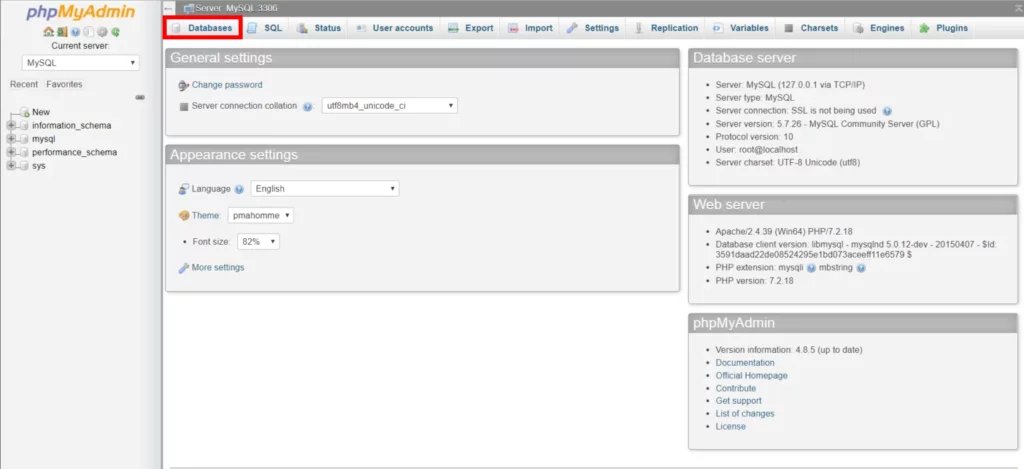
Create a new database for your WordPress installation by assigning it a name and clicking “Create“.
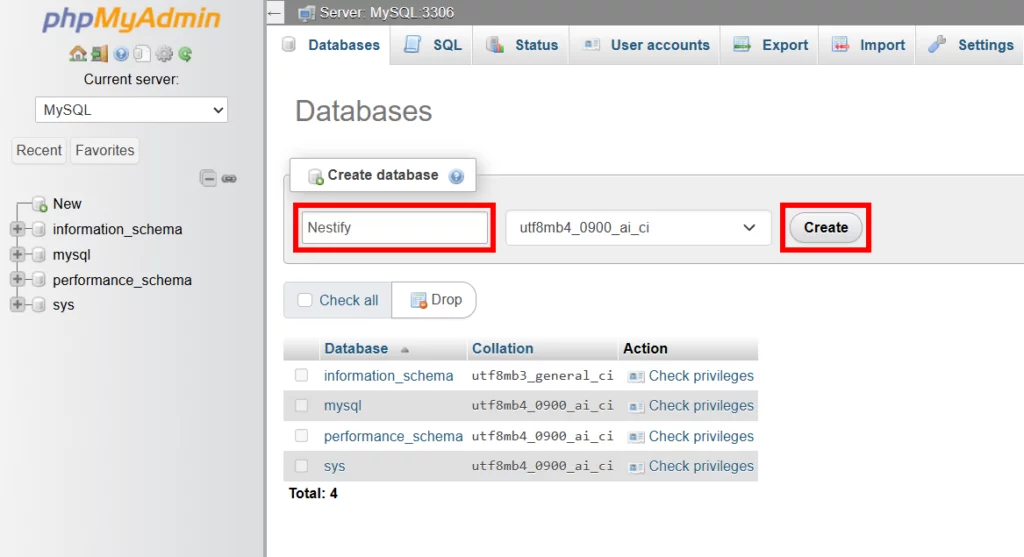
For instance, the database above has been named “Nestify” here, but you can choose any name you prefer.
Step 4: WordPress Download
With phpMyAdmin set up, proceed to download WordPress.
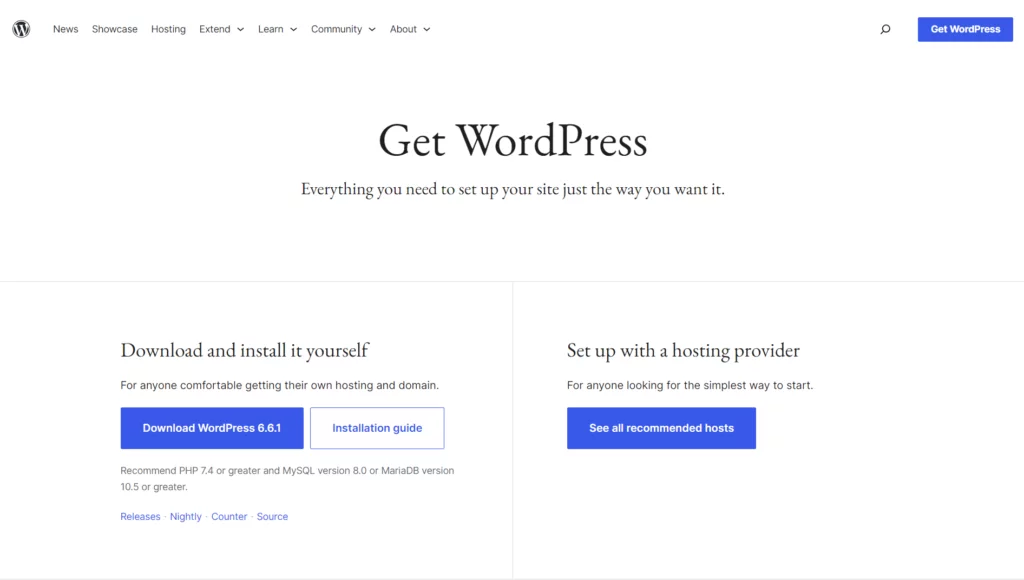
Visit the Official WordPress site: WordPress.org
On the homepage, locate and click the “Get WordPress” button at the top right-hand corner of the screen.
This action redirects you to the download page, where you can install WordPress software at no cost.
Download the software in a zip file. Unzip and extract the ‘WordPress’ folder to a suitable location on your system.
Copy the ‘WordPress‘ folder.
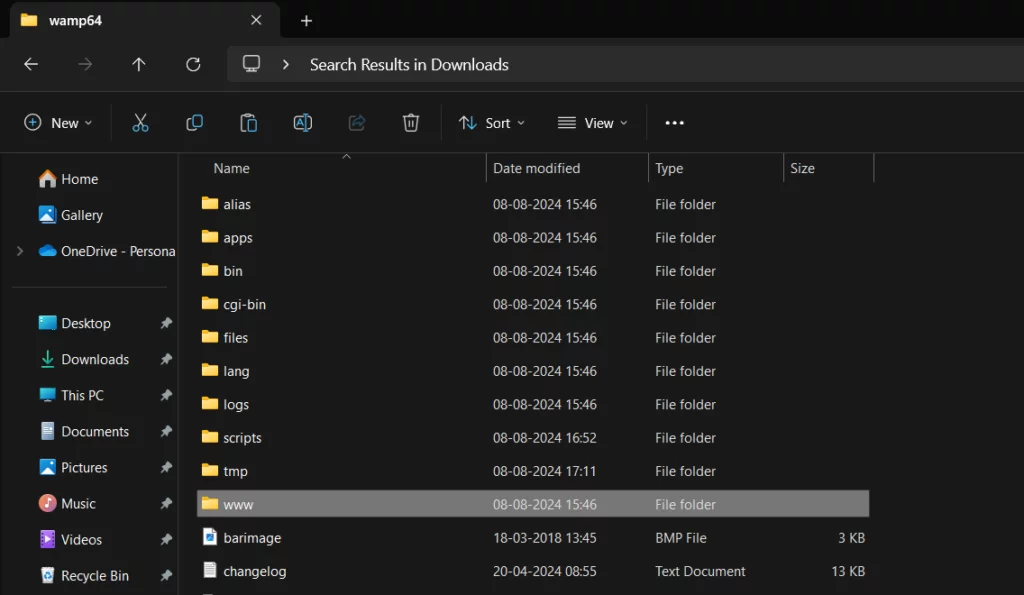
Find the directory where WAMP is installed. In this guide, it’s in the ‘c: wamp64‘ folder.
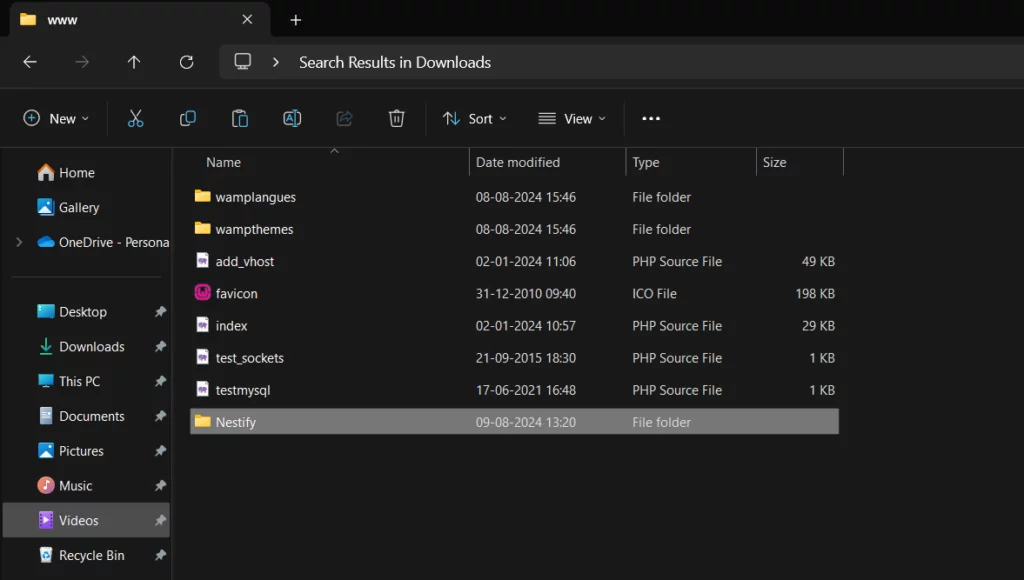
Within that directory, locate the ‘www‘ folder and paste the WordPress installation file that you just copied in it.
After transferring the folder to ‘www,’ you can rename it as you choose. Typically, you’ll name it after the website you’re developing.
For example, the folder in our case has been renamed ‘Nestify‘, as indicated in the figure below.
Let us now begin with the much-awaited WordPress setup. This is also the last part of the entire process.
Step 5: WordPress Setup Guide
To access your WordPress website and confirm successful installation, enter the URL ‘https://localhost/<wordpress-folder>‘ into your default web browser that you choose in Step 1.
The ‘<wordpress-folder>‘ represents the folder name you’ve entered. In our case, it will be ‘nestify‘. So the URL would be ‘https://localhost/nestify.’
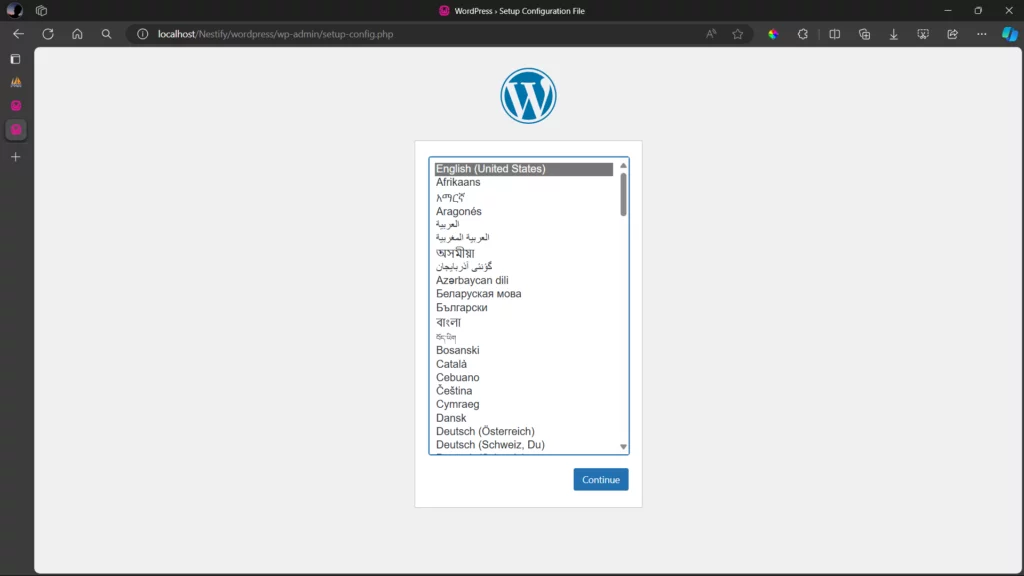
After successfully installing, you should see the following page.
Upon reaching the WordPress language setup page, select your preferred default language and proceed by clicking on “Continue.”
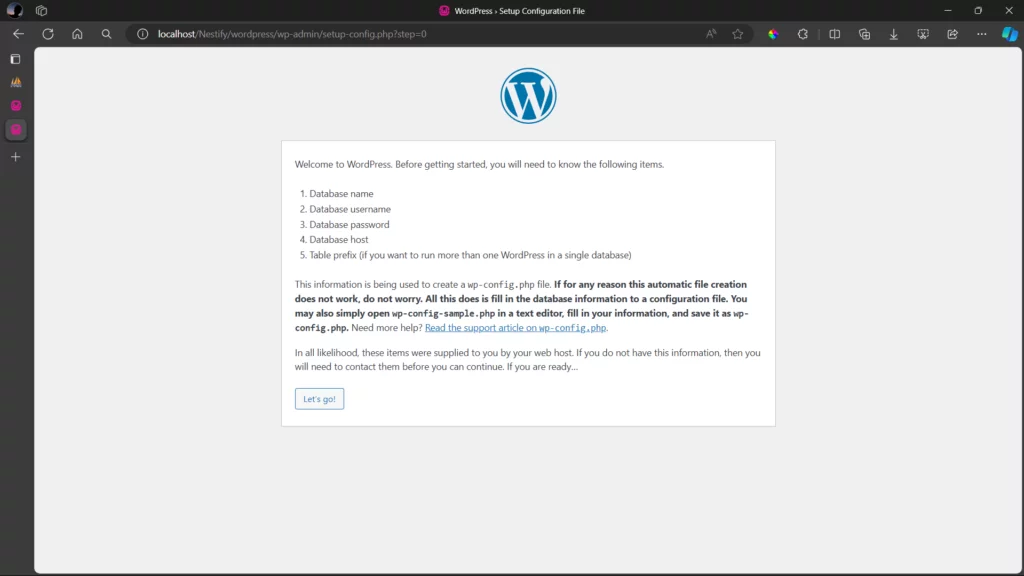
The subsequent screen will prompt you to take note of essential details before moving forward:
- Database name
- Database Username
- Database password
- Database Host
- Table Prefix (if planning to operate multiple WordPress installations within a single database)
- Database info page
Following this, on the ensuing screen, input the requested information as follows:
- Database Name: Use the name you selected for the database in step 3 (e.g., ‘nestify‘).
- Username: Set as ‘root.’
- Password: Leave this field empty.
- Database Host: No changes are required. Keep it as is.
- Table Prefix: No modifications needed.
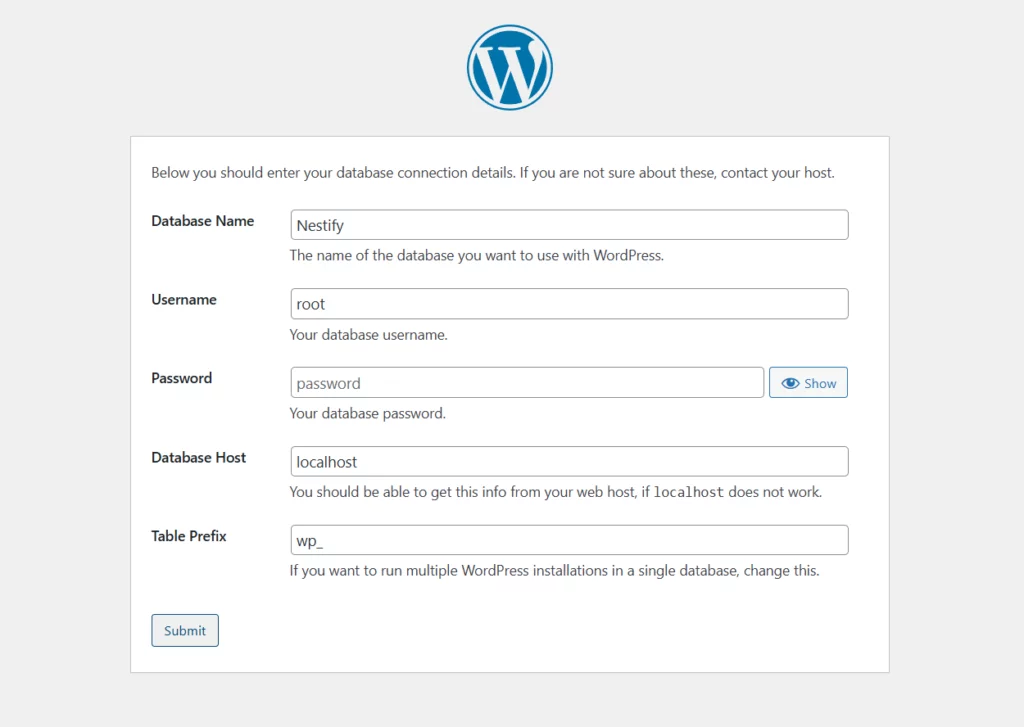
To continue configuring WordPress after entering this data, click the “Submit” button.
Step 6: Finalize WordPress Setup
Upon clicking the “Submit” button, a screen will display with the option “Run the Installation.”
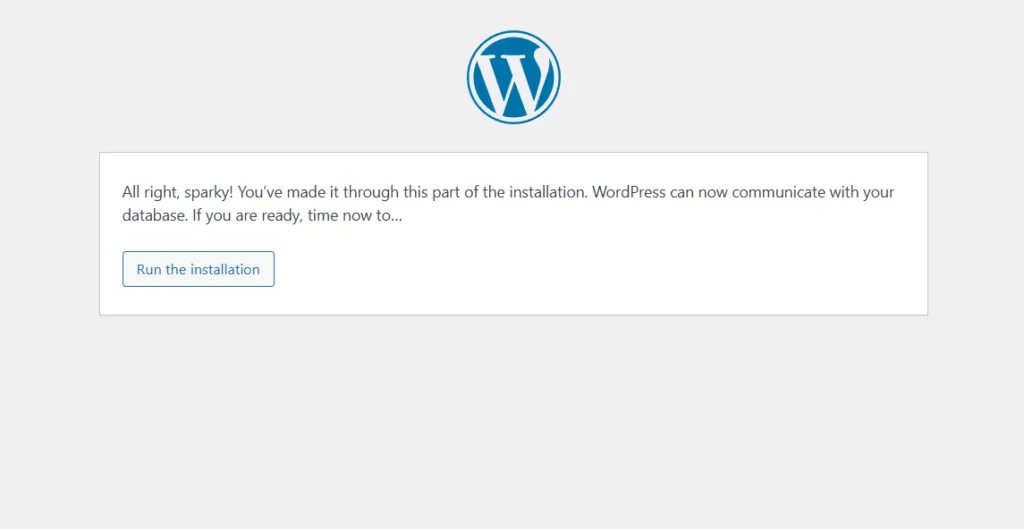
Proceed by clicking on it. Now you will see a new popup on your screen which includes the options:
- Site Title
- Username
- Password
- Your Email
- Search Engine Visibility

Key in the details and click the “Install WordPress” button.
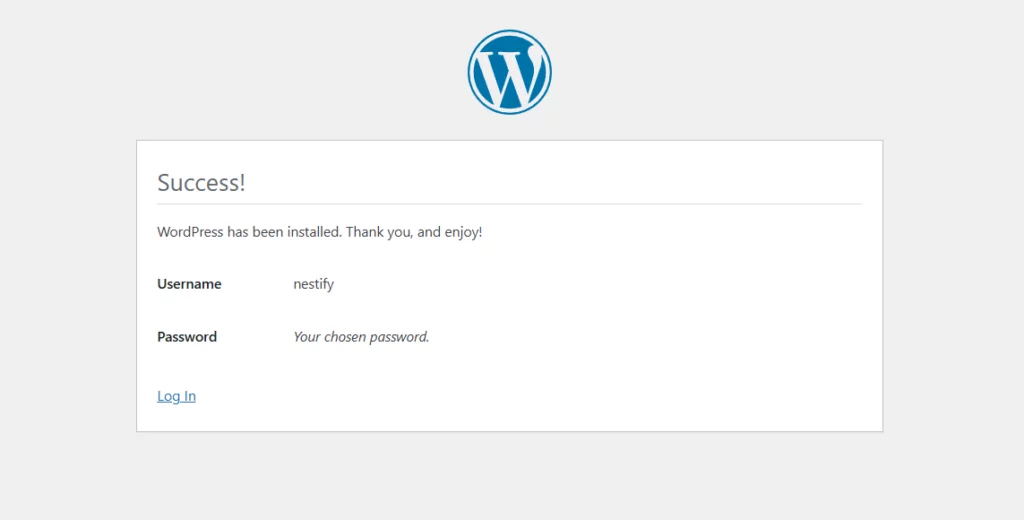
Upon successful completion, a message indicating success will appear. WordPress has now created new tables in your database that are ready for use.
Once the installation is completed successfully, proceed to click on ‘Log In‘.
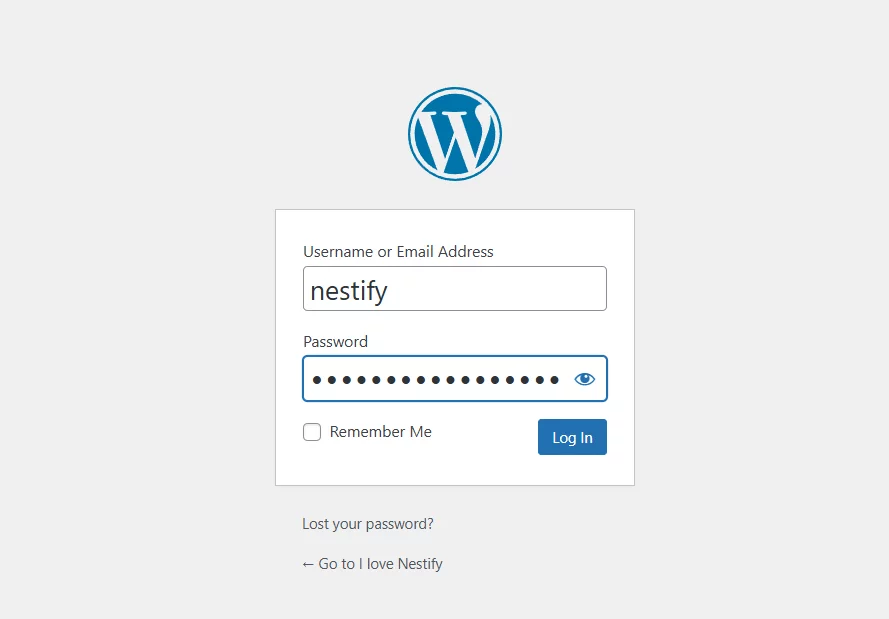
And you’ll see your WordPress login screen.
Key in the username and password that you just created.
You will now see the WordPress dashboard in front of you.
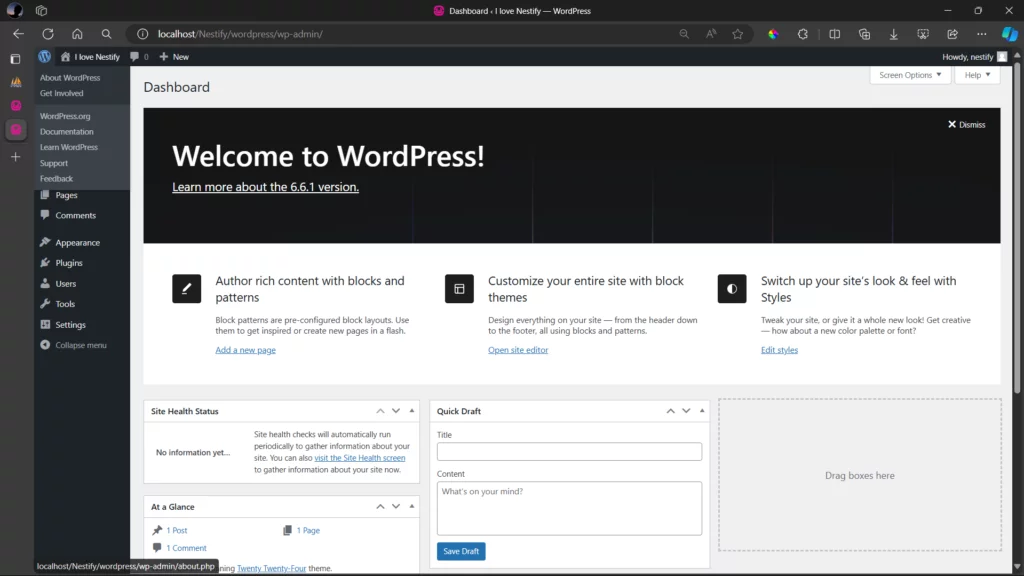
You can now test your WordPress site, experiment with themes and plugins, and relish the WordPress experience on your computer, eliminating the necessity for a web host.
Configuring Virtual Hosts for Multiple Local Sites
To install WordPress locally (for multiple sites), you must create distinct WordPress instances in the WAMP www directory.
To achieve this, select ‘Add a Virtual Host‘ from the WAMP menu and restart all services to implement the changes.
However, keep in mind that utilizing a named host in conjunction with an IP-based arrangement may cause problems, with the IP setup usually taking precedence.
For more sophisticated configurations, carefully update the ‘httpd-vhosts.conf‘ and Windows ‘hosts’ files to define new virtual host settings.
Troubleshooting Common Issues While You Install WordPress on WAMP
Below are a few of the common issues that you might encounter while installing WAMP on WordPress.
1. How do I fix the missing ‘.DLL’ files?
If you are experiencing the same problem, you can try downloading the ‘.DLL’ files from the following sources.
- Download the file ‘msvcp120.dll‘.
- Download the file ‘msvcp110.dll‘.
Where do you save the ‘.DLL’ files?
Save the ‘.DLL’ file to the ‘C:\Windows\System32\’ folder.
2. Fixing the ‘VC_2022_REDIST_X86…’ and ‘VC_2022_REDIST_X64…’ Error
WAMP also requires some Microsoft Visual C++ Redistributable Packages to function.
If your software does not launch after installing WAMP, it is possible that the Microsoft Visual C++ libraries are not loaded on your machine.
If this is the case, services like Apache, PHP, and MySQL will fail to execute, and you will encounter an error message that looks like this:
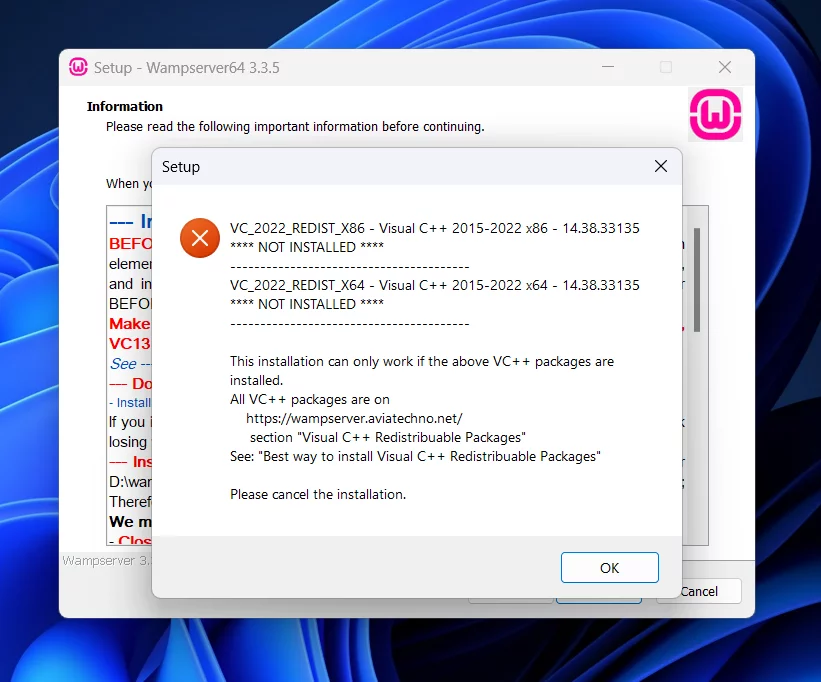
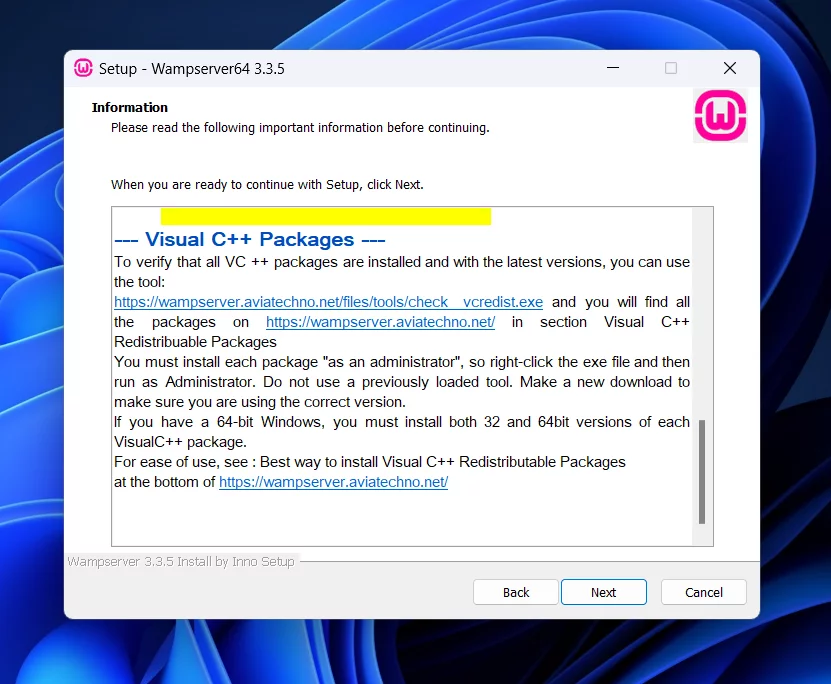
Use the link ‘https://wampserver.aviotechno.net/’, which is displayed in the error message (You’ll have to scroll a bit for it), to download and install the Microsoft Visual C++ Redistributable Package for your operating system.
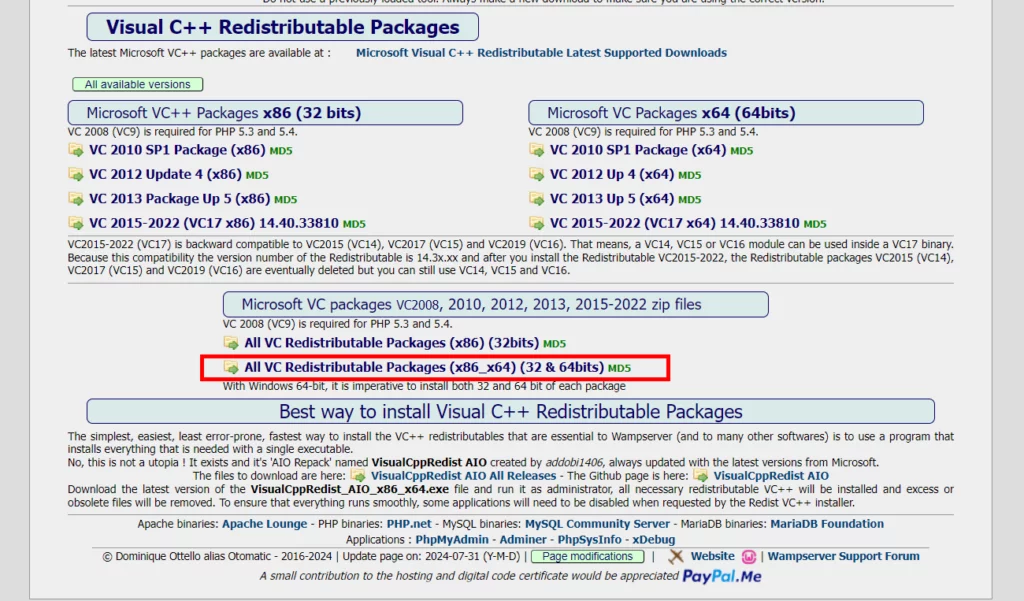
Download the All ‘VC Redistributable Packages (x86_x64) (32 & 64bits). Files from the WAMP website. You can refer the image below for their location on the WAMP site.
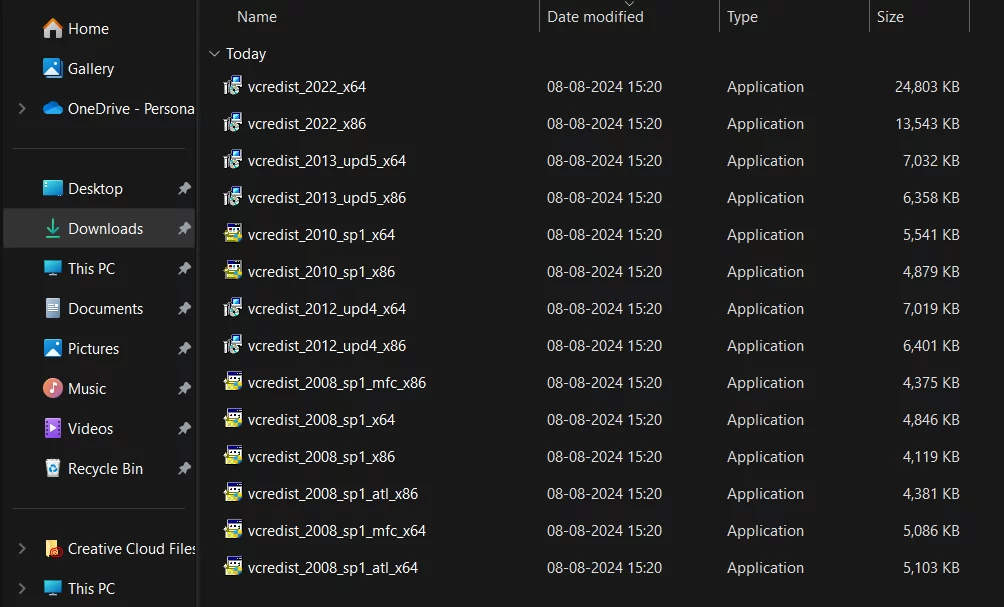
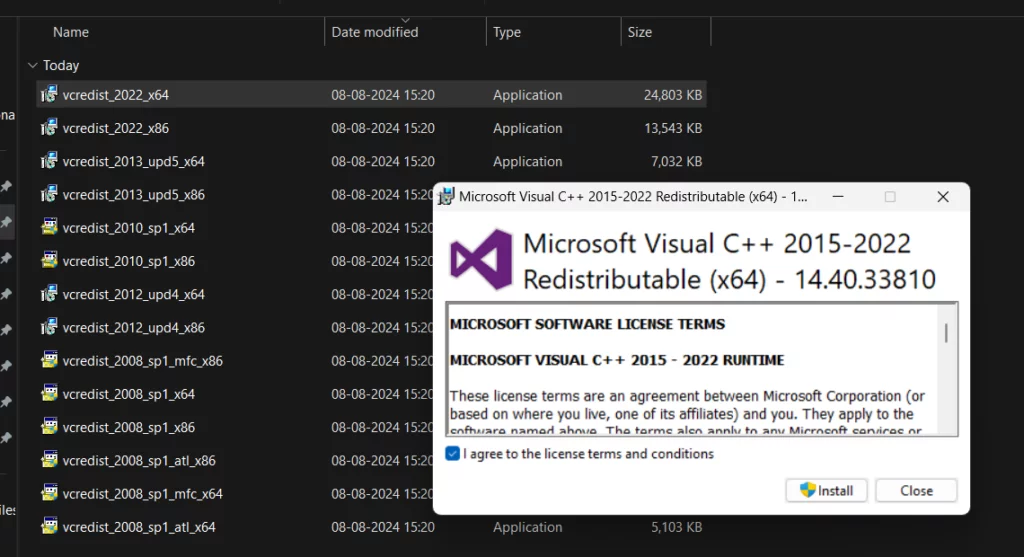
Once you extract the files from the folder, the extracted VC redistributable files should look like this:
The installation process popup looks like this:
If WAMP still does not work, you might try installing the Microsoft Visual C++ Redistributable for Visual Studio 2012 Update 4.
3. Resolving Port Conflicts and WAMP Server Errors
Common issues include port conflicts, where the Apache web server can’t start because another program (like Skype) uses the same port. Additionally, problems with the MySQL service not starting can occur due to improper configuration or permissions.
A missing or incorrect “php.ini” file can also cause installation errors. To troubleshoot, ensure that the required ports (usually 80 and 443) are free, check the service status of your MySQL databases, and verify that your PHP configuration is correctly set up.
Port conflicts and WAMP server failures are common challenges that developers face. For example, disabling Internet Information Services (IIS) can resolve port problems because it may use the default Apache port that WAMP requires.
Port conflicts with programs such as Local by Flywheel can be avoided by ensuring that WAMP and the conflicting utility do not attempt to use the same HTTP port, frequently resulting in a 404 error.
In some circumstances, changing the default MySQL port from 3306 to another number in WAMP setups will help to avoid port conflicts and allow WAMP services to start properly.
Additional Steps to Make the Most of WAMP
1. Optimize Your Local WordPress Experience
Once you install WordPress locally, you may wonder, “What’s next?” However, the trip does not finish with the installation.
Let’s look at how you can improve your local WordPress experience. Installing WordPress as a local host boosts local site performance and creates a secure environment for testing themes and plugins.
For instance, you could:
- Enable mod_rewrite in WAMP to create clean, user-friendly URLs, commonly known as ‘beautiful permalinks’.
- Optimize photos prior to uploading to WordPress.
- Using a caching plugin can significantly boost website load speeds.
- To keep your site running quickly and securely, update WordPress, themes, and plugins on a daily basis.
- Finally, the Wampserver Configuration Report tool helps discover and resolve issues with services that aren’t working properly.
2. Enable Apache Modules for Advanced Features
Enabling Apache web server modules, notably mod_rewrite, can provide additional functionality to your local WordPress site. Mod_rewrite is required to generate ‘pretty permalinks’, such as ‘https://localhost/website/blog-post’ rather than ‘https://localhost/website/?p=132’.
To enable the mod_rewrite module in Apache:
Click the WampServer icon in the taskbar, then Apache modules, and choose the rewrite_module checkbox from the list.
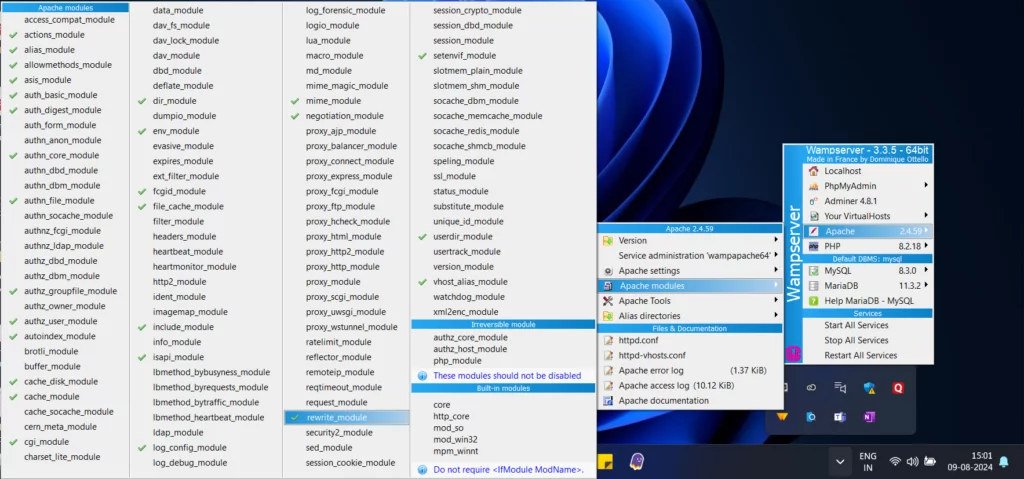
With mod_rewrite enabled, you can access advanced functionality on your local WordPress site.
End of Guide: Installing WordPress on WAMP Simplified
Creating a local WordPress site with WAMP is worthwhile for any developer. It provides a secure, cost-effective, efficient platform for testing and creating WordPress sites. But the journey does not stop with installation; it continues with regular updates, optimization, and constant learning.
Like WAMP, which is best for helping you set up a local testing environment for your website, Nestify is a good option for web hosting with unbeatable up-time, security, and speed. Check out the plans and pricing here.
Common FAQS on How to Install WordPress on WAMP Server
Can I install WordPress files with WAMP on a Mac or Linux system?
WAMP is specifically designed for Windows. However, if you’re using a Mac, you can opt for MAMP (Mac, Apache, MySQL, PHP), LAMP (Linux, Apache, MySQL, PHP), or XAMPP for similar functionalities tailored to those operating systems.
What are the system requirements to run WordPress with WAMP in 2024?
To smoothly run WordPress with WAMP on your local server in 2024, your system should check off the following requirements: Windows OS (WAMP is primarily for Windows), sufficient RAM (at least 2GB recommended), adequate disk space, and a compatible web browser (e.g., Chrome, Firefox).
Is it necessary to have prior coding knowledge to install WordPress using WAMP?
No, you don’t need extensive coding knowledge. The installation process involves downloading and installing WAMP, setting up a MySQL database, and running the WordPress installer—all of which are guided and relatively straightforward.
How do I deal with port conflicts and WAMP server errors?
You can disable conflicting services and modify the default port settings to fix port conflicts and WAMP server issues.
Can I use the locally installed WordPress with WAMP to create a live website?
Yes, you can develop and customize your website locally using WAMP and WordPress files. Once you’re satisfied with your site’s design and functionality, you can migrate it to a live server. Several plugins and methods are available to assist in this process, allowing for a smooth transition from local to live hosting.
How do I tweak PHP settings to maximize WAMP performance?
To increase WAMP performance, ensure that local PHP configuration settings match the live server environment and that your WAMP server’s PHP version is synchronized with the live server. Also, consider increasing the ‘realpath_cache_size‘ to increase performance.
