
Are you struggling with slow loading times and poor video quality on your WordPress website? One of the most effective ways to improve your site’s performance and user experience is by compressing your videos. In this blog, we will guide you through the process of compressing a video specifically for WordPress, ensuring high-quality playback while keeping file sizes to a minimum.
Video compression plays a vital role in optimizing the performance of your WordPress website. In this section, we will delve into the concept of video compression and why it is crucial for your online presence.
What is Video Compression?

Video compression is the method of reducing the file size of a video while maintaining an acceptable level of quality. It involves encoding the video data in a more efficient process, resulting in a smaller file size. By compressing videos, you can significantly reduce the amount of bandwidth required for streaming, making it easier to upload, download, and play videos on various devices and platforms.
The Importance of Video Compression
- Improved Loading Times: Large video files can slow down your website’s loading speed, leading to a poor user experience. Compressing videos reduces their file size, allowing them to load faster and ensuring that visitors can access your content quickly.
- Bandwidth Optimization: Compressed videos consume less bandwidth during playback, which is especially important for users with limited internet connections or mobile data plans. Optimizing bandwidth usage ensures smooth playback and minimizes buffering issues.
- Enhanced User Experience: Visitors to your website expect fast-loading videos with high-quality playback. By compressing videos, you can provide a seamless viewing experience that keeps users engaged and encourages them to stay on your site longer.
- Device Compatibility: Different devices and browsers have varying capabilities and support for video formats. Compressing videos ensures compatibility across a wide range of devices, ensuring your content can be enjoyed by users regardless of their chosen platform.
- Storage Optimization: Large video files can quickly consume your server’s storage space. Compressing videos allows you to store more content without compromising on quality, maximizing your available storage resources.
- Search Engine Optimization (SEO): Video content has become increasingly important for SEO as search engines prioritize websites that provide rich media experiences. Compressed videos that load quickly contribute to a positive user experience, which can result in improved search engine rankings.
Understanding the importance of video compression is crucial for optimizing your WordPress website’s performance. By reducing file sizes, you can improve loading times, enhance user experience, optimize bandwidth usage, ensure device compatibility, optimize storage, and boost your website’s SEO. In the next section, we will explore the necessary steps to prepare your video for compression.
Preparing Your Video for Compression

Before you can compress your video for WordPress, it’s essential to properly prepare it. This section will guide you through the necessary steps to ensure your video is ready for compression.
Choosing the Right Video Format
The first step in preparing your video is selecting the appropriate video format. Different video formats have varying levels of compression efficiency and compatibility with different devices and browsers. Here are some popular video formats to consider:
- MP4 (H.264): MP4 is the most widely supported video format and offers excellent compression while maintaining high video quality. It is compatible with almost all devices and browsers.
- WebM: WebM is an open-source video format designed for web use. It provides good compression and is supported by major web browsers like Chrome and Firefox.
- Ogg: Ogg is another open-source video format that offers decent compression. It is supported by some web browsers, but its compatibility may be limited compared to MP4 and WebM.
Consider the target audience and devices that are likely to access your website when choosing the video format. Aim for a balance between compression efficiency and compatibility.
Editing Your Video to the Desired Length
Another way to prepare your video for compression is by editing it to the desired length. Removing unnecessary footage or trimming the video can significantly reduce its file size while maintaining the essential content. Here are some tips for video editing:
- Identify the Key Content: Determine the most crucial parts of the video that need to be retained. Trim out any unnecessary or repetitive sections to reduce the overall length.
- Use Video Editing Software: Utilize video editing software such as Adobe Premiere Pro, Canva, Final Cut Pro, or iMovie to edit your video. These tools provide features for trimming, cutting, and enhancing your video.
- Consider Transitions and Effects: If you plan to add transitions, effects, or overlays, make sure they are used sparingly. These elements can increase the file size, so use them judiciously.
- Export at Optimal Settings: When exporting your edited video, choose the appropriate settings for file format, resolution, and bitrate. Opt for a balance between file size and video quality.
By choosing the right video format and editing your video to the expected length, you can significantly optimize its file size before compression. In the next section, we will explore the various options for compressing your video using different software tools.
How to Compress Your Video for WordPress
Now that you have prepared your video, it’s time to compress it specifically for WordPress. In this section, we will guide you through the process of compressing your video, ensuring that you maintain high quality while reducing file size for optimal WordPress performance.

Choosing the Right Video Compression Software
To compress your video effectively, you need to choose the right video compression software. There are several options available, both free and paid, with varying features and compression algorithms. Here are some popular video compression software tools to consider:
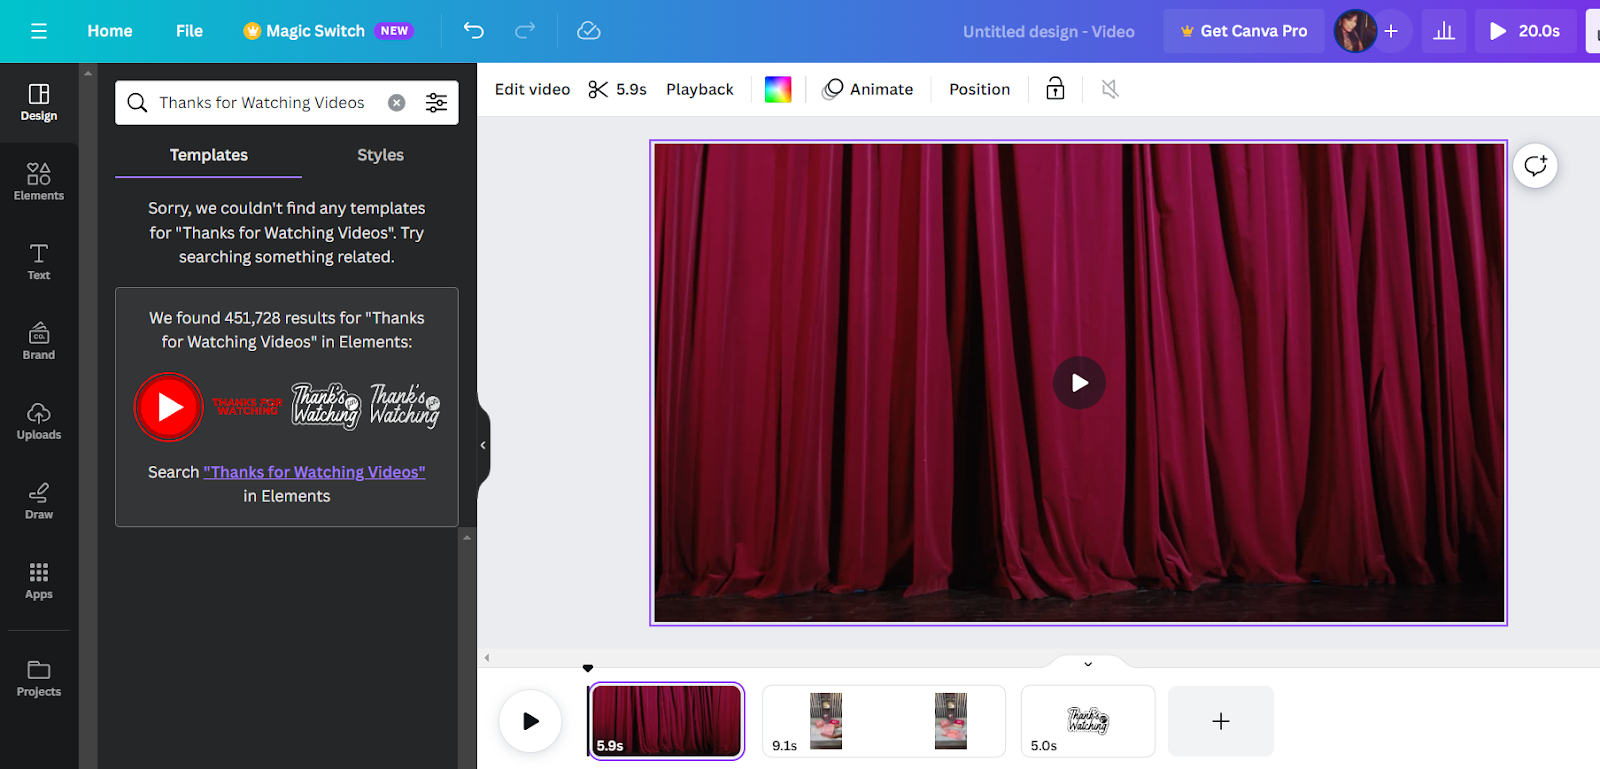
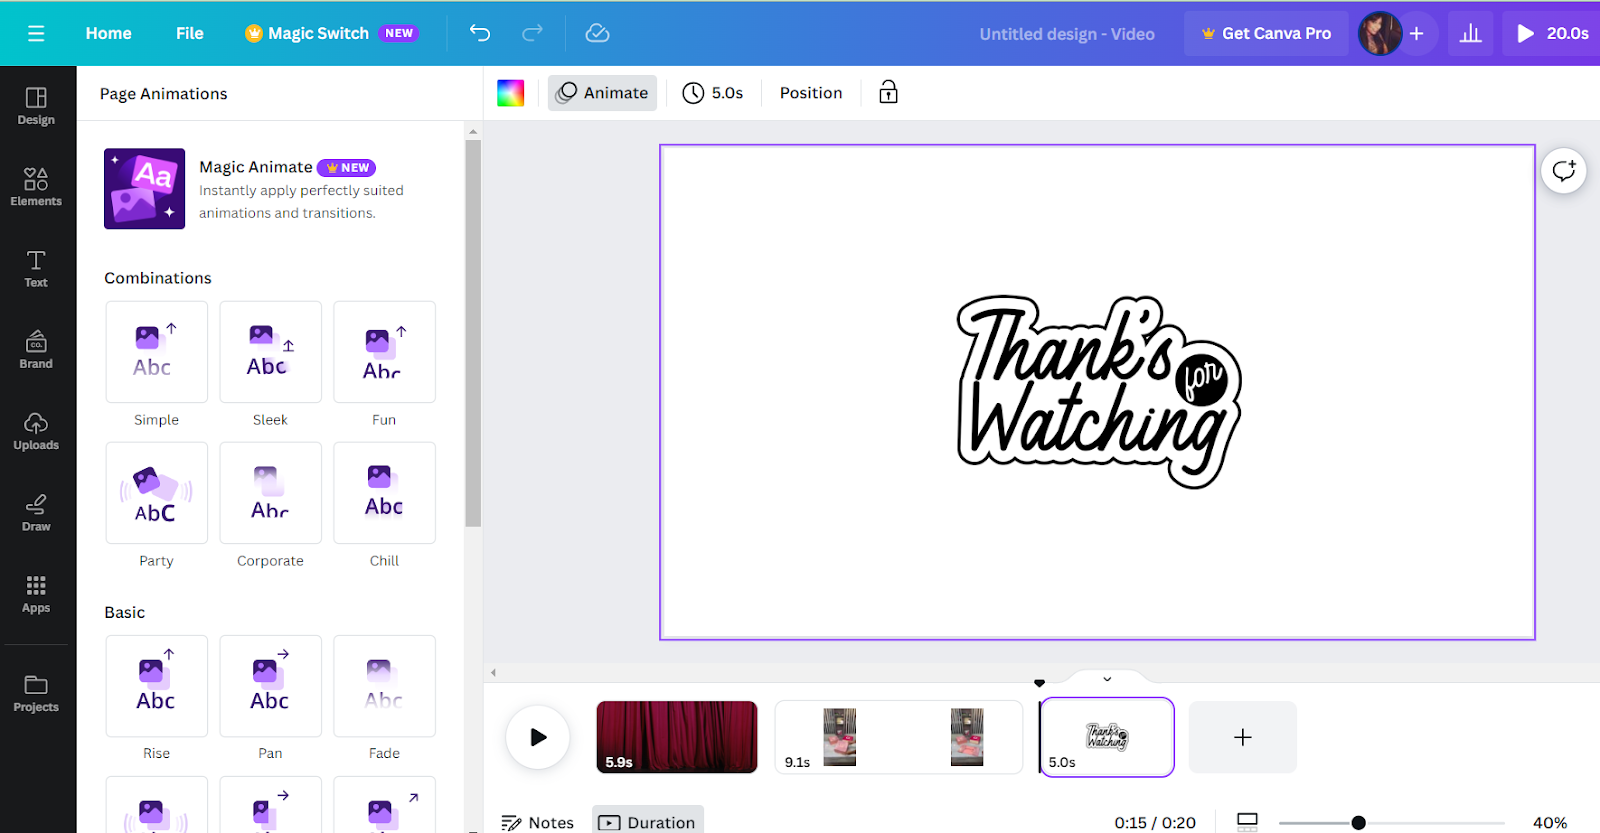
- Canva: Canva’s video editing tools empower you to transform your ideas into captivating visual stories with ease and creativity. From seamless transitions to dynamic animations, Canva’s intuitive video editing features offer a user-friendly platform for anyone to produce professional-quality videos effortlessly.
- Handbrake: Handbrake is a software that is free and open-source video compression software that supports various input and output formats. It provides a friendly interface and allows you to adjust compression settings such as bitrate, resolution, and codec.
- Adobe Media Encoder: If you have access to Adobe Creative Cloud, Adobe Media Encoder is a powerful tool for compressing videos. It provides extensive customization options and presets for different devices and platforms.
- FFmpeg: FFmpeg is a command-line tool that supports video compression and conversion. It presents advanced features and is suitable for users comfortable with the command line interface.
- Online Compression Tools: There are also online tools available that allow you to compress videos without installing any software. Some popular options include Clideo, Online UniConverter, and YouCompress.
Consider your specific needs, budget, and level of technical expertise when choosing the right video compression software for your WordPress site.
Steps to Compress Your Video
Once you have selected the video compression software, follow these steps to compress your video for WordPress:
- Import Your Video: Open the chosen software and import your video file. Most software tools allow you to drag and drop the file or browse your computer to locate it.

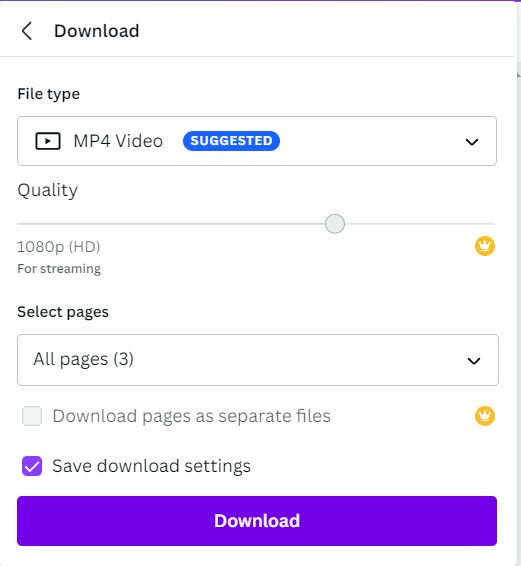
- Select Compression Settings: Adjust the compression settings according to your requirements. This may include selecting the output format and adjusting the bitrate, resolution, and codec settings. For compression success, you need to strike a balance between file size and video quality.
- Preview and Test: Some software tools provide a preview feature that allows you to visualize the compressed video before saving it. Take advantage of this to ensure the quality meets your expectations. Additionally, test the compressed video on different devices and platforms to ensure compatibility.
- Save the Compressed Video: Once you are satisfied with the compression settings and preview, save the compressed video to your desired location. It is recommended to create a new folder for compressed videos to keep them organized.
Quality Control After Compression
After compressing your video, it’s essential to perform quality control checks to ensure the video meets your expectations. Here are a few things to consider:
- Video Quality Assessment: Play the compressed video on different devices and screen sizes to verify that the quality is satisfactory. Look for any noticeable artifacts or loss of detail.
- Audio Quality Check: Pay attention to the audio quality as well. Make sure the audio remains clear and synchronized with the video after compression.
- File Size Analysis: Compare the file size of the compressed video with the original file. Ensure that the reduction in file size meets your requirements without compromising the video’s overall quality.
By following these steps and conducting quality control checks, you can effectively compress your video for WordPress while maintaining the desired level of quality. In the next section, we will explore how to upload the compressed video to your WordPress site and troubleshoot any common upload errors.
Uploading the Compressed Video to WordPress
Once you have successfully compressed your video, the next step is to upload it to your WordPress website. In this section, we will guide you through the process of uploading the compressed video, ensuring that it is seamlessly integrated into your WordPress site.
How to Upload Video to WordPress
To upload your compressed video to WordPress, follow these steps:
- Logging in: Enter your WordPress credentials to access the admin area of your website.
- Adding Media Library: From the WordPress dashboard, locate and click on “Media” in the left-hand menu. This will take you to the Media Library, where all your media files are stored.
- Clicking on “Add New”: In the Media Library, click on the “Add New” button. This will open the media uploader.

- Selecting Your Compressed Video: Click on the “Select Files” button to browse your computer and locate the compressed video file. Moreover, you can drag and drop the file directly into the media uploader.
- Waiting for the Upload to Complete: Once you have selected the video file, WordPress will begin uploading it to the Media Library. The upload time of the video will depend on the size of your video file and also on your internet connection speed.
- Adding Relevant Information: While the video is uploading, you can add relevant information such as the video title, description, captions, and tags. This information will help with organization and searchability within your WordPress site.
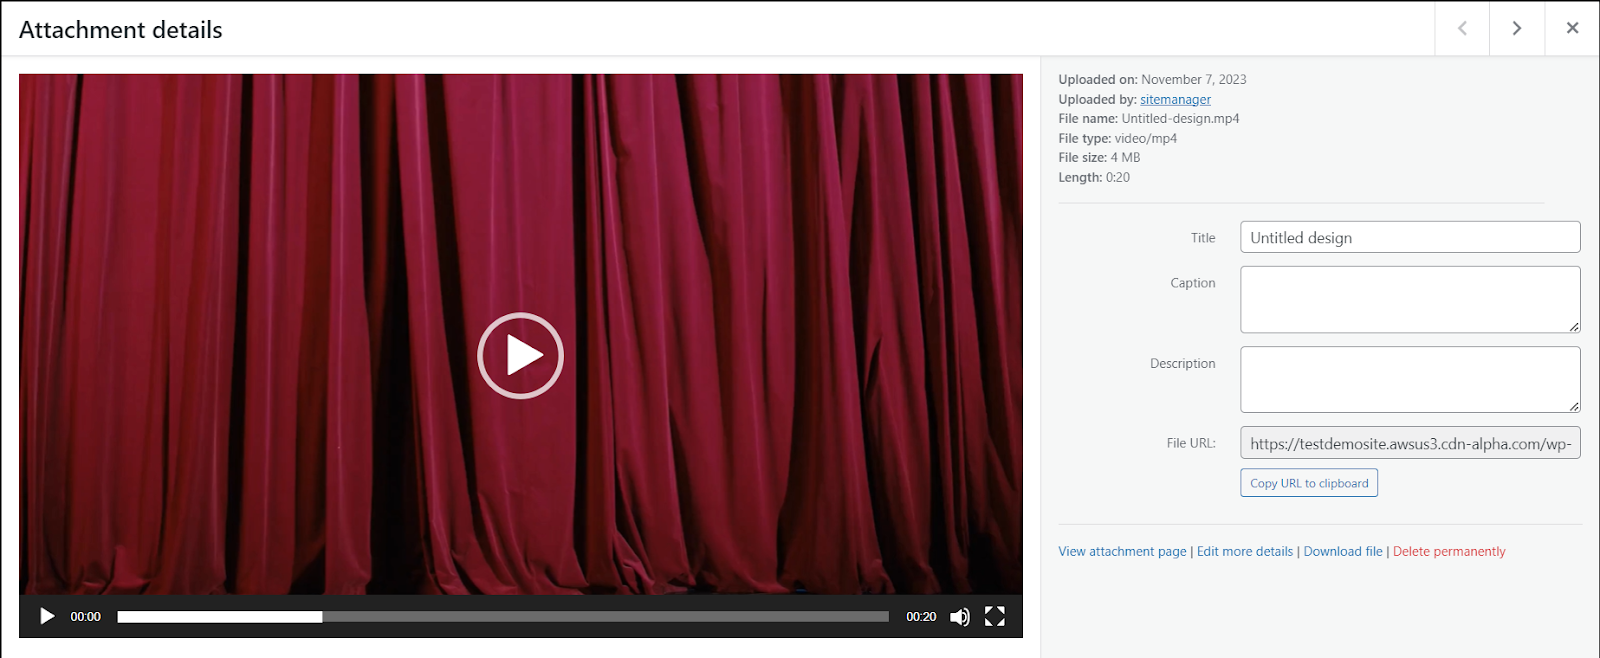
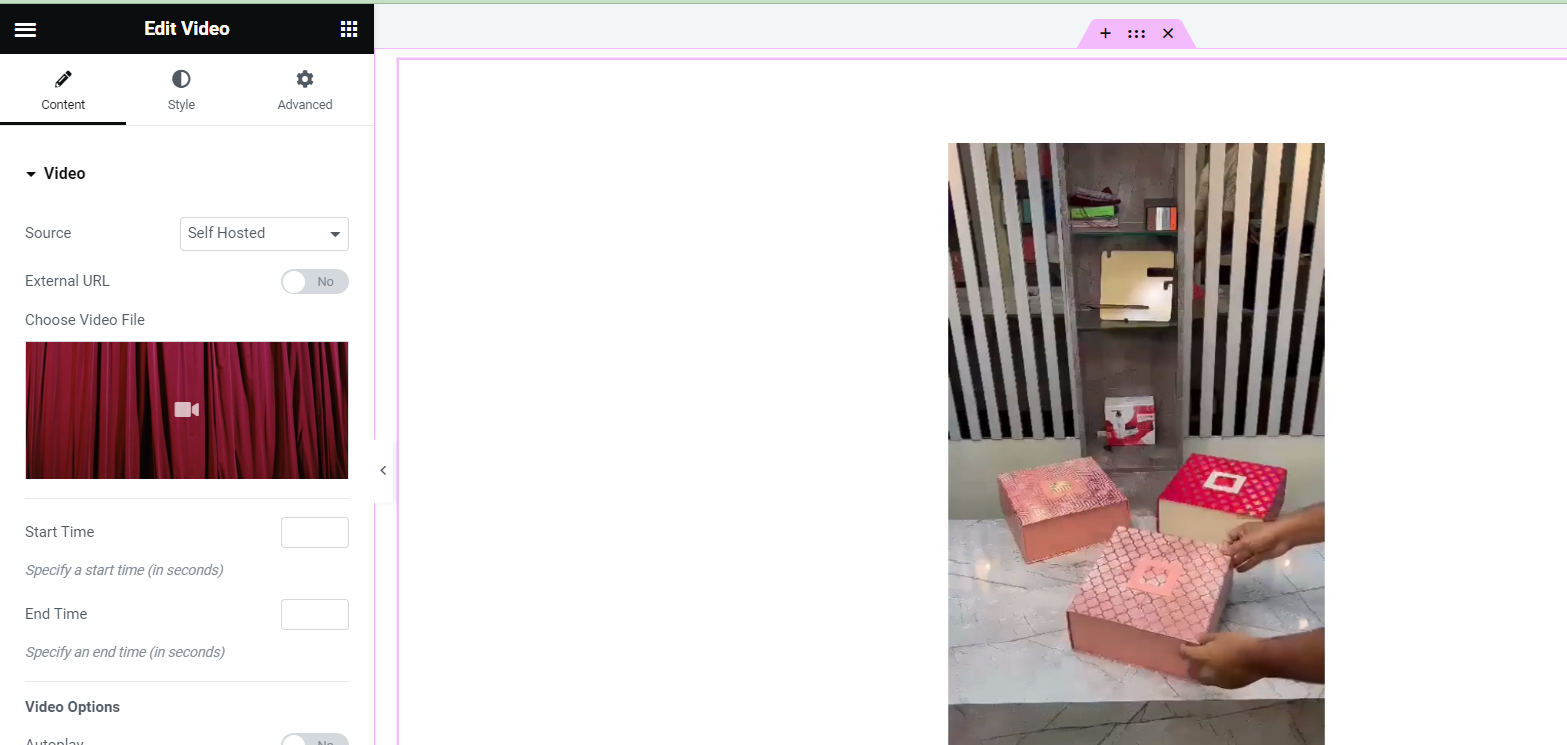
- Inserting the Video: After the upload is complete, you have the option to insert the video into a post or page on your website. To do this, navigate to the post or page editor, place your cursor where you want the video to appear, and click on the “Add Media” button. From there, you can select the uploaded video and customize its display settings.
- Publishing or Updating the Post/Page: Once you have inserted the video into your desired location, you can publish the post or update the page to make the video visible on your WordPress site.
Troubleshooting Common Upload Errors
Sometimes, you may encounter errors or issues while uploading videos to WordPress. Here are some common problems and their potential solutions:
- Maximum Upload Size Exceeded: If your video file exceeds the maximum upload size limit set by your WordPress installation, you may need to increase the limit. This can be done by modifying certain settings in your WordPress configuration or contacting your hosting provider for assistance.
- Unsupported File Format: Ensure that your compressed video is in a compatible file format supported by WordPress, such as MP4, WebM, or Ogg. If your video is in an unsupported format, you can either convert it to a compatible format using video conversion software or use a plugin that enables support for additional formats.
- Server Timeouts: If you encounter server timeouts during the upload process, it may be due to limitations set by your hosting provider. Contact your hosting support team to address this issue and potentially increase the server timeout limit.
By following these steps and troubleshooting common upload errors, you can successfully upload your compressed video to WordPress. In the next section, we will discuss best practices for video compression, specifically for WordPress, ensuring optimal video quality and user experience.
Best Practices for Video Compression for WordPress
To ensure optimal video quality and user experience, it’s important to follow best practices for video compression, specifically for WordPress. In this final section, we will discuss some key considerations and recommendations to help you achieve the best results when compressing videos for your WordPress website.
Maintaining Video Quality While Compressing
While the primary goal of video compression is to reduce file size, it’s crucial to maintain a satisfactory level of video quality. Here are some tips to help you achieve this balance:
- Experiment with Compression Settings: Different videos may require different compression settings to achieve the desired file size and quality. Experiment with various bitrate, resolution, and codec settings to find the optimal balance for your specific videos.
- Avoid Excessive Compression: Be cautious not to excessively compress your videos, as it can result in noticeable artifacts, blurriness, or loss of detail. Find the sweet spot where you achieve a significant reduction in file size without compromising the overall video quality.
- Consider Variable Bitrate Encoding: Variable Bitrate (VBR) encoding allows for more flexibility in allocating bitrate during compression. It allocates a higher bitrate to complex scenes, preserving quality while reducing the bitrate during less demanding scenes. This can help maintain a higher overall video quality.
Optimal Video Lengths for WordPress
When it comes to video length, it’s important to consider both user engagement and page loading times. Here are some guidelines for optimal video lengths on WordPress:
- Shorter Videos for Web Pages: For web pages, it’s generally recommended to keep videos relatively short, ideally under two minutes. Shorter videos have higher engagement rates, as visitors are more likely to watch them in their entirety.
- Longer Videos for Blog Posts: When embedding videos in blog posts, you can consider longer video lengths, especially for tutorial or educational content. However, be mindful of page loading times and ensure that the video’s length aligns with the topic and user behavior.
Considerations for Mobile Users
Since users accessing websites through mobile devices is increasing at an alarming rate, it’s essential to optimize video compression for mobile viewing. Here are some considerations:
- Responsive Video Players: Implement responsive video players that seamlessly adapt to the screen size of the user’s device. This ensures that the video is displayed properly on mobile devices without affecting its quality.
- Mobile-Friendly Formats: Optimize your video compression for mobile devices by choosing formats that are widely supported on mobile platforms, such as MP4. This ensures compatibility and smooth playback across various mobile devices and operating systems.
- Bandwidth Optimization: Compress videos with mobile users in mind, as they may have limited data plans or slower internet connections. With this kind of optimization, you can aim for a balance between file size and video quality to minimize buffering issues and provide a smooth viewing experience.
By following these best practices, you can optimize your video compression for WordPress, ensuring high-quality videos that load quickly and provide an incredible user experience across devices and platforms.
Conclusion
Compressing videos for WordPress is a crucial step in optimizing your website’s performance and providing an enjoyable user experience. By understanding video compression, preparing your videos, choosing the right compression software, uploading videos to WordPress, and following best practices, you can effectively compress videos while maintaining high quality. Implement these techniques, and your WordPress site will deliver fast-loading, high-quality videos that engage and delight your audience.
