
If you find yourself needing to be more well-versed in blogging or navigating WordPress, one unmistakable observation is the continuous integration of new features by webmasters.
They consistently experiment with fresh design elements for their websites, aiming to set themselves apart from others.
In software development, an Integrated Development Environment (IDE) CodeLobster is a comprehensive tool typically comprising an editor, a debugger, and a dedicated preview window for assessing on-screen results. Consequently, developers often find themselves toggling between the editor, browser, and debugger.
Moreover, several IDEs go beyond the basics, providing programmers with sophisticated development tools that demand additional knowledge and experience.
What is CodeLobster?
Codelobster stands out as a portable Integrated Development Environment (IDE) primarily designed for PHP, with additional support for HTML, CSS, and JavaScript development. It offers convenient plugins catering to various platforms such as Drupal, WordPress, Smarty, Joomla, JQuery, Facebook, Codeigniter, Yii, and CakePHP.
After utilizing the program for 30 days, users are required to undergo free registration via email. Additionally, Codelobster provides paid versions (“Lite” and “Professional”) that unlock extra features. It’s worth noting that the latest version currently lacks a comprehensive help system.
Furthermore, a specialized “PHP edition” distribution exclusively tailored for Windows exists, although it hasn’t received updates since 2019.
Install CodeLobster
To install WordPress in Codelobster, go ahead and download CodeLobster from the official site. An installation exe file for Windows will be sent to you.
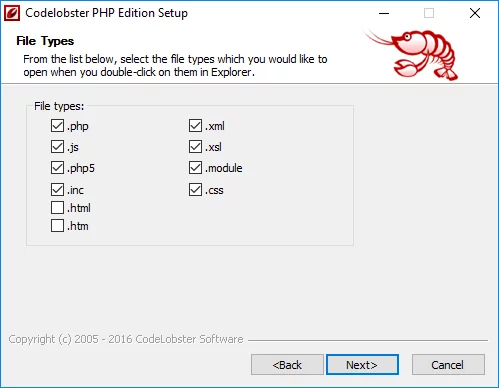
Just install it and select all the ‘File type’ while installing.
Additionally, CodeLobster installs all frameworks by default and supports a wide variety of CMS (WordPress, Joomla, Drupal). It is not necessary to install any of these components if you, as the user, intend to work just with WordPress.
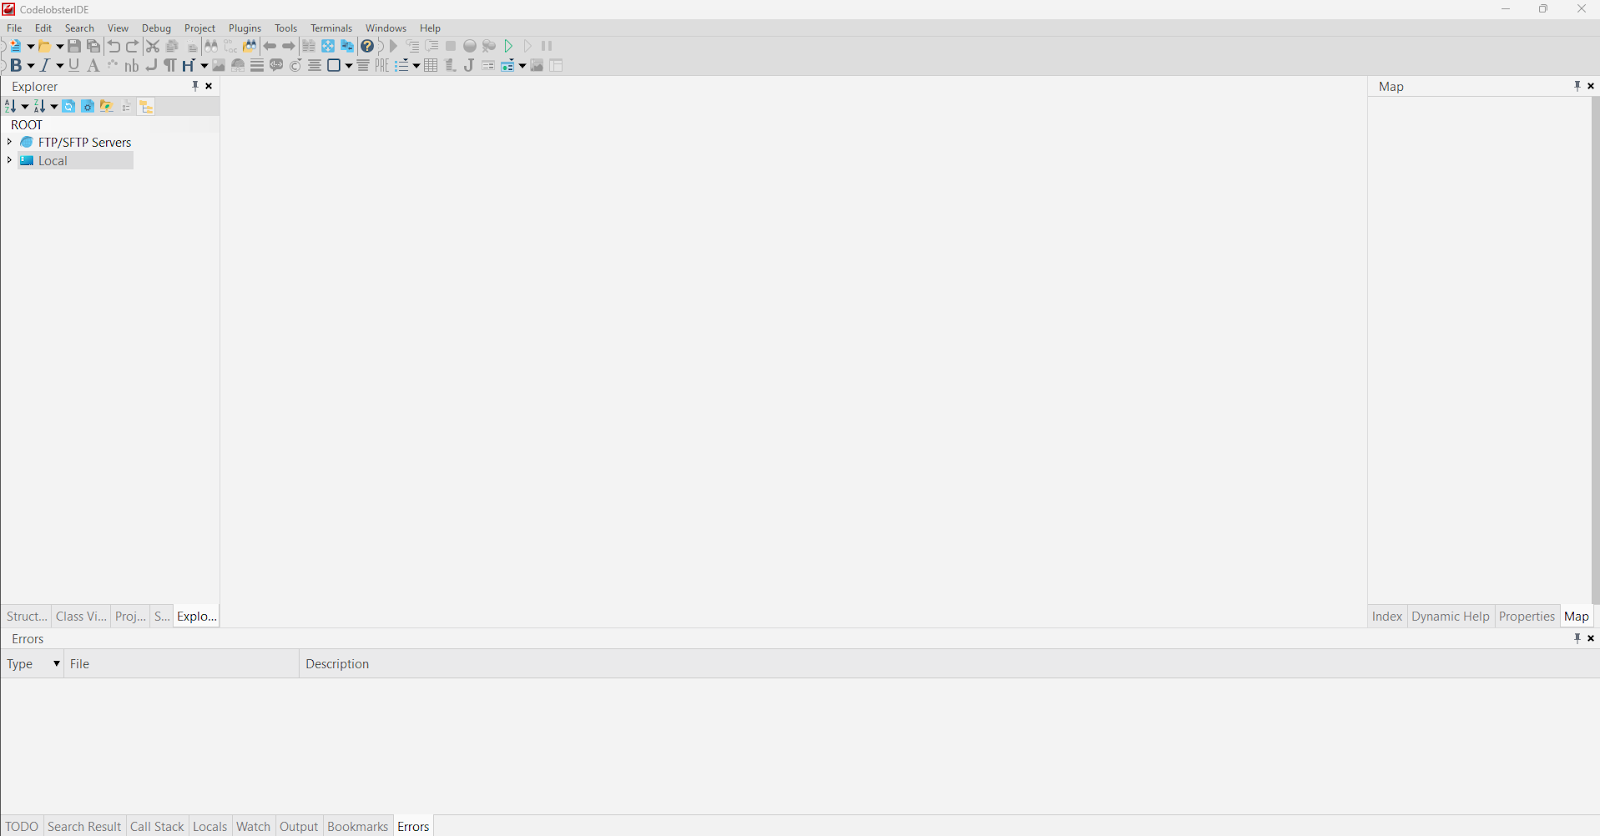
Now that it’s done, you’ll see an interface like this when installed.
Install WordPress in CodeLobster
To install WordPress in Codelobster, Navigate to File → New → Project.

Then Select “Create Empty WordPress Site.”
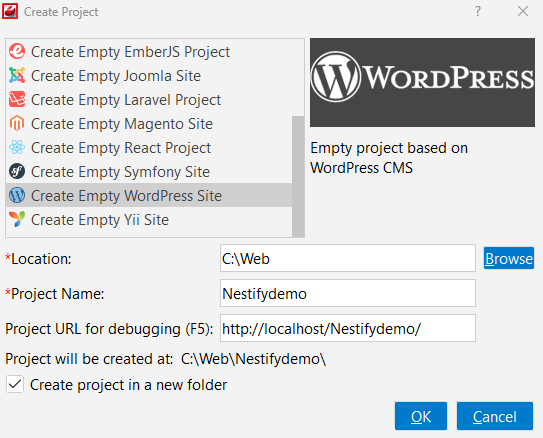
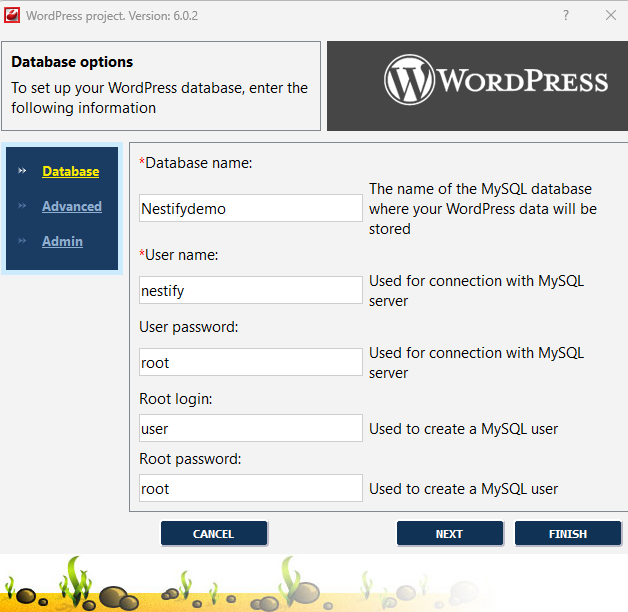
Give the project User name, password, login, and root password, then hit next.
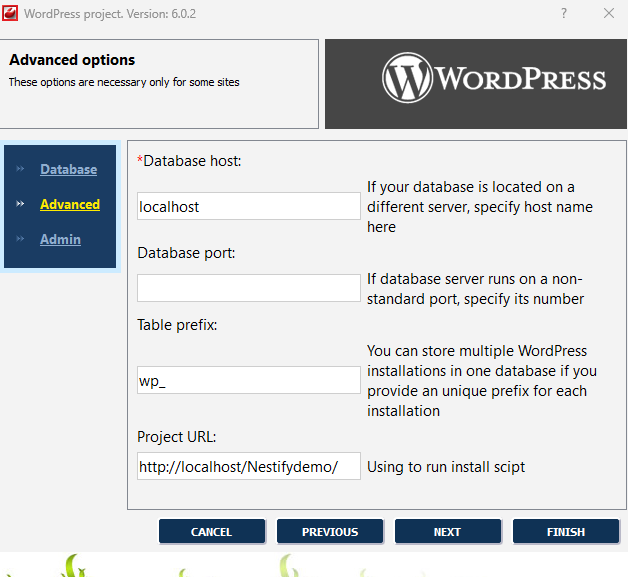
In the Advanced section, add a port if your server runs on a non-standard port, and add a number in the table prefix if you wish to store multiple WordPress in one database. Otherwise, hit next.
Next, in Admin, enter an admin password, and email is optional; if everything is entered, then click on finish.

If you’ve previously installed WordPress on a local server, you’ll find that the process is almost identical, requiring minimal effort, much to our pleasant surprise. This plugin streamlines the procedure by automatically fetching the latest WordPress version and configuring the designated location.
The newly created project encompasses all the elements of a typical empty WordPress site, complete with the default 2023 design theme.
CodeLobster Features
CodeLobster comes equipped with several noteworthy features when utilized as a WordPress plugin:
- Automatic WordPress Installation: Streamlining the WordPress installation process, CodeLobster enables automatic setup, saving time and effort for users.
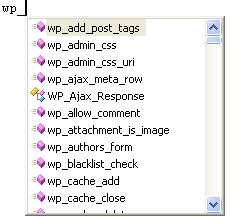
- Autocomplete Functions: Enhancing efficiency, Code-Lobster offers autocomplete functionality for WordPress functions, reducing the chances of errors and speeding up the development workflow.
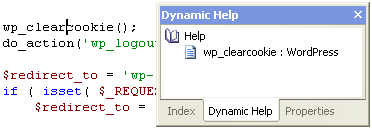
- Context and Dynamic Help: Users benefit from contextual and dynamic help features, providing detailed assistance. Additionally, users can access support from online resources for added guidance.
- Automatic Installation for Various CMS and Frameworks: CodeLobster goes beyond WordPress, offering automatic installation support for various Content Management Systems (CMS) and frameworks. This versatility makes it an ideal choice for developers working with different tools.
- Auto-on Features: The inclusion of auto-ons features enhances the overall user experience, simplifying tasks and contributing to a smoother development process.
- Fast Loading: CodeLobster boasts swift loading times, ensuring a responsive and efficient coding environment.
- Resource Efficiency: Unlike comparable applications such as Adobe DreamWeaver, Code-Lobster is designed to be resource-efficient, providing a robust development environment without excessive resource demands.
- Compatibility with Multiple IE Versions: CodeLobster supports a wide range of Internet Explorer versions, from Windows XP to Windows 10, ensuring compatibility across various Windows operating systems.
Conclusion
CodeLobster, installing WordPress has become more user-friendly, providing an efficient environment for both beginners and experienced users. The streamlined process ensures a smooth setup, allowing users to focus more on content creation and customization rather than dealing with complex installation procedures. By keeping up with the latest advancements, Code-Lobster continues to be a reliable choice for those looking to set up and manage their WordPress websites with ease.
FAQs on Install WordPress in CodeLobster
What makes CodeLobster a suitable choice for installing WordPress?
Code-Lobster offers an intuitive and user-friendly interface, making the installation of WordPress straightforward. It provides a hassle-free experience for users, whether they are beginners or experienced developers, ensuring a smooth setup process.
Are there specific features in the updated CodeLobster that enhance the
WordPress installation experience?
Yes, the update of Code-Lobster introduces features that streamline the WordPress installation process. Users can expect improved efficiency, a more organized workflow, and additional tools that contribute to a smoother installation and setup of their WordPress websites.
