
Uploading media files to servers is among the most commanding tasks performed by developers, and File Upload in PHP with jQuery AJAX is one of those ways. Furthermore, validations are necessary for the upload function to retain and sanitise user data. A file upload input’s improper execution raises security vulnerabilities. To lessen the vulnerability, we must authorise submitted files before storing them on the system.
The move_uploaded_file() function in PHP makes it simple to upload any sort of file to the server. But in order to upload the chosen file, a form must be filled out.
With jQuery AJAX, you can speed up this process while simultaneously enhancing user experience. Without having to reload the page, you may immediately show the picture or file preview after uploading it or notify you of an error if the file has not been verified.
In this case, the FormData object is used to send the selected file through AJAX to the server.
You’ll discover in this article how to upload files with validation and show a preview using PHP, jQuery, and AJAX.
Requirement to File Upload in PHP with jQuery AJAX
To upload file in PHP application on your web servers, you need to have the following things:
- A web server with PHP installed with the 7.1 version.
- A basic understanding of HTML/CSS and JavaScript
- JQuery/Ajax file
HTML form to upload file
To enable file uploading, ensure that the <form> element’s method attribute is set to POST. This is necessary because file transmission cannot be done using the GET method. Another important attribute to include is enctype, which should be set to multipart/form-data. Additionally, set the <input> type attribute to “file” for the file upload field.
Now that you understand the requirements and basic HTML form, then let’s get right into the file upload in PHP with jQuery AJAX.
What is File Upload in PHP with jQuery AJAX?
The process of implementing file upload in PHP with jQuery AJAX involves a technique that enables the uploading of files to a server through the combined usage of PHP and jQuery AJAX. This approach is frequently employed to develop file upload forms that offer improved user-friendliness and responsiveness compared to conventional file upload forms.
Outlined below are the steps entailed in achieving file upload in PHP with jQuery AJAX:
- Develop an HTML form incorporating a file input field.
- Attach a jQuery event listener to the file input field.
- Utilize the jQuery AJAX ajax() method to transmit the file to the server.
- Handle the server’s response appropriately.
Simply following these steps, you can establish an efficient and seamless File Upload in PHP with jQuery AJAX.
Create a file named index.php in your PHP project and use the following code:
<!DOCTYPE html>
<html>
<head>
<meta charset="utf-8">
<title>Ajax File Upload with jQuery and PHP - Nestify</title>
<link rel="stylesheet" href="style.css" type="text/css" />
<script src="https://ajax.googleapis.com/ajax/libs/jquery/3.2.1/jquery.min.js"></script>
<script src="js/script.js"></script>
<link rel="stylesheet" href="https://maxcdn.bootstrapcdn.com/bootstrap/3.3.7/css/bootstrap.min.css" integrity="sha384-BVYiiSIFeK1dGmJRAkycuHAHRg32OmUcww7on3RYdg4Va+PmSTsz/K68vbdEjh4u" crossorigin="anonymous">
</head>
<body>
<div class="container">
<div class="row">
<div class="col-md-8">
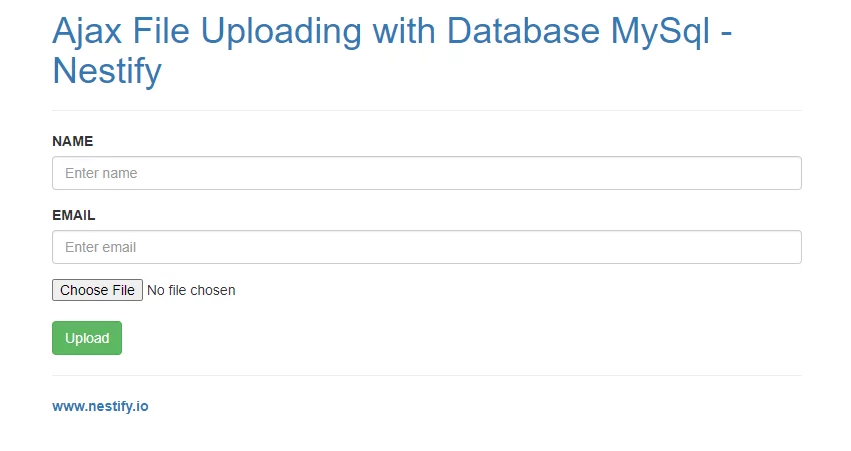
<h1><a href="#" target="_blank"><img src="logo.png" width="80px"/>Ajax File Uploading with Database MySql</a></h1>
<hr>
<form id="form" action="ajaxupload.php" method="post" enctype="multipart/form-data">
<div class="form-group">
<label for="name">NAME</label>
<input type="text" class="form-control" id="name" name="name" placeholder="Enter name" required>
</div>
<div class="form-group">
<label for="email">EMAIL</label>
<input type="email" class="form-control" id="email" name="email" placeholder="Enter email" required>
</div>
<input id="uploadImage" type="file" accept="image/*" name="image">
<div id="preview"><img src="filed.png"></div><br>
<input class="btn btn-success" type="submit" value="Upload">
</form>
<div id="err"></div>
<hr>
<p><a href="https://www.nestify.io" target="_blank"><b>www.nestify.io</b></a></p>
</div>
</div>
</div>
</body>
</html>
File Upload Form using jQuery and AJAX
The jQuery library must be included in order to submit data and upload files using jQuery & AJAX. Put the following code in your HTML file’s head> section:
// Include the jQuery library
<script src="https://ajax.googleapis.com/ajax/libs/jquery/3.2.1/jquery.min.js"></script>

// Create a jQuery event listener for the submit event of the form
$("#form").on('submit', function(e) {
  e.preventDefault();

  // Submit the form data to the server using jQuery AJAX
  $.ajax({
    url: "ajaxupload.php",
    type: "POST",
    data:  new FormData(this),
    contentType: false,
    cache: false,
    processData: false,
    beforeSend: function() {
      $("#err").fadeOut();
    },
    success: function(data) {
      if (data == 'invalid') {
        $("#err").html("Invalid File!").fadeIn();
      } else {
        $("#preview").html(data).fadeIn();
        $("#form")[0].reset();
      }
    },
    error: function(e) {
      $("#err").html(e).fadeIn();
    }
  });
});
With this code, you can effortlessly transmit form data to the server using jQuery AJAX. The efficient ajax() method takes charge of seamlessly uploading the file to the server. When a valid file is selected, its preview will elegantly appear within the designated preview element. Conversely, if an invalid file is chosen, an error message will gracefully emerge to guide the user.
Creating a PHP Script for File Uploading
In order to handle file uploading functionality, create a file named ajaxupload.php and use the following code:
$validExtensions = array('jpeg', 'jpg', 'png', 'gif', 'bmp', 'pdf', 'doc', 'ppt'); // valid extensions

$path = 'uploads/'; // upload directory

if (isset($_POST['name']) || isset($_POST['email']) || isset($_POST['image'])) {

  $img = $_POST['image']['name'];

  $tmp = $_FILES['image']['tmp_name'];

  // Get the uploaded file's extension

  $ext = strtolower(pathinfo($img, PATHINFO_EXTENSION));

  // Generate a unique file name using the rand() function

  $final_image = rand(1000, 1000000) . $img;

  // Check if the file format is valid

  if (in_array($ext, $validExtensions)) {

    $path = $path . strtolower($final_image);

    if (move_uploaded_file($tmp, $path)) {

      echo "<img src='$path' />";

      $name = $_POST['name'];

      $email = $_POST['email'];

      // Include the database configuration file

      include_once 'db.php';

      // Insert form data into the database

      $insert = $db->query("INSERT INTO uploading (name, email, file_name) VALUES ('".$name."', '".$email."', '".$path."')");

    }

  } else {

    echo 'invalid';

  }

}

?>
Uploading the File asynchronously with jQuery AJAX
You can utilize jQuery AJAX to upload the file asynchronously without refreshing the entire page to make the file upload procedure more user-friendly and fluid. Here’s an illustration of how you may accomplish this:
$(document).ready(function() {

  $('#uploadForm').submit(function(e) {

    e.preventDefault();

    var formData = new FormData($(this)[0]);

    $.ajax({

      url: 'upload.php',

      type: 'POST',

      data: formData,

      cache: false,

      contentType: false,

      processData: false,

      success: function(response) {

        // Handle the response here

      }

    });

  });

});
Conclusion
Great, now that you have learned the essential steps involved in creating image and File Upload in PHP with jQuery AJAX. By setting up the HTML form, handling file uploads with PHP, and utilizing jQuery AJAX, we achieved a user-friendly and responsive file upload process. This allowed us to validate and move the uploaded file, store relevant information in a MySQL database, and provide a preview to the user. Armed with this knowledge, we now have the ability to enhance our PHP applications by incorporating efficient and interactive file upload features while considering security and scalability.
FAQs on File Upload in PHP with jQuery AJAX
Q1: How can I restrict the file types that can be uploaded?
To restrict file types during uploads, validate the MIME type using $_FILES[‘file’][‘type’] in PHP. Compare it against an approved list of file types to ensure security and prevent issues with malicious uploads. Update the allowed types list as needed and inform users of supported formats for a seamless upload process.
Q2: Is it possible to limit the file size for uploads?
Yes, you can limit the file size for uploads by validating the $_FILES[‘file’][‘size’] property on the server-side. You can compare the file size against a predefined maximum size and reject the upload if it exceeds the limit.
Q3: How can I handle multiple file uploads?
To handle multiple file uploads, you can modify the HTML form to include multiple file input fields. On the server-side, you can process each file individually by iterating over the $_FILES array.
Q4: Can I display a progress bar while uploading the file?
Yes, you can display a progress bar to indicate the upload progress. There are several libraries and plugins available, such as jQuery File Upload, that provide a convenient way to implement progress bar functionality.
Q5: How do I handle errors during the file upload process?
During the file upload process, errors can occur due to various reasons, such as file size exceeded or server limitations. You can handle these errors by checking the $_FILES[‘file’][‘error’] property in the PHP code. Based on the error code, you can provide appropriate error messages to the user.
