
WordPress, being one of the most prominent content management systems globally, owes much of its flexibility to its extensive plugin ecosystem. If you have a specific need or feature you want to add to your WordPress site, creating a custom plugin is the way to go. In this beginner’s guide, we’ll walk through the process of creating a WordPress plugin from the base level.
A Brief Introduction to WordPress Plugin
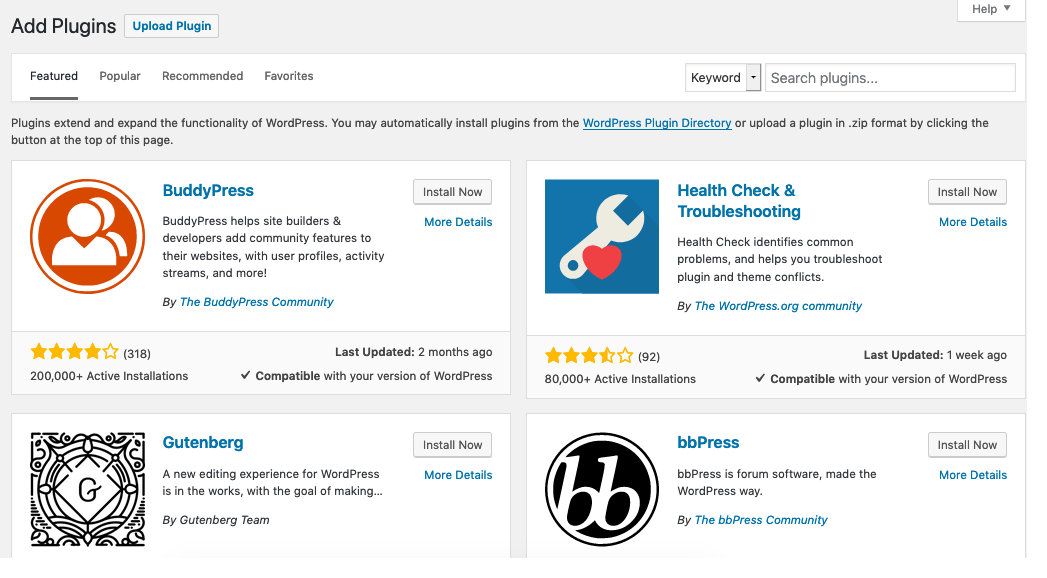
WordPress plugins are packages of code that broaden the functionality of a WordPress site. They allow users to add new features, customize existing functionality, or modify the appearance of their website without altering the core WordPress code. Plugins are essential for adding various functionalities to WordPress sites, catering to diverse needs and requirements.
Here are some key aspects of WordPress plugins:
- Functionality Extension: Plugins provide additional features and functionalities beyond what is offered by the core WordPress software. This can include anything from contact forms, SEO optimization, e-commerce solutions, security enhancements, social media integration, and much more.
- Customization: Plugins enable users to customize their WordPress sites to suit their specific requirements and preferences. Whether it’s tweaking the design, adding custom post types, creating new widgets, or implementing advanced functionality, plugins offer flexibility for customization.
- Ease of Use: Installing and activating a plugin is straightforward, typically requiring just a few clicks within the WordPress admin dashboard. This user-friendly method makes it easy for users of all skill levels to enhance their websites without extensive technical knowledge.
- Community Support: The WordPress plugin ecosystem is vast, with thousands of free and premium plugins available. Users can leverage community support forums, documentation, tutorials, and developer resources to find and implement plugins that meet their needs.
- Security and Updates: While plugins enhance WordPress functionality, they also introduce potential security risks if not properly maintained. It’s crucial to choose reputable plugins from trusted sources, keep them updated to the latest versions, and regularly monitor for security vulnerabilities.
- Custom Development: In addition to using existing plugins, users can also develop custom plugins tailored to their unique requirements. This allows for precise control over functionality and ensures compatibility with specific themes or site configurations.
- Monetization: Plugin developers have the opportunity to monetize their creations by offering premium versions with advanced features, selling licenses, or providing custom development services. The WordPress Plugin Directory and third-party marketplaces serve as platforms for distribution and sales.
- Open Source Community: WordPress plugins are part of the broader open-source WordPress community, where developers collaborate, contribute code, share knowledge, and improve the platform for everyone. This collaborative spirit fosters innovation and continuous improvement within the WordPress ecosystem.
Steps to create a WordPress plugin
Step 1: Define Your Plugin
Before you start coding, it’s essential to clearly define what your plugin will do. Consider its purpose, functionality, and target audience. Having a clear understanding of your plugin’s objectives will guide you through the development process.
Step 2: Set Up Your Development Environment
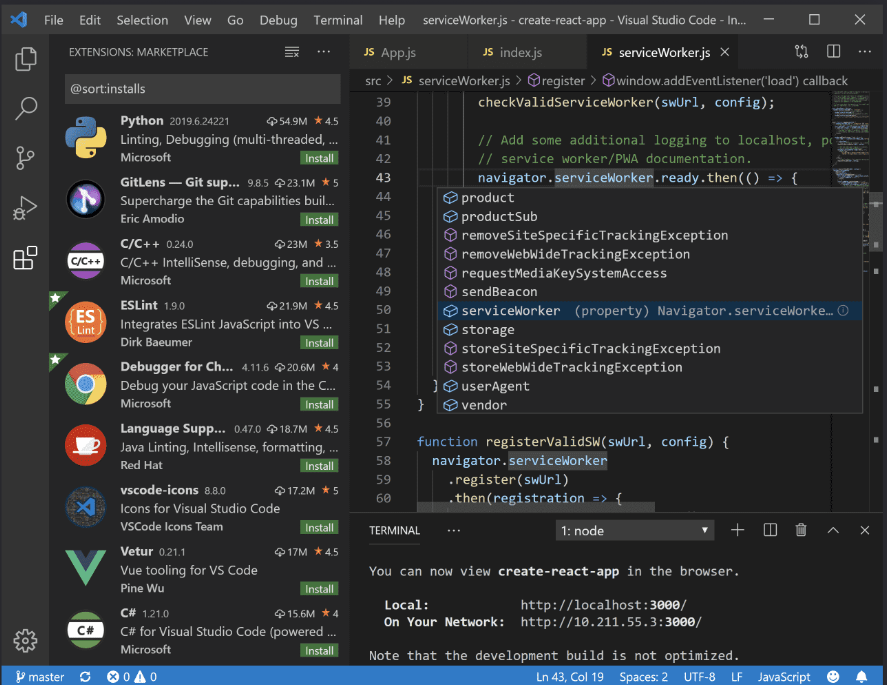
To develop a WordPress plugin, you need a local development environment. To set up a local server environment on your computer, you can make use of popular software like XAMPP, WAMP, or MAMP. Additionally, you’ll need a code editor like Visual Studio Code, Sublime Text, or PhpStorm to write your plugin code.
Step 3: Create a Plugin Directory
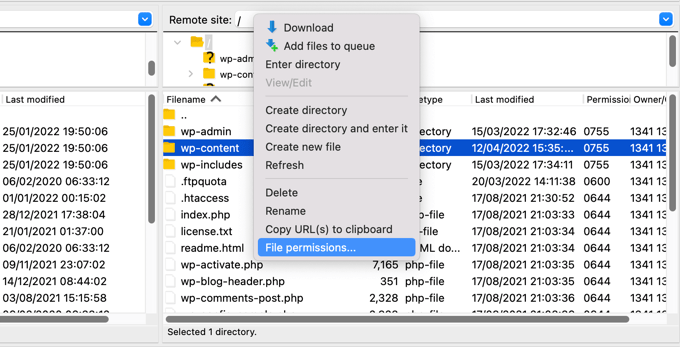
Inside the WordPress plugins directory (wp-content/plugins/), create a new folder for your plugin. The folder name should be unique and descriptive, preferably following WordPress’s naming conventions (lowercase letters, hyphens instead of spaces).
Step 4: Create the Main Plugin File
Within your plugin directory, create a PHP file with a unique name that serves as the main file for your plugin. This file must contain the necessary header information to identify your plugin to WordPress.
<?php

/*

* Plugin Name: design-plugin

* Plugin URI: https://yourpluginwebsite.com

* Description: Plugin to customize design

* Version: 1.0

* Author: xyz

* URI: https://yourwebsite.com

* License: GPL2

*/
First, you’ll have to upload this file to the plugin folder you recently created at wp-content/plugins. After completing this step, head over to your test site’s WordPress dashboard and access the Plugins page.

Once there, you should spot your newly added plugin! Keep in mind that although activating it won’t trigger any actions yet, WordPress will acknowledge it as a functional add-on moving forward.
Step 5: Add Functionality
Now, it’s time to add functionality to your plugin. You can do this by writing PHP code to achieve the desired features. WordPress provides a rich set of functions and hooks that allow you to interact with various aspects of the system, such as adding custom post types, meta boxes, shortcodes, widgets, and more.
Step 6: Test Your Plugin
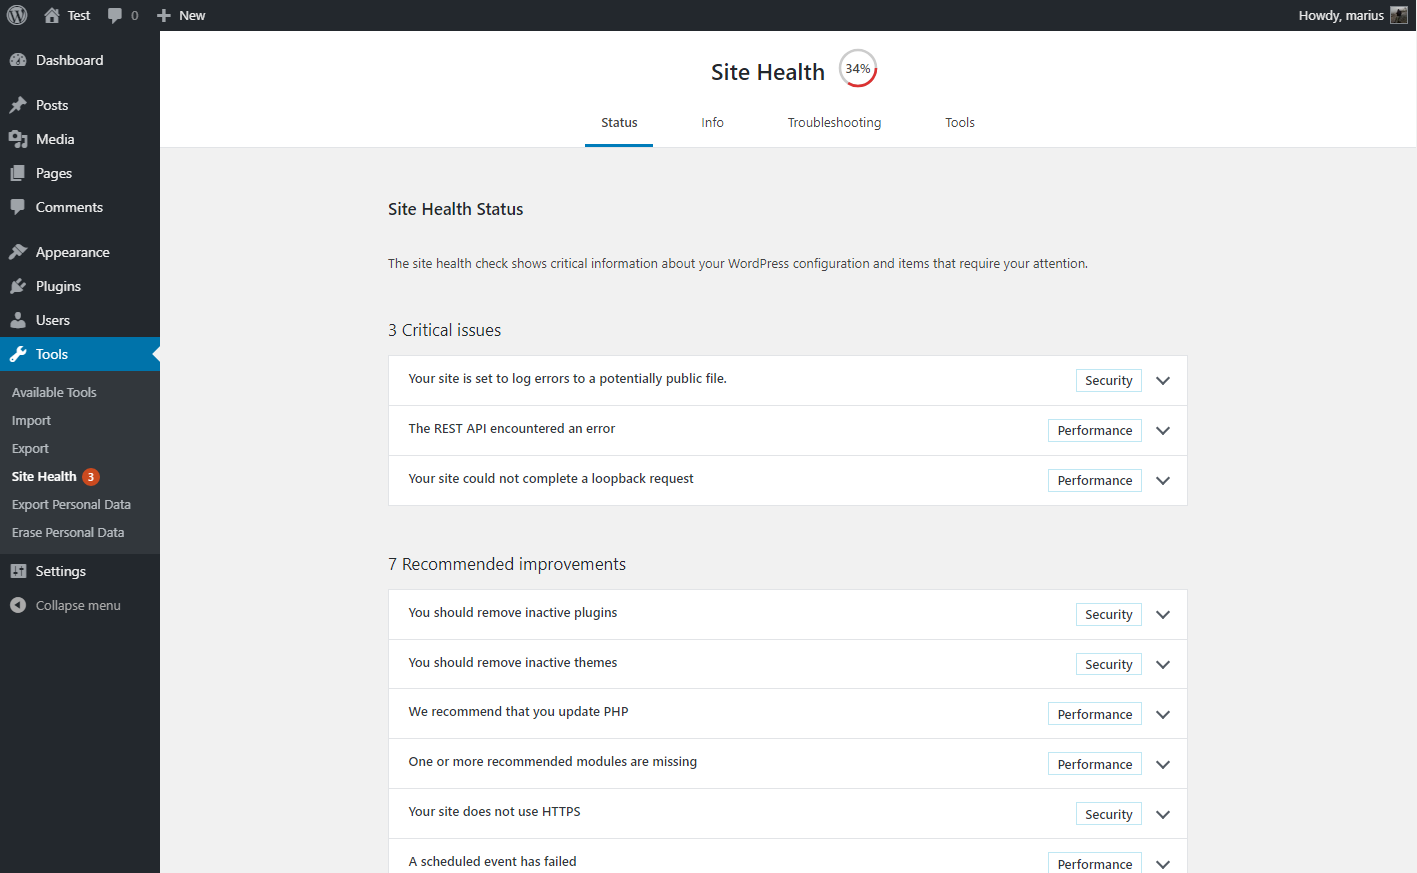
Testing is a crucial step in plugin development to ensure that everything works as expected. Activate your plugin on a local WordPress installation and thoroughly test all its functionalities. Pay attention to edge cases and potential conflicts with other plugins or themes. You can install a plugin conflict detection tool “Health Check & Troubleshooting” can help identify conflicting plugins by temporarily deactivating them. By running a test on this tool, you can detect potential problems.
Step 7: Refine and Document
Refine your code based on testing feedback and ensure that it follows best practices. Document your plugin thoroughly, including how to install, configure, and use it. Providing clear documentation will help users understand your plugin better and troubleshoot any issues they encounter.
Step 8: Distribute Your Plugin
Once your plugin is ready for release, you can distribute it through the official WordPress Plugin Directory or sell it through third-party marketplaces. Make sure to comply with WordPress plugin guidelines and licensing requirements.
Benefits of Creating a WordPress Plugin
Creating a WordPress plugin offers numerous benefits for individuals and businesses alike. Here are some compelling reasons why you might consider developing a WordPress plugin:
- Address Specific Needs: Plugins allow you to address specific requirements or functionalities that are not available in the core WordPress software. Whether it’s adding custom features, integrating third-party services, or enhancing existing functionalities, plugins enable you to modify your WordPress site to your exact needs.
- Extend WordPress Functionality: Plugins extend the functionality of WordPress, enabling you to add new features and capabilities to your website without modifying the core codebase. This flexibility allows you to continuously evolve and improve your site’s functionality as your needs change over time.
- Personalization and Customization: Plugins empower you to personalize and customize your WordPress site to reflect your brand identity, business objectives, and user preferences. You can modify the site’s appearance, behavior, and content presentation to create a unique and engaging user experience.
- Enhanced User Experience: By creating custom plugins, you can enhance the user experience of the visitors coming to your website by providing intuitive interfaces, streamlined workflows, and interactive elements. Plugins can improve site navigation, increase engagement, and facilitate user interaction, ultimately leading to higher satisfaction and retention rates.
- Competitive Advantage: Developing unique and innovative plugins can give you a competitive advantage in your niche or industry. By offering features and functionalities that are not readily available on other websites, you can differentiate yourself from competitors and get the attention of more visitors and customers to your site.
- Monetization Opportunities: Plugins present various monetization opportunities, allowing you to generate revenue from your WordPress development efforts. You can offer premium plugins with advanced features, sell licenses or subscriptions, provide custom development services, or monetize through advertising and affiliate marketing.
- Contribution to the WordPress Community: By creating and sharing plugins with the WordPress community, you contribute to the open-source ethos of WordPress and help improve the platform for everyone. Your plugins may be used by thousands of website owners worldwide, fostering collaboration, innovation, and collective growth within the community.
- Skill Development and Learning: Developing WordPress plugins is an excellent way to enhance your programming skills, expand your knowledge of web development technologies, and gain practical experience in software engineering. Whether you’re a beginner or an experienced developer, creating plugins offers valuable learning opportunities and professional growth.
Conclusion
Creating a WordPress plugin can be a rewarding experience, allowing you to extend the functionality of WordPress to meet your specific needs or those of your clients. By following this beginner’s guide, you can embark on your journey to develop custom WordPress plugins with confidence. Remember to stay updated with WordPress best practices and community guidelines to ensure your plugin remains compatible and secure. Happy coding!
FAQs
Are there any specific guidelines or best practices to follow when creating a WordPress plugin?
Yes, WordPress provides detailed guidelines and best practices for plugin development to ensure compatibility, security, and usability. It’s essential to adhere to these guidelines, such as properly documenting your code, sanitizing user input, and following naming conventions to create high-quality plugins.
Can I create custom plugins for my WordPress website?
Absolutely! Creating custom plugins allows you to add unique features and functionalities personalized to your specific needs or business requirements. You can develop plugins to enhance your website’s functionality, improve user experience, or integrate with third-party services.
How can I get support or assistance with plugin development?
There are several resources available for getting support and assistance with plugin development, including online forums, developer communities, documentation, tutorials, and professional WordPress development services. You can also hire experienced developers or join developer-focused groups to collaborate and share knowledge.
