
In the expansive sea of websites, standing out is crucial for attracting and retaining visitors. Adding a favicon is one often overlooked yet effective way to enhance your WordPress site’s branding. A favicon, also known as a site icon, is a tiny image displayed in your web browser tab alongside the website title. Despite its small size, a thoughtfully designed WordPress favicon can make your blog noticeable amidst the vast online landscape. In this guide, we’ll walk you through the simple steps to add a favicon to your WordPress site.
What is a WordPress Favicon?

A favicon, short for favorite icon, is a small but mighty graphic that appears in the browser tab next to your site’s title. Typically visible on both the WordPress dashboard and browser tabs, it serves as a visual identifier for the website.
Why do you need a WordPress Favicon?
- Visual Branding: A favicon is a visual representation of your brand or website. It’s a tiny graphic that can convey a lot about your site’s identity, such as your logo or a stylized letter or symbol associated with your brand.
- Professionalism: Including a WordPress favicon adds a level of professionalism to your website. It signifies attention to detail and gives the impression that you care about your site’s presentation and user experience.
- Easy Identification: When users have multiple tabs open in their browser, a favicon helps them quickly identify which tab corresponds to your website. This is especially important for sites that users may visit frequently or leave open for extended periods.
- User Experience: A WordPress favicon contributes to the overall user experience by offering a visual cue that enhances navigation and usability. It’s a small detail, but it can make a difference in how users perceive and interact with your site.
Creating a Favicon in WordPress
WordPress provides a built-in feature for adding favicons, offering various methods to do so. Moreover, before uploading a custom favicon file to WordPress, certain preparations are necessary:
- Make sure the icon is a square image with dimensions of at least 512px x 512px. To adjust the image size, utilize image editing software such as Adobe Photoshop or favicon generators like RealFaviconGenerator, Favicon.io, and Favicon-generator.org.
- Choose a background color for the WordPress favicon. Opting for a transparent background is ideal, particularly if your design includes white space.
- Select the appropriate image format. While WordPress traditionally favors the ICO file format for favicons, alternatives such as JPEG and GIF are now accepted. However, if your icon features a transparent background, PNG is the recommended format.
Once the image is prepared, proceed to add the new favicon to your WordPress website using one of the following methods.
Method 1: Adding a Favicon Using the WordPress Customizer
The WordPress Customizer offers a user-friendly way to add a favicon to your website. Follow these steps to get started:
- Enter Your WordPress Admin Dashboard: Enter your login credentials and access the WordPress dashboard.
- Navigate to the Customizer: From the dashboard, go to “Appearance” and select “Customize.”
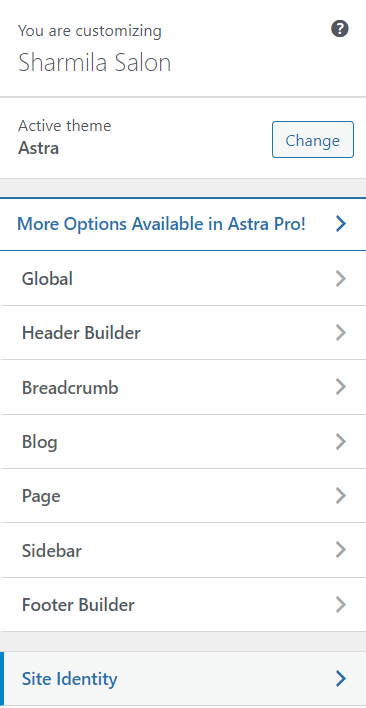
- Access Site Identity Settings: Within the Customizer, look for the “Site Identity” or “Site Title & Logo” section. Click on it to expand the settings.
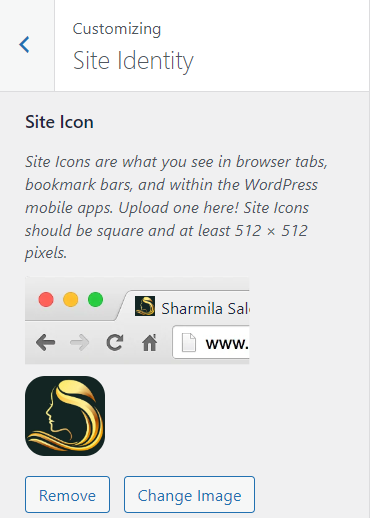
- Upload Your Favicon: Look for an option labeled “Site Icon” or “Favicon.” Click on it to upload your favicon file. Choose the file from your computer’s drives and upload it to WordPress.
- Preview and Publish: Once uploaded, you should see a preview of your favicon. Take a moment to review how it looks. If you’re satisfied, click “Publish” to make your changes live.
Method 2: Adding a WordPress Favicon Using the Gutenberg Block
- Access the Gutenberg Editor: Create or edit a page or post where you want to add the favicon. Access the Gutenberg editor by clicking on “Posts” or “Pages” from the WordPress dashboard and then selecting “Add New” or “Edit” on the desired content.
- Add the Block: Within the Gutenberg editor, locate the section where you want to insert the WordPress favicon. Click on the “+” icon on the screen to add a new block. In the block inserter, search for the block labeled as “Site Logo.”
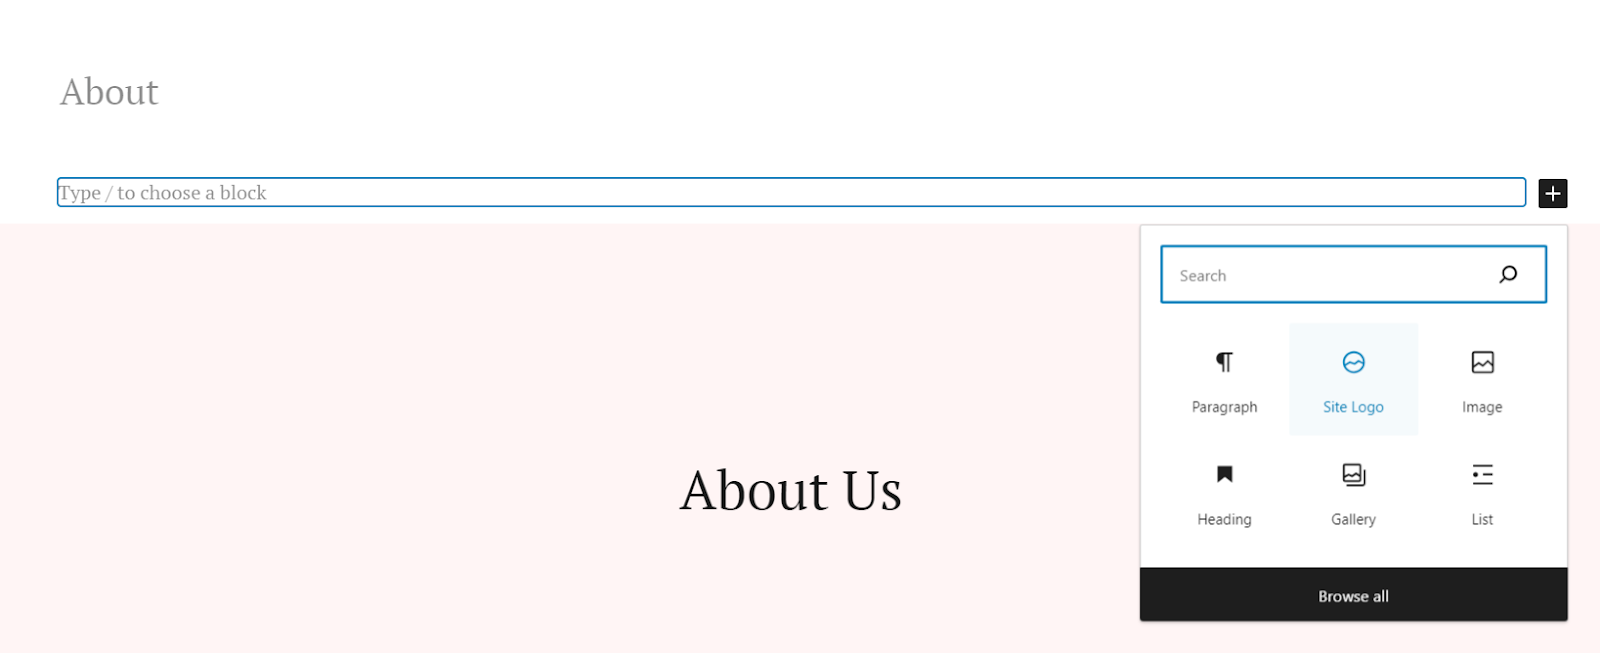
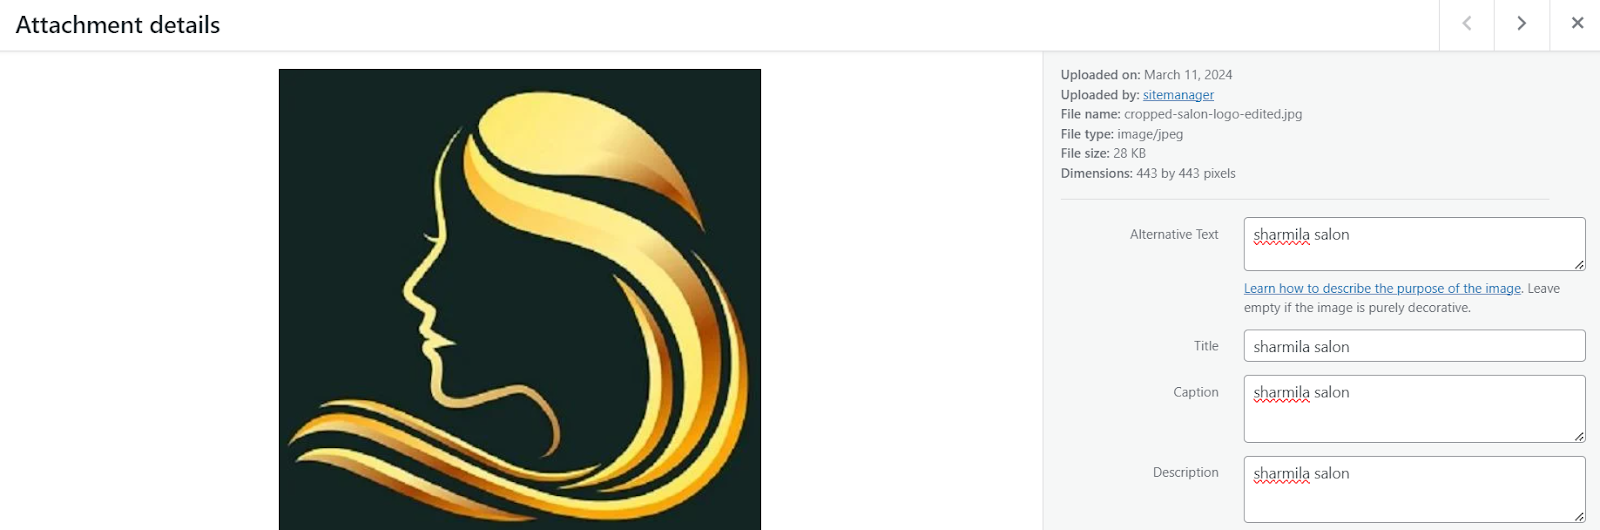
- Configure the Block: Once added, add the image from the media library. You may have options to upload a custom image or choose from predefined options.
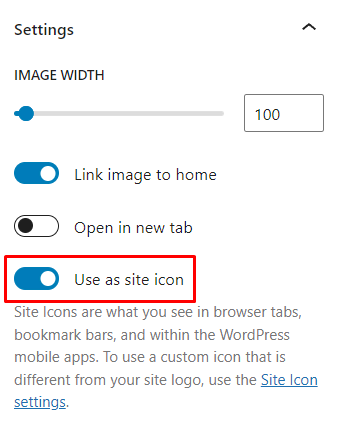
- You will find the WordPress favicon image displayed on the site logo block. Click on the block and access its Settings located at the top-right corner of the editor. Within the Settings section, activate the “Use as site icon” toggle.
- Preview and Publish: After configuring the site icon, preview your page or post to ensure everything looks as expected. Once satisfied, click “Publish” or “Update” to make your changes live.
Method 3: Adding a WordPress Favicon Using A Plugin
- Enter Your WordPress Dashboard: Enter your login credentials and access the WordPress dashboard.
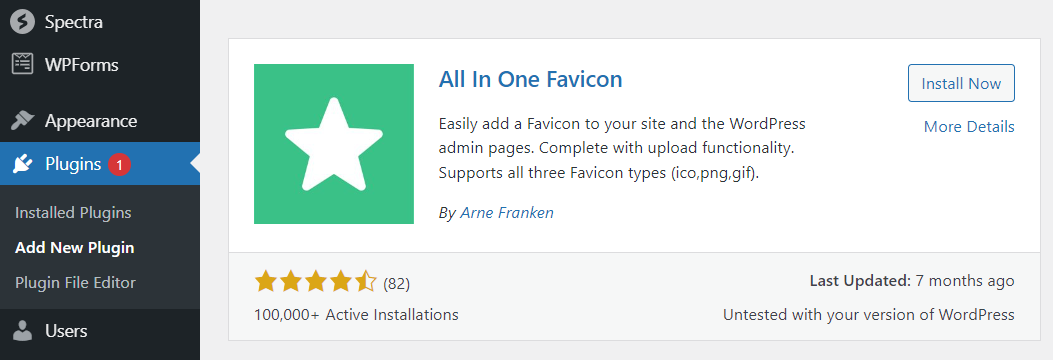
- Navigate to Plugins: From the dashboard, go to “Plugins” and click on “Add New.”
- Search for a Favicon Plugin: In the search bar, type “favicon” and hit enter. You’ll see a list of plugins related to favicons.
- Install a WordPress favicon Plugin: Browse through the available plugins and choose a favicon plugin that suits your needs. Some popular options include “All in One Favicon” or “Site Icon & Favicon.” Select the “Install Now” button followed by clicking on the “Activate” button to initiate its activation on your WordPress site.
- Access the WordPress favicon Settings: After activation, look for the plugin’s settings in the WordPress dashboard. It may have its own menu item.
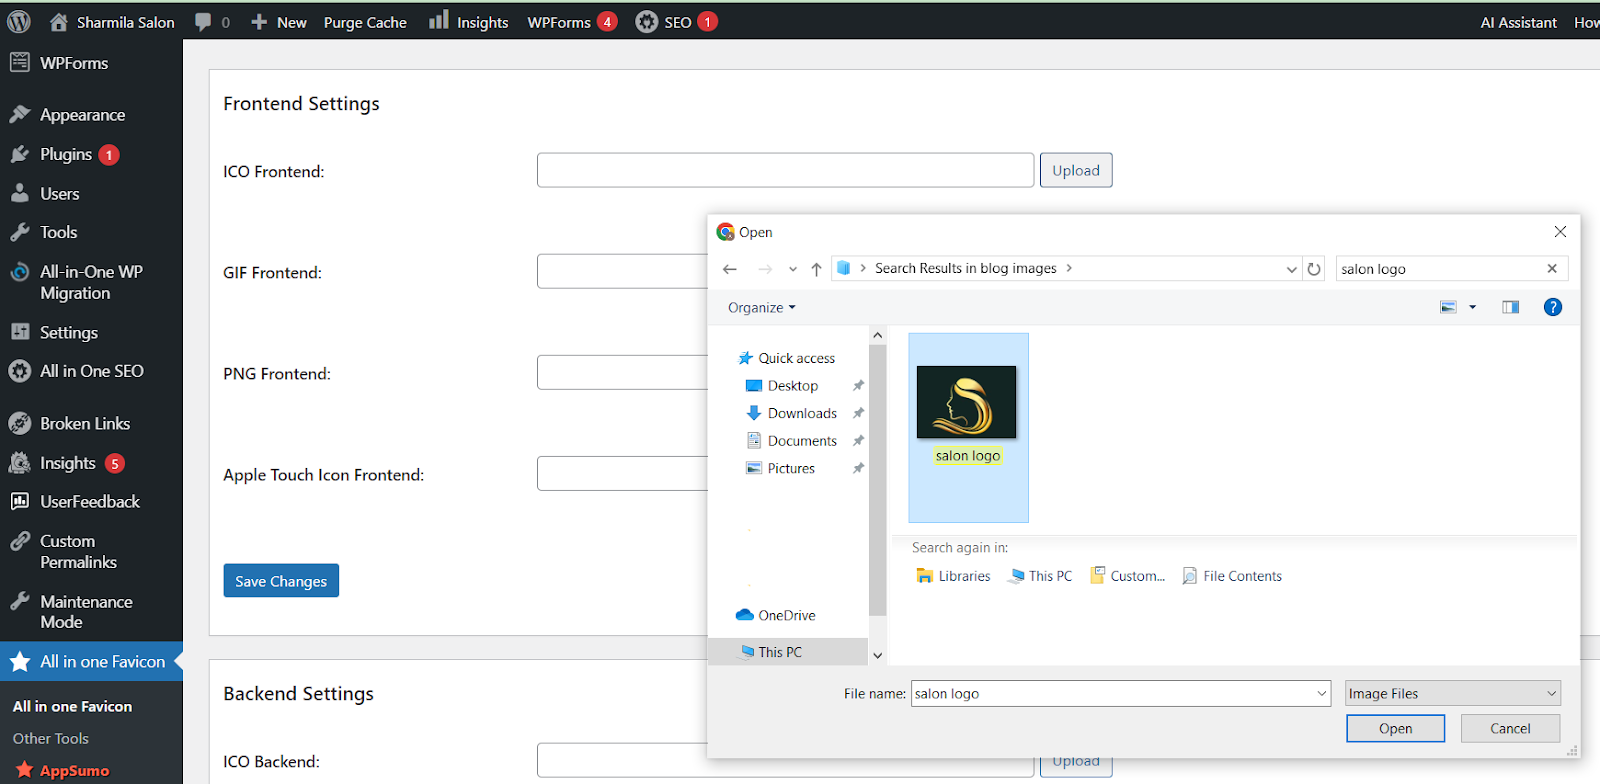
- Upload Your Favicon: Within the plugin settings, you’ll typically find an option to upload your favicon. Click on it, choose the favicon file from your computer, and upload it to WordPress.
- Save Changes: After uploading your favicon, remember to save your changes. The plugin will then handle the process of adding the favicon to your site.
Method 4: Adding a WordPress Favicon Manually
An alternative approach involves manually adding a favicon in WordPress, which entails modifying WordPress files. It’s advisable to test this method in a WordPress staging environment before implementing it on the live site.
To begin, install and activate the plugin of a generator like RealFaviconGenerator to create the favicon package and code snippet. Once activated, here’s a step-by-step guide to follow:
- Head over to Appearance>>Favicon for generating your favicon. RealFaviconGenerator website and hit the “Select from media library” button to upload your desired image.

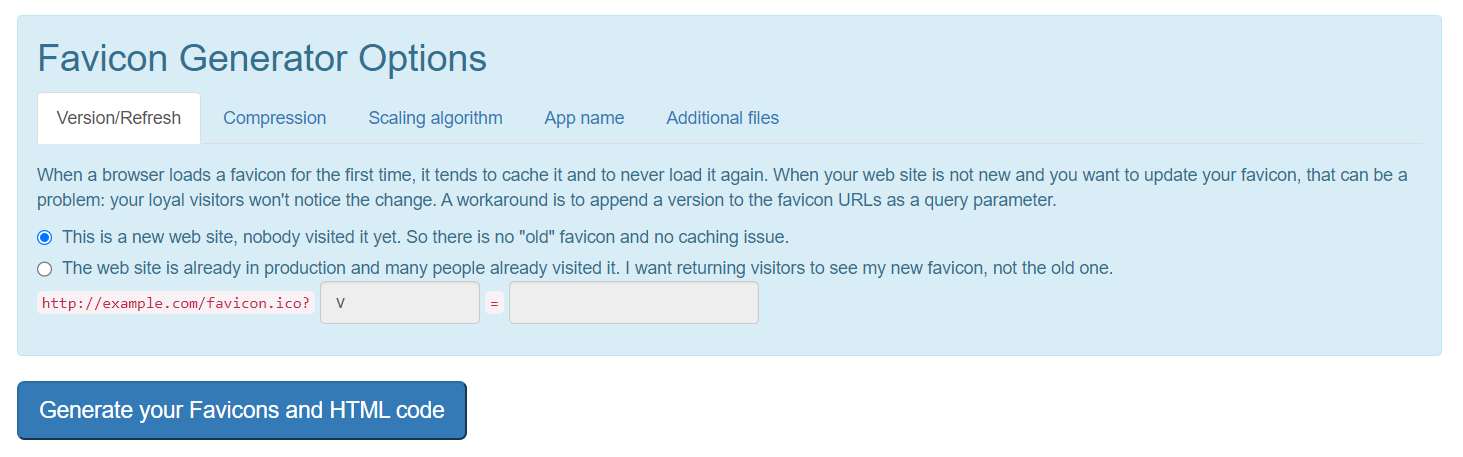
- Once uploaded, navigate to the Favicon Generator Options section. By default, the favicon files are set to be placed in your site’s root directory. If you wish to place them elsewhere, opt for the second option and specify the path accordingly.
- Afterward, click on “Generate your Favicon.” It will direct you to a page.
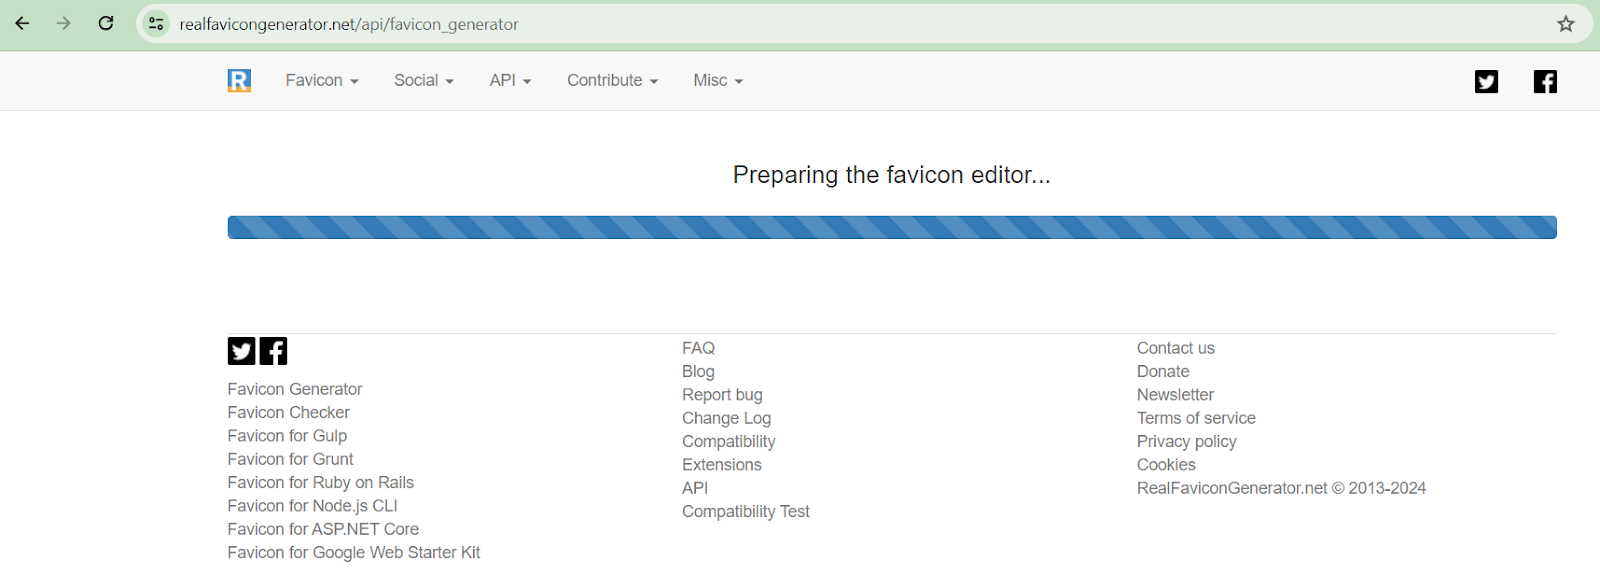
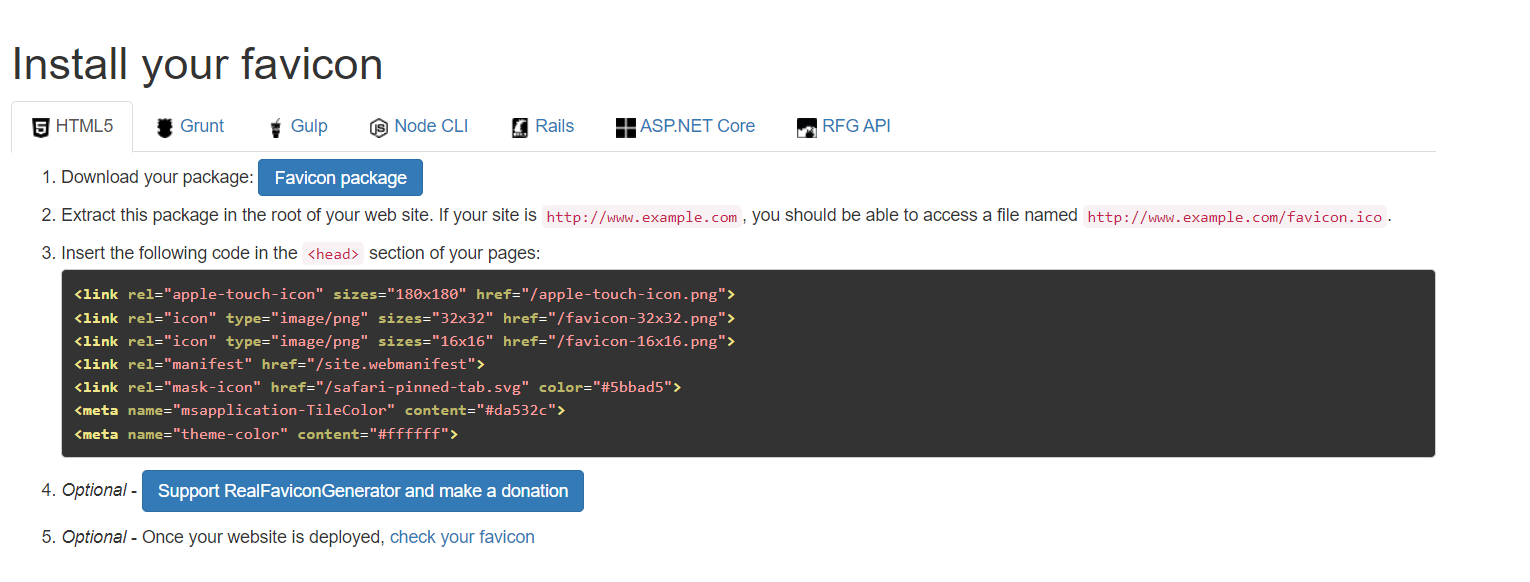
- Follow the instructions to generate your HTML code.
- To obtain the icon files, simply click on the “Favicon package” button, which includes both PNG and ICO files of your chosen image. Ensure to keep this page open, as you’ll require the favicon code for later use.
Open the header.php template file in the Theme Editor of your Appearance section on the dashboard and paste the favicon code from the RealFaviconGenerator page.
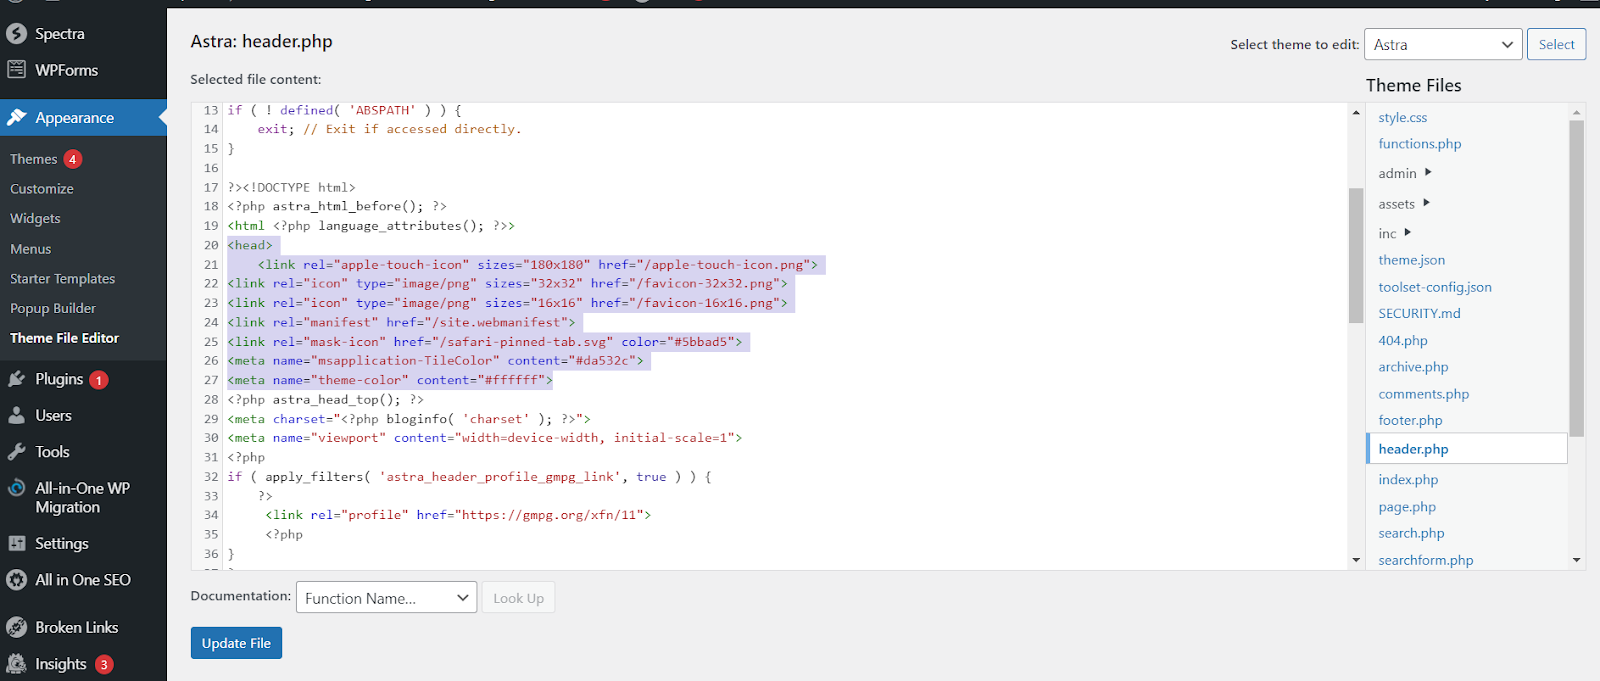
Be sure to add your own URL in the href attribute. The code should resemble this:
<link rel="apple-touch-icon" sizes="180x180" href="/apple-touch-icon.png">

<link rel="icon" type="image/png" sizes="32x32" href="/favicon-32x32.png">

<link rel="icon" type="image/png" sizes="16x16" href="/favicon-16x16.png">

<link rel="manifest" href="/site.webmanifest">

<link rel="mask-icon" href="/safari-pinned-tab.svg" color="#5bbad5">

<meta name="msapplication-TileColor" content="#da532c">

<meta name="theme-color" content="#ffffff">- Save the changes.
Why Isn’t My WordPress Favicon Displaying?
If your WordPress favicon isn’t showing up, there could be various reasons behind it. One common issue is browser cache, where your browser retains the old version of your site.
To address this, clear your browser cache. You can browse through our guide on clearing cache for assistance.
To verify if your WordPress site icon has been successfully uploaded, open your website in Incognito mode or a private browsing window.
If the favicon upload was unsuccessful, consider re-uploading the image with a different file name to troubleshoot the problem.
Occasionally, your website might display your hosting provider’s favicon instead of your custom one. In such cases, contacting their support team can help rectify the situation. For reliable support in resolving such issues, opt for a reputable WordPress hosting service.
Conclusion
Whichever method you choose, incorporating a WordPress favicon into your site ensures it stands out in the digital arena, leaving a lasting impression on visitors and reinforcing your brand identity. Experiment with these methods to find the approach that best fulfills your requirements and technical expertise. With a favicon in place, your WordPress site is ready to make a memorable impact on users.
FAQs
Will changing my favicon affect my site’s performance?
No, changing the favicon is a cosmetic adjustment and doesn’t impact your site’s performance. It’s a small but effective way to enhance your site’s visual identity.
Can I use any image as a favicon?
It’s recommended to use a simple, recognizable image that represents your brand. Keep in mind the small size of favicons, so intricate details may not be visible.
How often should I update my favicon?
While there’s no strict rule, consider updating your favicon if your branding or logo undergoes significant changes. Keeping it aligned with your current brand identity is advisable.
