
Have you ever considered the idea of white-labeling your WordPress admin dashboard? Customizing your dashboard can have a significant impact, whether you want it to better represent your brand or make it more user-friendly for your clients.
The standard WordPress dashboard is functional, but there’s always room for improvement to make it uniquely yours. That is exactly what white-labeling can do.
This guide will take you through the process of white-labeling your WordPress admin dashboard, ensuring it matches your client’s preferences. Ready to make your dashboard truly your own?
Let’s get started!
What is White-Labeling?
Have you ever come across a store-brand cereal that looks like a famous brand? That’s a bit like white labeling. The product is made by one business, but it is branded by another. It’s akin to taking a bicycle, painting it your favorite color, and claiming it’s your unique design.
In the WordPress context, white labeling is about giving your website a makeover so that everything, even the parts visitors don’t see, feels like it belongs to your brand. The primary focus here is on the admin dashboard – the place where you or your clients log in to make changes to the website.
Why Should You Consider White Labeling?
You might be thinking, “Why should I bother changing the look of the admin area?” Most people won’t even see it!”
If you’re creating a website for someone, like a client, wouldn’t it be great if everything, from what they see on the website to the dashboard they use, feels uniquely theirs? It’s akin to gifting them a custom car where even the interior matches their style.
Furthermore, you can tweak the dashboard to simplify it for your client. They might only need certain buttons or features. White labeling allows you to make these changes to suit their needs. It’s all about streamlining and branding things just right.
Customizing WordPress Admin Dashboard with White Label CMS
To use the White label in the WordPress admin area, you need to install and activate the “White label CMS” plugin in your WordPress site.
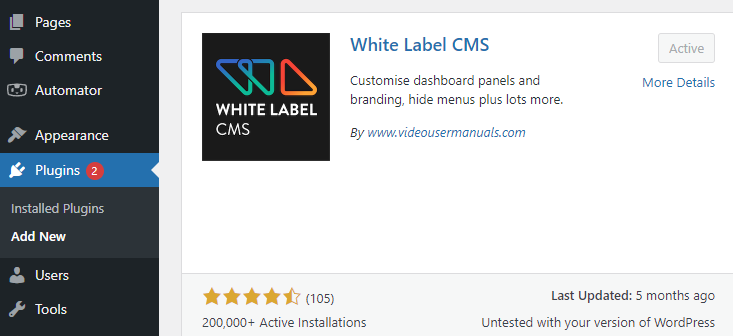
Step 1: To install the plugin simply, go to Plugins > Add New and search for White label CMS: after that, install and activate the plugin.
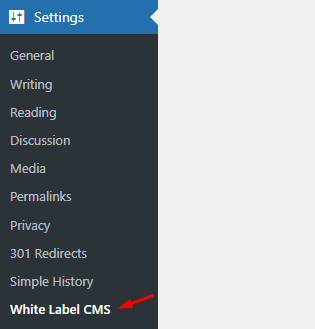
Step 2: After the “White Label CMS” plugin has been successfully activated, click on “White Label CMS” after hovering over the settings area.
You have the option to fill out or skip the basic setup request on the “White Label CMS” dashboard, which will look like this.
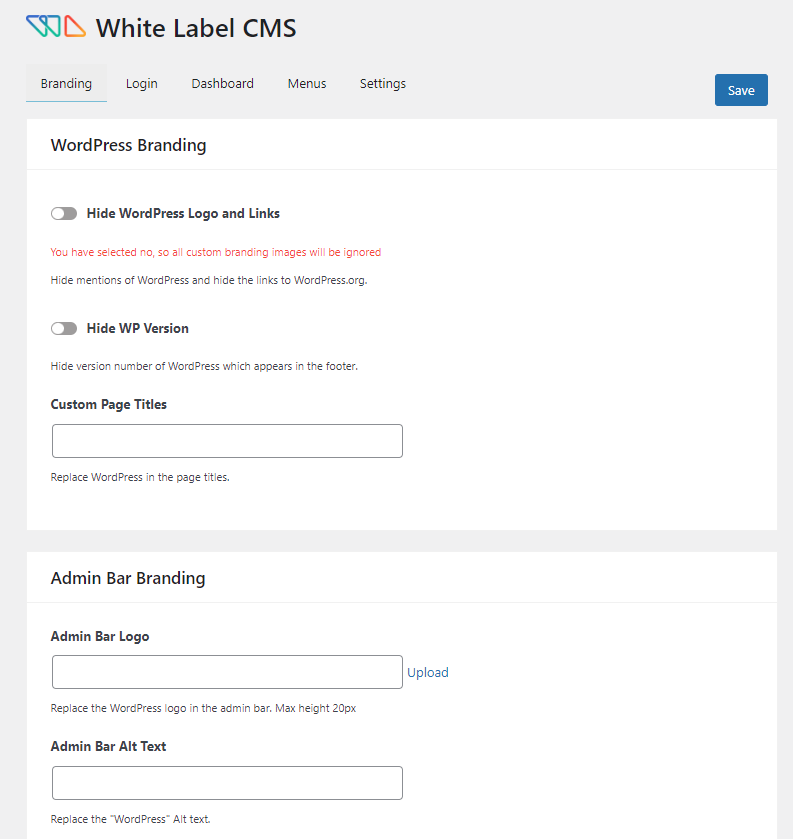
Step 3: Go to Admin Bar branding, there you can customize the admin bar logo and alt text to do that:
- Upload an image of 20px max height.
- Give it an alt text (this is optional).
- Replace the Howdy text (this is optional).
- Admin bar URL (you can replace the link with any URL you like).
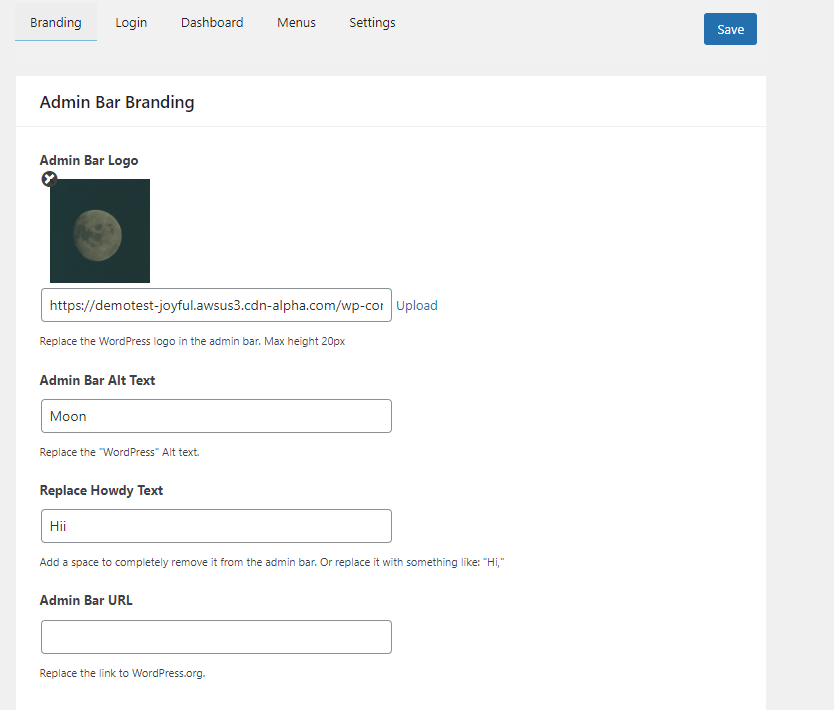
- After that, click on the “Save” button.
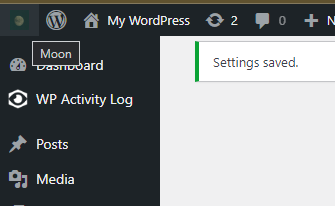
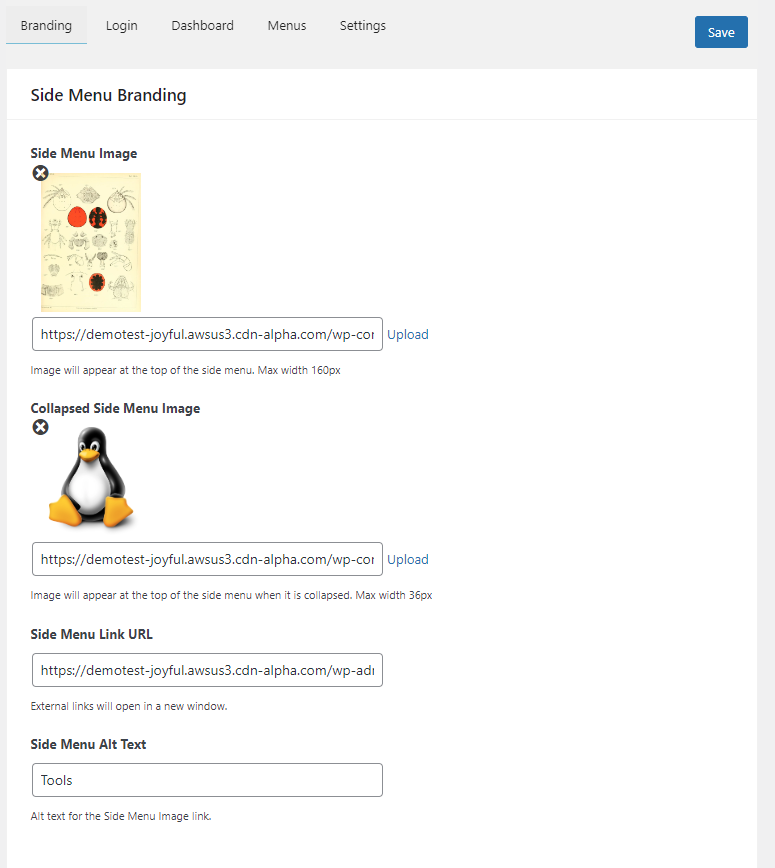
Step 4: Just below the Admin bar, there is an option for Side Menu Branding. If you wish to edit, then follow the below steps:
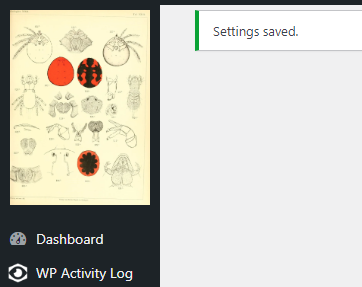
- Side Menu Image: Upload an Image with a maximum width of 160px.
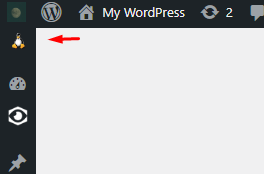
- Collapsed Side Menu Image: This Image will appear at the top of the side menu.
- Side Menu URl (this is optional)
- Side Menu Alt Text (this is optional)
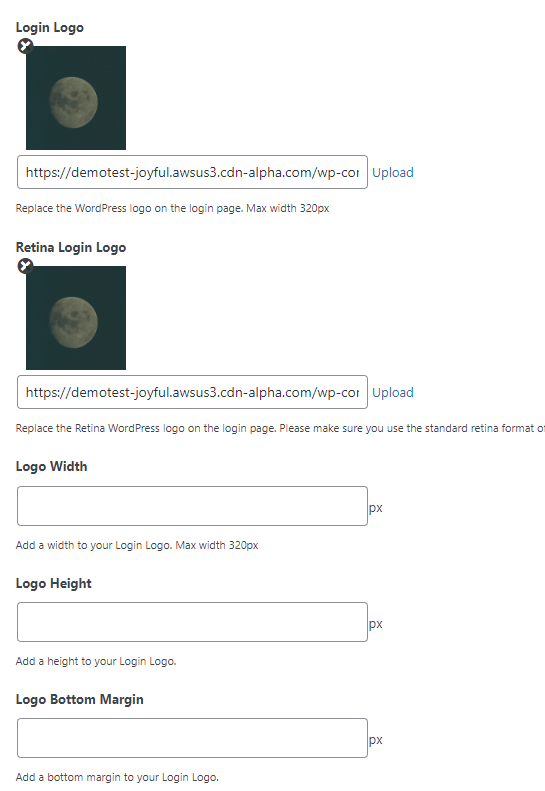
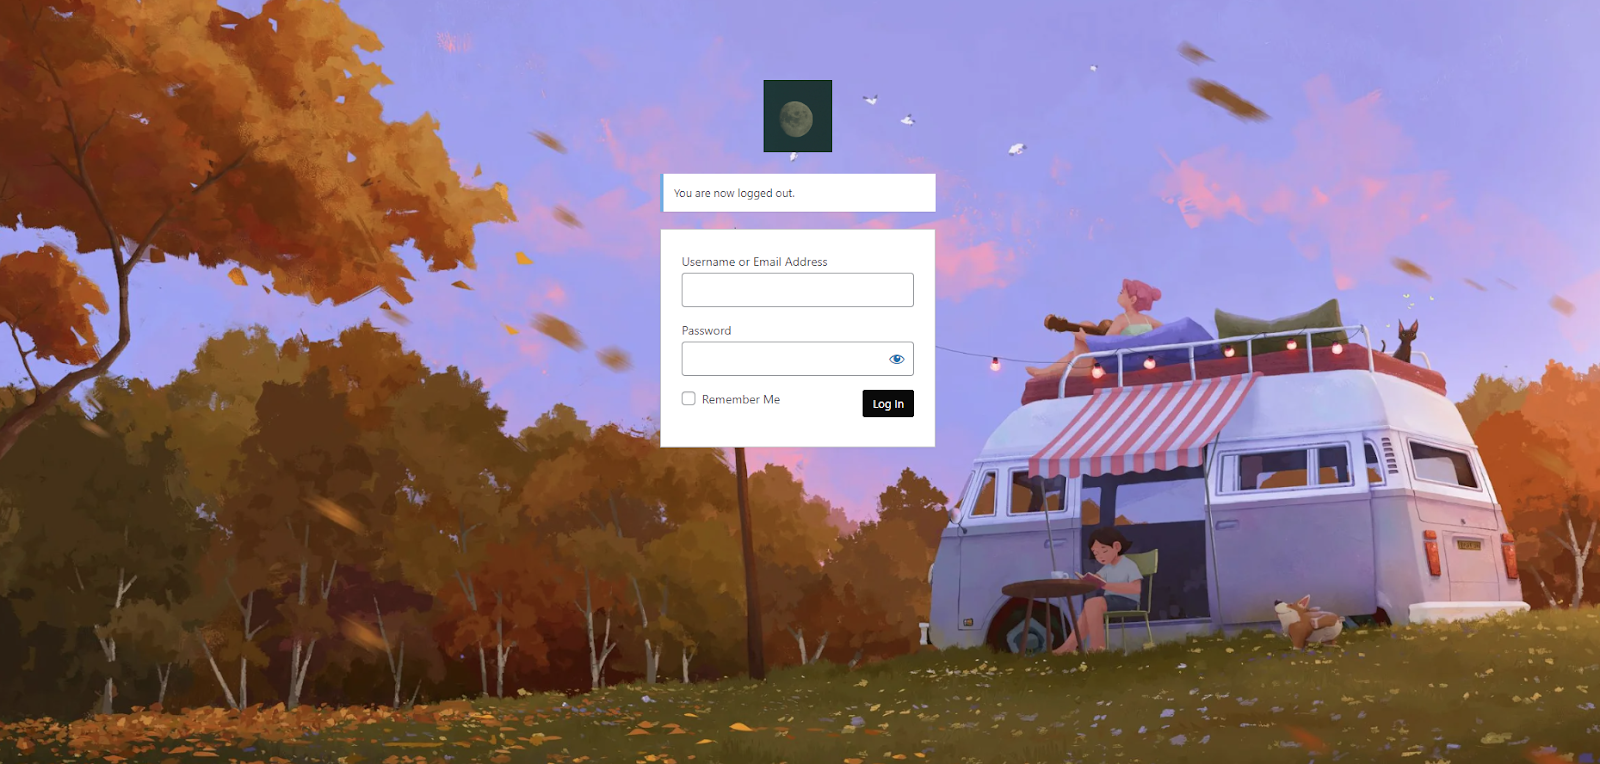
Step 4: Login section – You have the option of replacing the WordPress logo in the Login area with a logo for your own company that must have a maximum width of 320 pixels. Since your brand logo will replace every WordPress logo, you’ll feel as though you created this website entirely on your own.
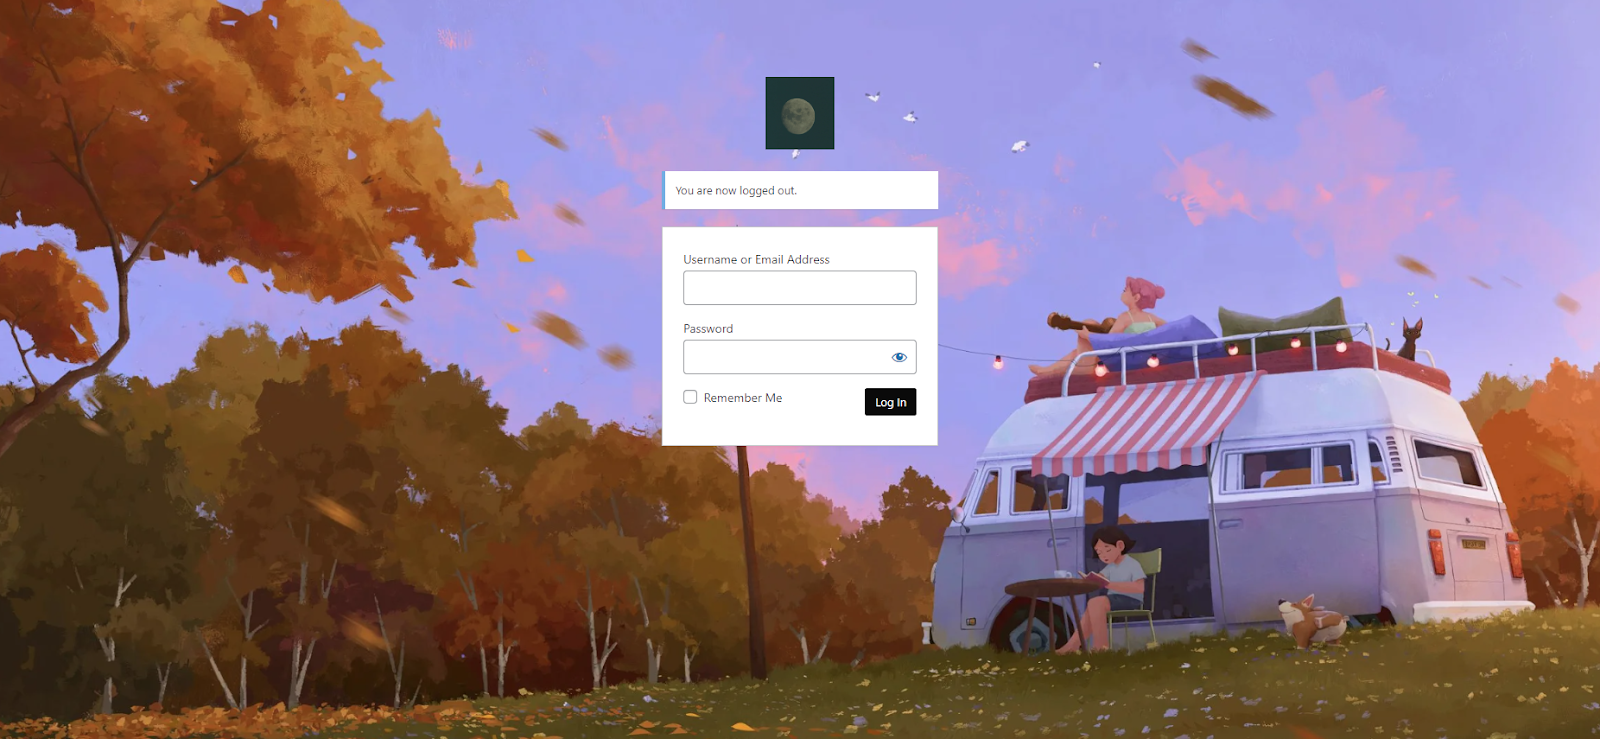
There are many options in the login section; select the one you wish to edit. Here is my final output. If you wish to edit like this, then follow the below steps:
- Login Logo Max Width: 320px
- Retina Login logo (standard retina format of 2x)
- Logo Width, Height, and Margin (leave it as default)
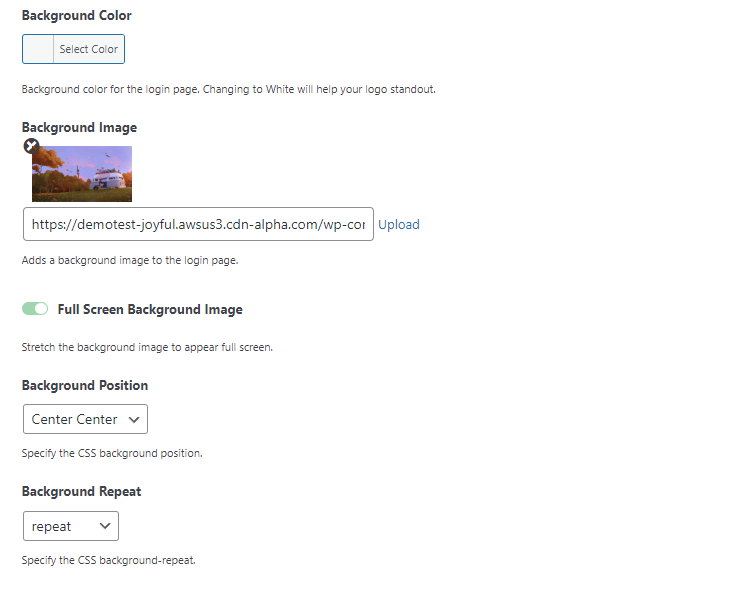
- There is an option for background color and Image; select the one you wish to edit. As for me, I selected an image because it looks cool.
- Make it a Full Screen Background Image.
- Background Position & Repeat (leave it as default)
- In the Advance section, set the setting as given in the image below.

And Hooray, you’re done!
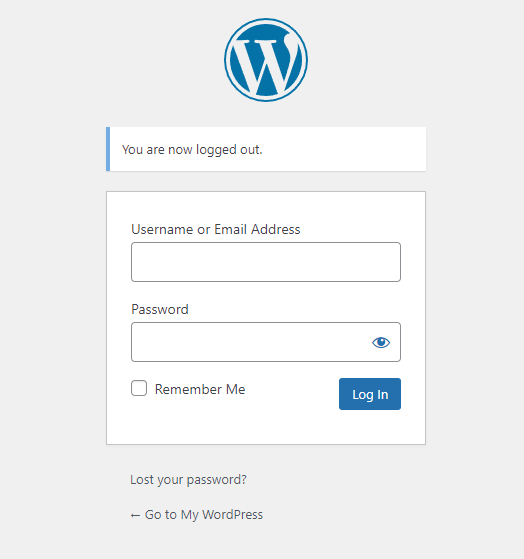
Before Edit:
After Edits:
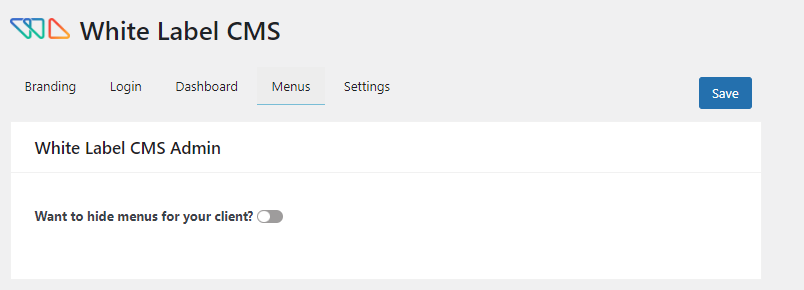
Menu Section of WordPress Admin Panel
WordPress already has a number of standard menus, like Post, Media, Comments, Plugins, Tools, Settings, etc. If we use any plugins on our website, these plugins also extend the menu bar and make it longer.
However, in the “Menus” area, you may change the menu bar to suit your needs or those of the customer.
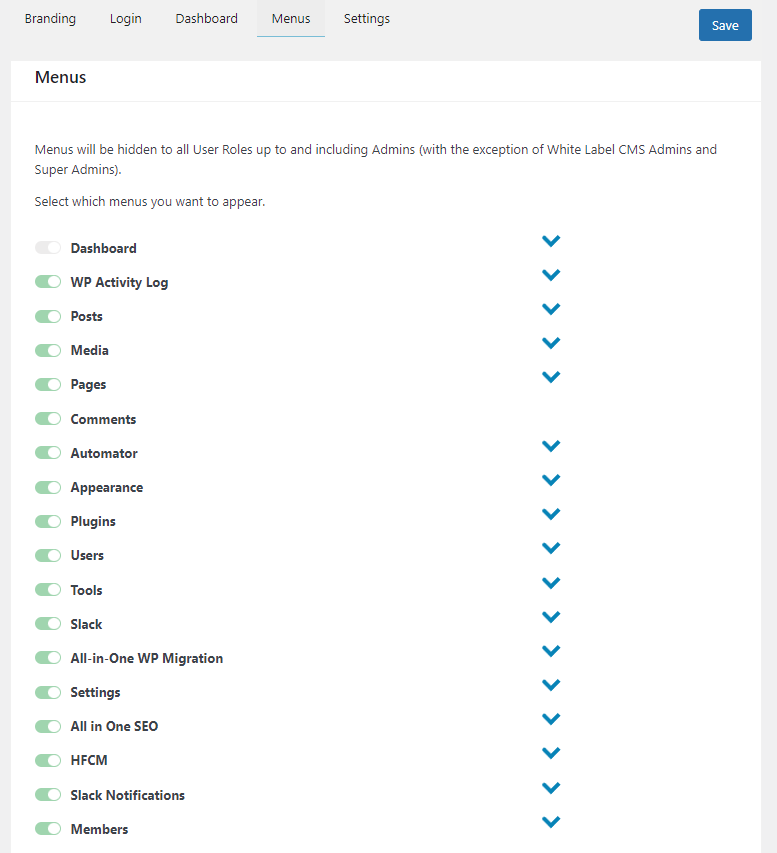
You only need to select the menu you want to display or keep hidden in the White Label CMS.
To save all the changes, click the “Save” button after that.
This is how you may entirely customize the WordPress dashboard to meet the demands of your customers.
Conclusion
Customizing the WordPress admin panel through White-labeling is a valuable practice for web developers and website owners alike. It enhances branding, improves the user experience, and streamlines workflows. By following the steps outlined in this guide, you can achieve a personalized and professional admin panel that aligns with your brand’s identity.
Whether you’re managing your own website or creating tailored solutions for clients, White-labeling empowers you to leave a lasting impression. So, go ahead, take the reins, and transform the WordPress admin panel into a reflection of your unique online presence.
In summary, White-labeling the WordPress admin panel is a straightforward process that involves installing a plugin, uploading your logo, customizing the color scheme, personalizing the login page, and making additional adjustments to create a cohesive and branded experience. By sharing real-life examples and addressing frequently asked questions, we hope to equip you with the knowledge and confidence to embark on your White-labeling journey. Whether you’re a developer, agency, or business owner, customizing the WordPress admin panel can set you apart in the online world.
FAQs on White label WordPress admin panel
1. Is white labeling the WordPress admin panel reversible?
Yes, most white labeling changes can be reversed. If you decide to revert to the default WordPress settings, you can simply deactivate the White-label plugin or reset the customizations you made.
2. Do I need coding skills to white label the admin panel?
No, you don’t need coding skills to white label the admin panel. White labeling plugins provide a user-friendly interface for making these changes, making them accessible to users with various levels of technical expertise.
3. Can I use white labeling for client websites without violating WordPress licensing terms?
Yes, you can use white labeling for client websites as long as you comply with WordPress licensing terms. Be sure to read and follow WordPress’s licensing and trademark guidelines to stay in compliance.
