
As daunting as it may seem, the answer to the question “What is a Localhost?” is pretty simple! So, “Localhost” is a name that you use to refer to your computer when it’s playing the role of a server. It’s a way for your computer to refer to itself without needing a fancy address. So basically, localhost is the equivalent of you referring to yourself as “I.”
When you buy a domain name and host your website the old-fashioned way, the website is stored on your web host’s server and is accessible to anyone with the correct URL. However, what if you want to use WordPress for testing or learning purposes but don’t have a domain name or hosting? With a local WordPress installation, you can use WordPress locally, and “Localhost”—your computer—is the only thing that makes this possible.
You can use localhost to run a website directly from your PC or other operating system. This implies that its hardware configuration will differ from a live website’s. You won’t be able to access your site online either.
WordPress is leading the CMS industry with a surprising market share of more than 64.2%! Learning WordPress is just fun; anyone can build a website for their blogging, business, or other purposes within minutes. In this guide, we will see how to install WordPress locally using localhost in 5 easy steps:
- Download XAMPP
- Install and run the XAMPP on Your PC
- Download Latest WP(WordPress) Version
- Create a Database
- Install WordPress on Localhost
- Inspecting your site.
How to Install WordPress on your Localhost in 6 Easy Steps
To build a local WordPress website, there are numerous options for local server software. This step-by-step tutorial will use XAMPP, the most widely used cross-platform web server for PHP development: Vagrant, WAMP, MAMP, LAMP, and other well-liked choices. Now, let’s get started!
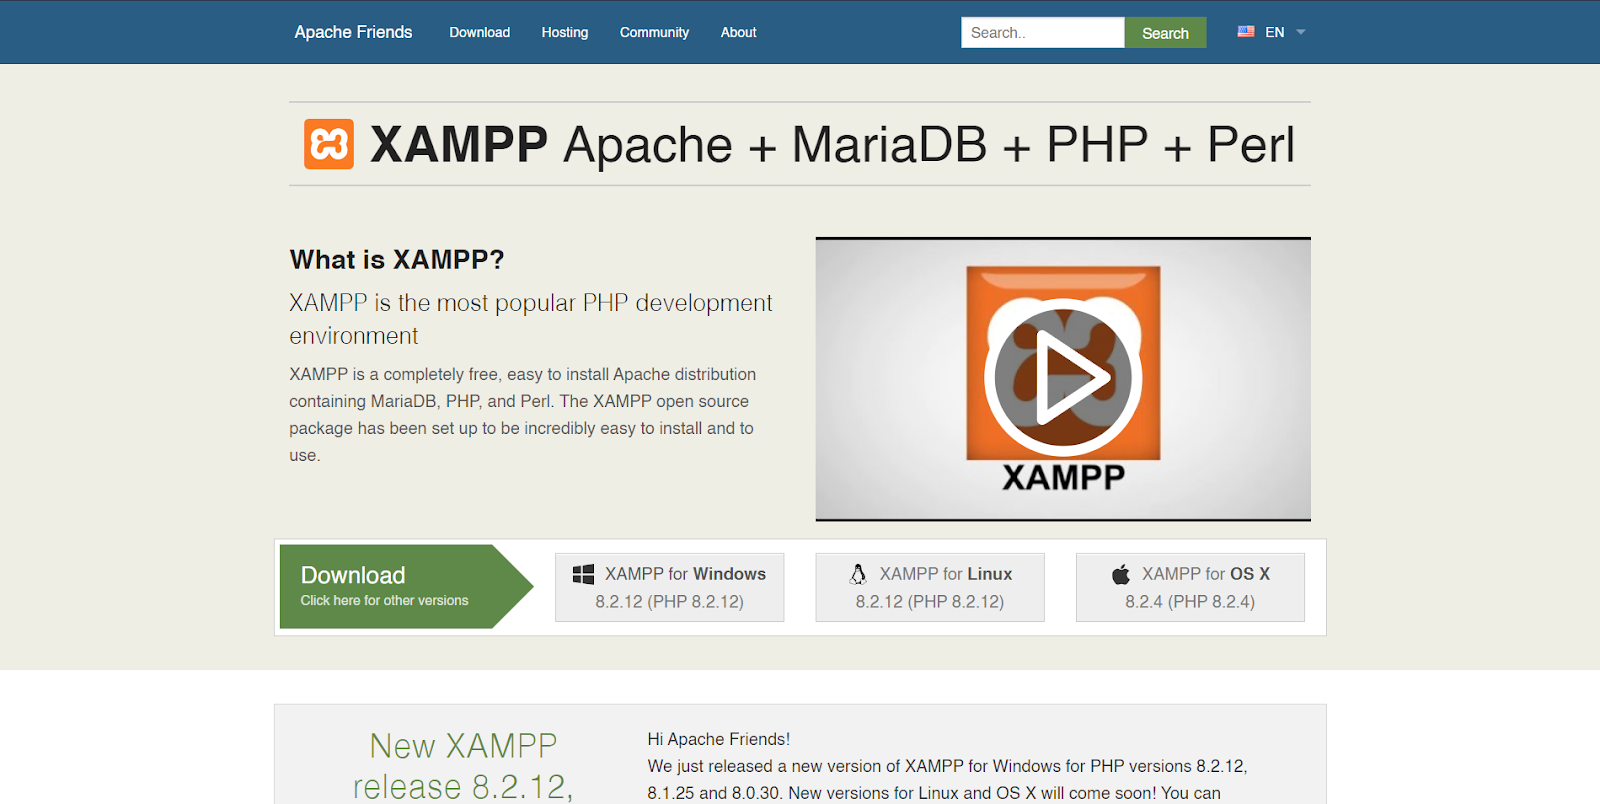
- Download XAMPP
Visit the official Apache Friends website and get the appropriate version of XAMPP software for your operating system. For this tutorial, I’m using the Windows version of XAMPP.
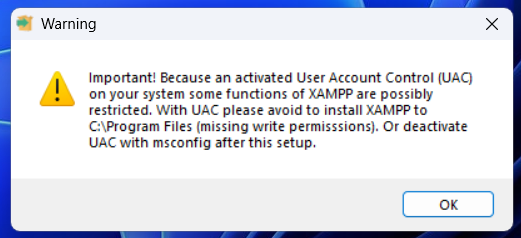
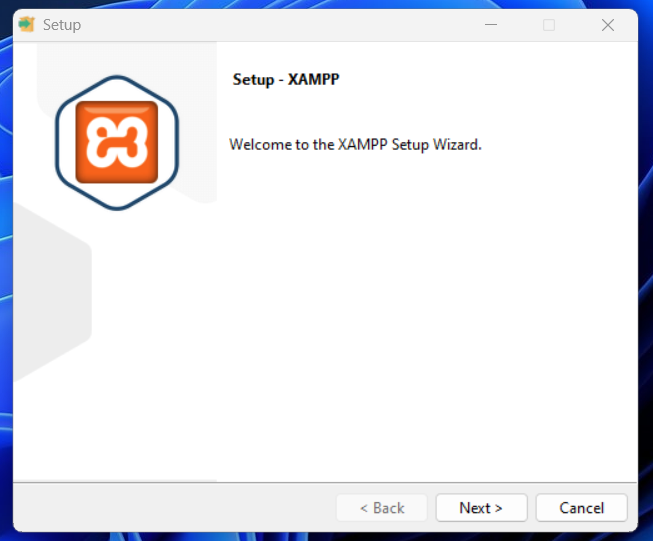
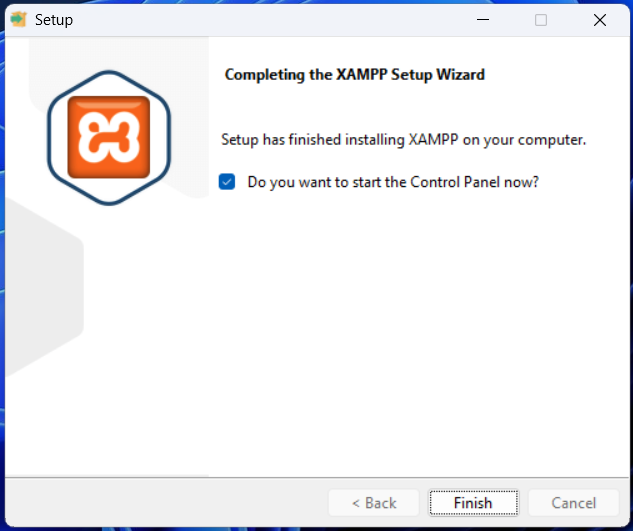
- Install and Run the XAMPP on Your PC
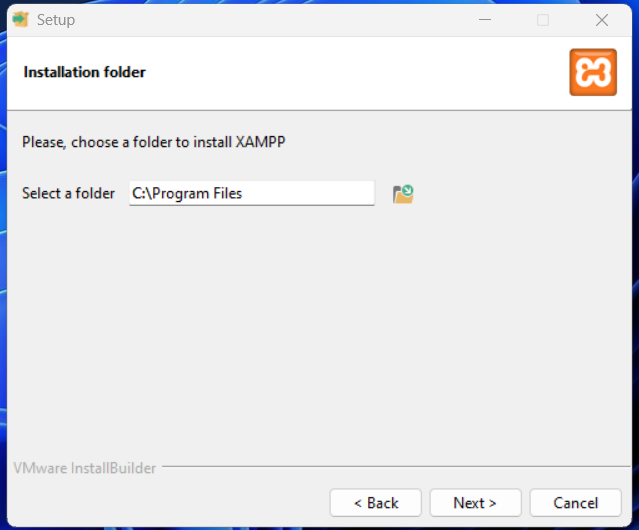
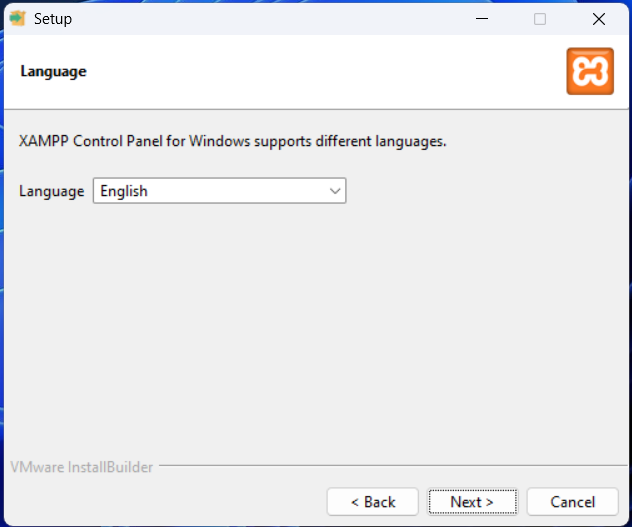
Launch the XAMPP installer, then use the default settings to follow the installation guidelines. Click Okay to proceed if a pop-up window appears stating that your antivirus program may impact the installation process.
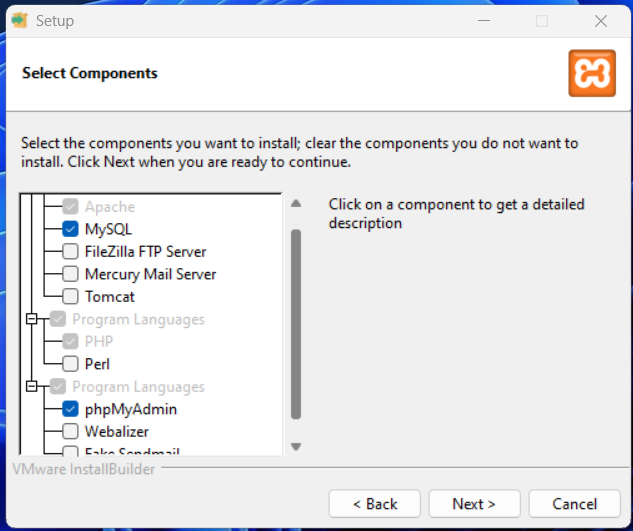
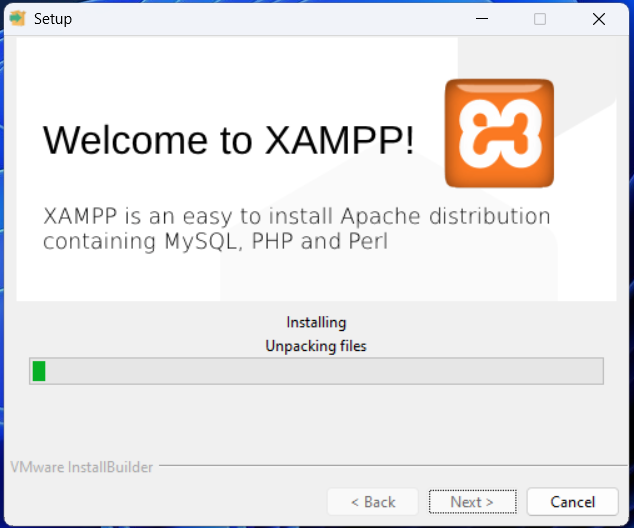
Launch XAMPP after installation, then set up the environment. Launch the Apache and MySQL modules from the XAMPP control panel to install WordPress locally.
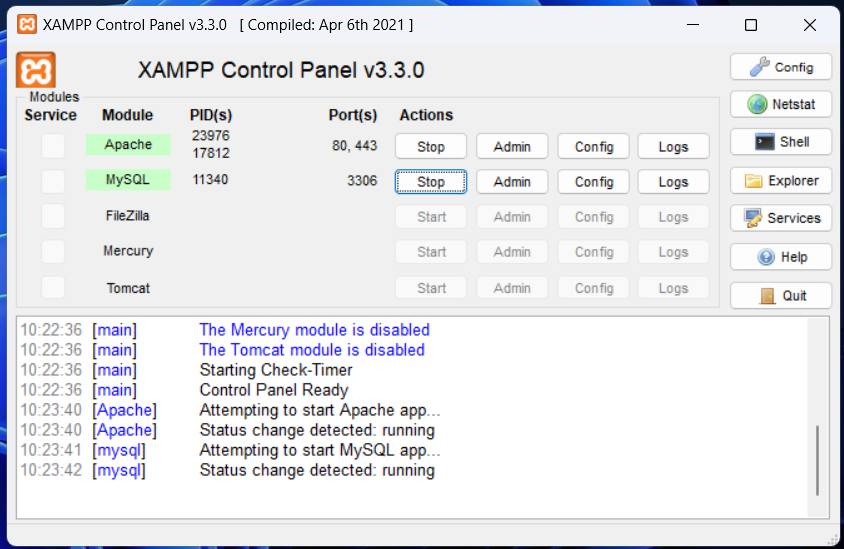
You may experience the localhost refused to connect error if you’re using the Windows operating system. This problem should be fixed by temporarily turning off your firewall or terminating the application that uses port 80.
- Download WordPress
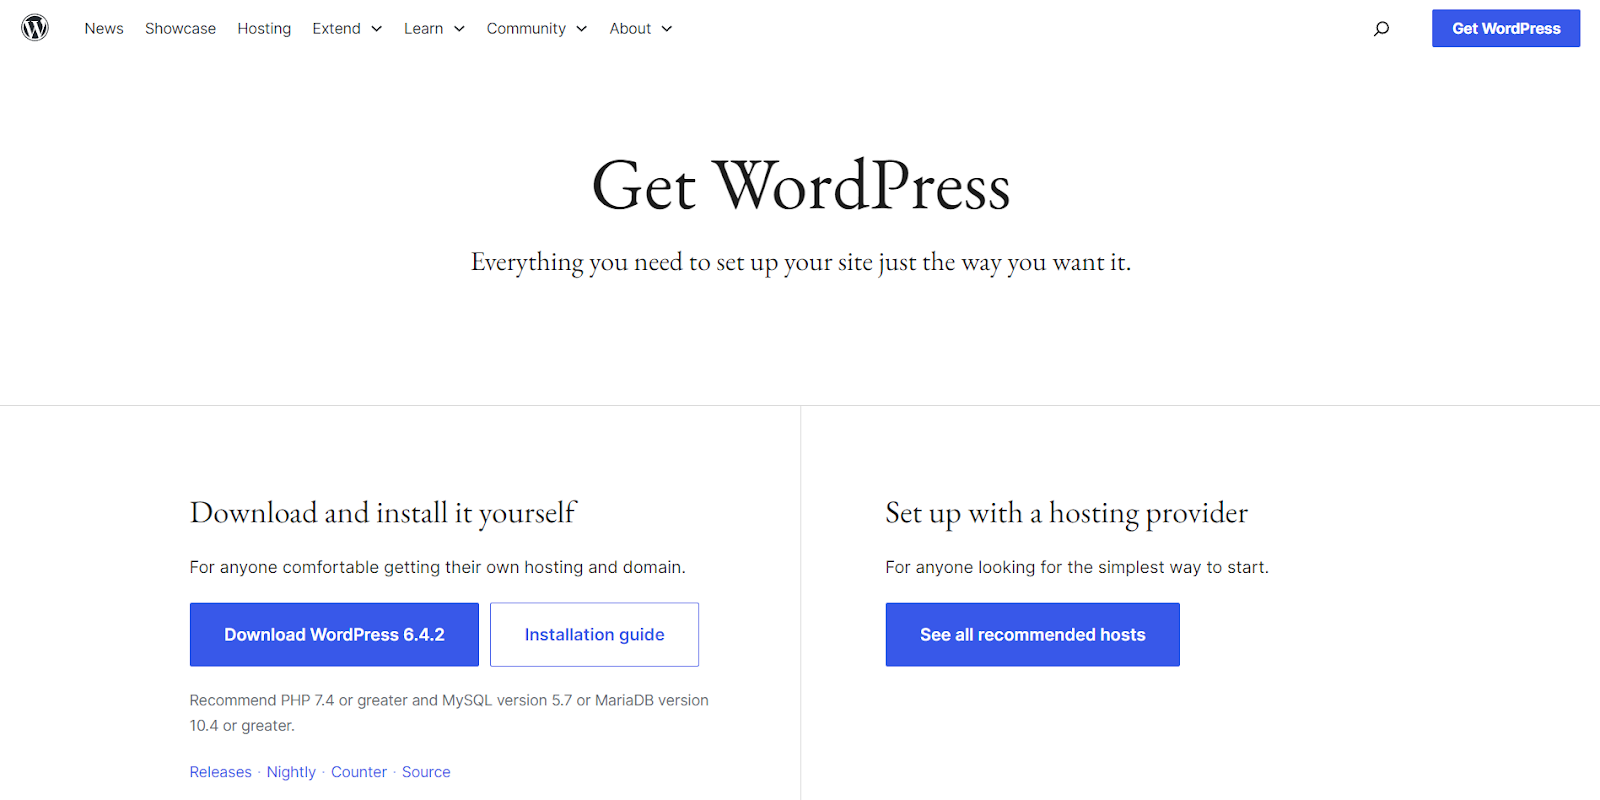
Installing WordPress comes next once the server is operational. Extract the ZIP file after downloading the most recent version of WordPress. Get it here.
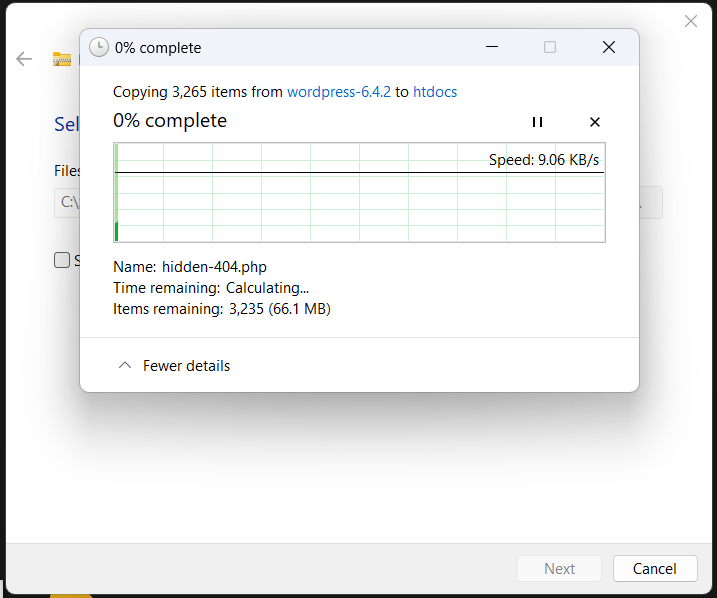
Locate the htdocs folder by navigating to your XAMPP folder on the C drive (C:\xampp). Upload the WordPress files that have been extracted there. To make web development on the XAMPP server easier, I suggest renaming the new folder with the name of your website.
- Create a Local Database
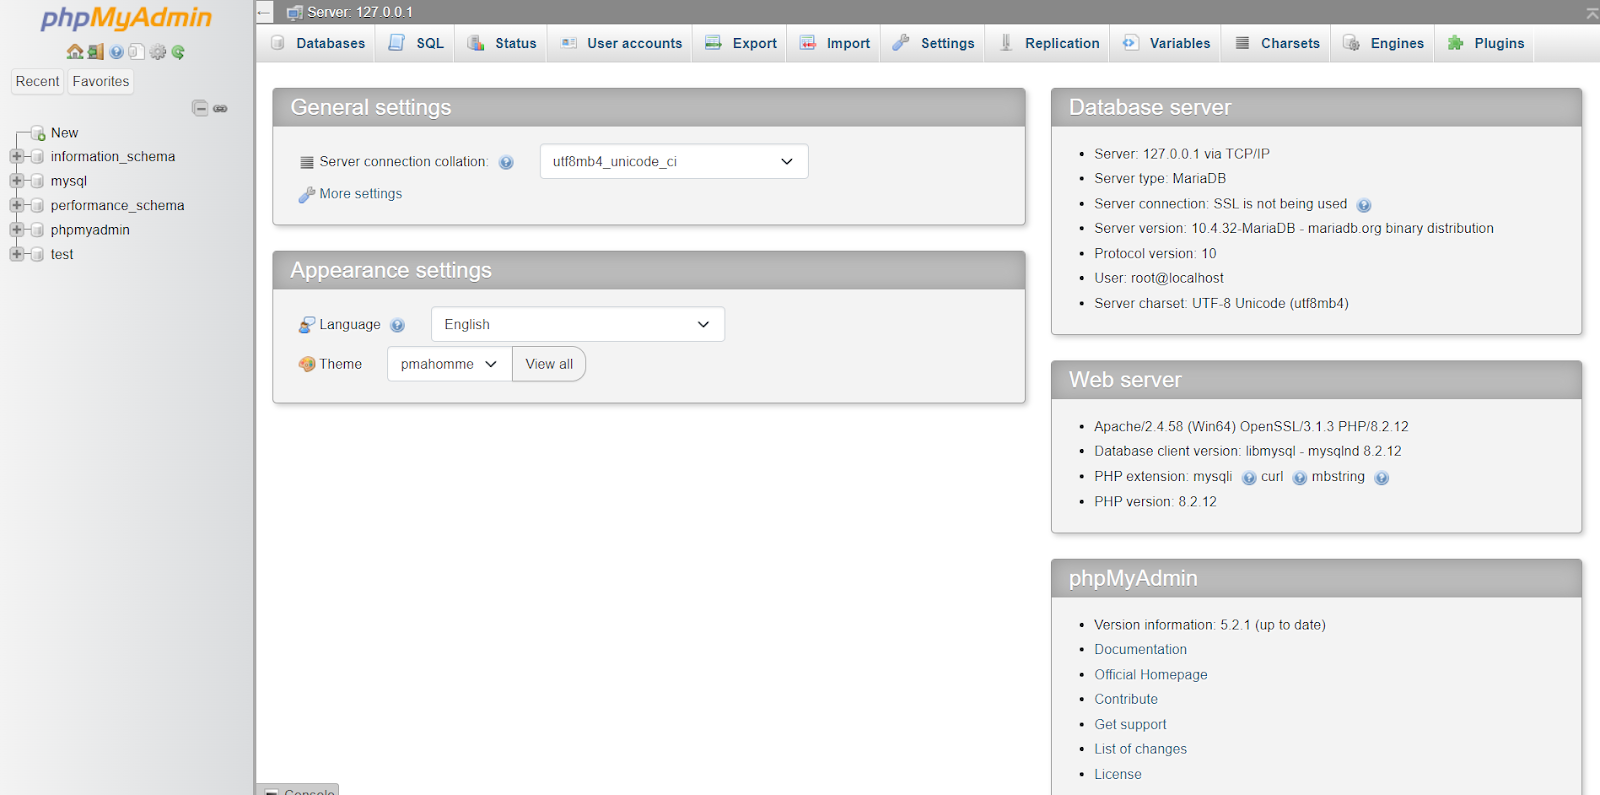
Return to your XAMPP control panel and click the MySQL module’s Admin button to open phpMyAdmin, an administration tool for MySQL and MariaDB database management. It will assist you in setting up the new website’s local MySQL database.
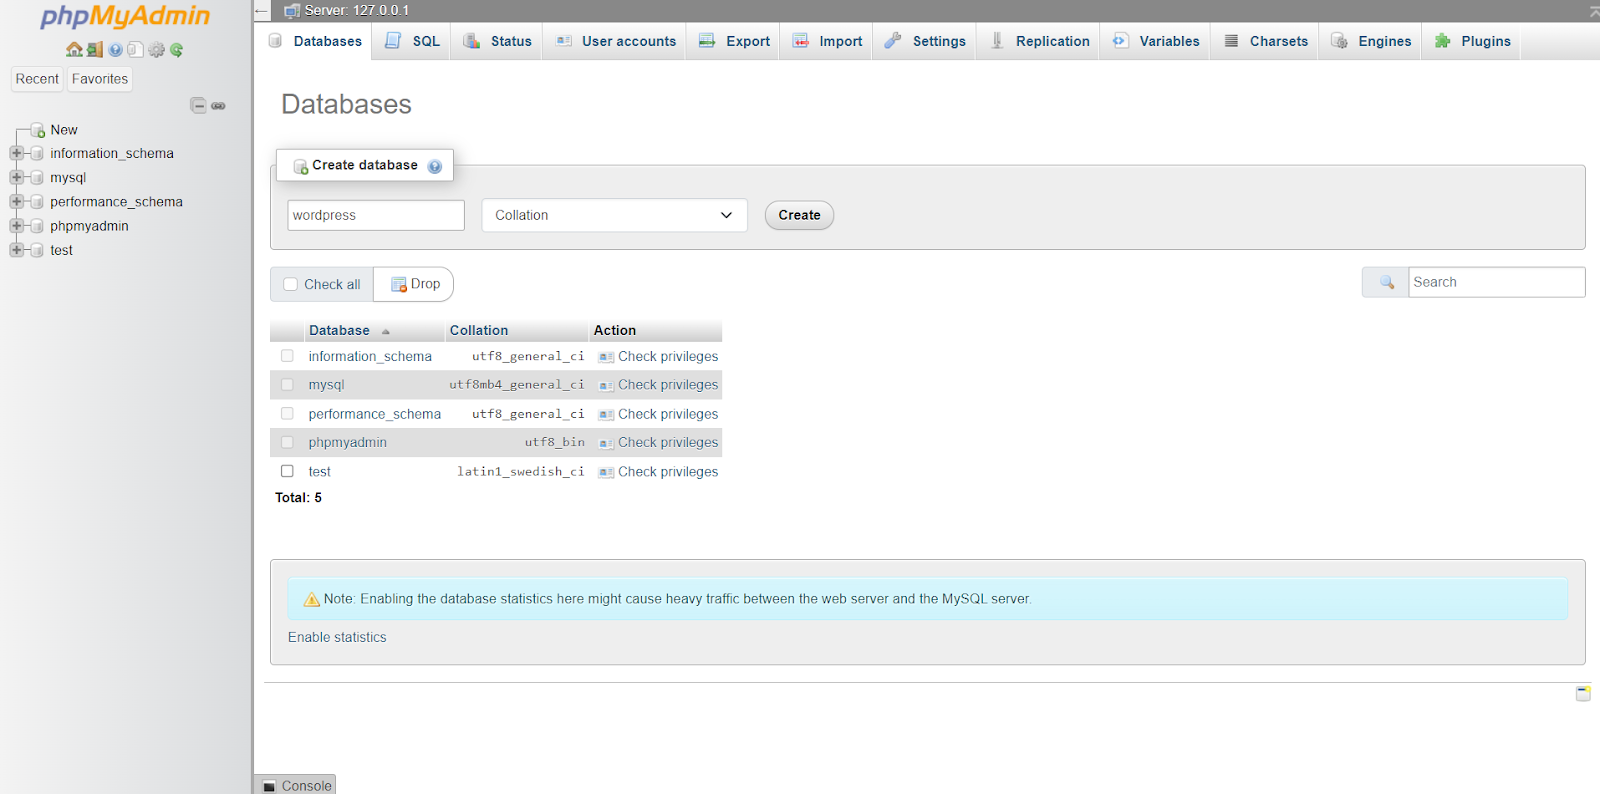
Navigate to the Databases tab and type the database name in the Create database box. Click the Create button after selecting Collation from the dropdown menu. The website’s left sidebar should display your newly created MySQL database.

- Install WordPress on Localhost
Use your desired web browser to go to https://localhost/foldername to complete the WordPress installation locally. Remember to enter the folder name of your choice in the “foldername” placeholder during the third step. You will then see a screen like the one below. You can choose your default language here.
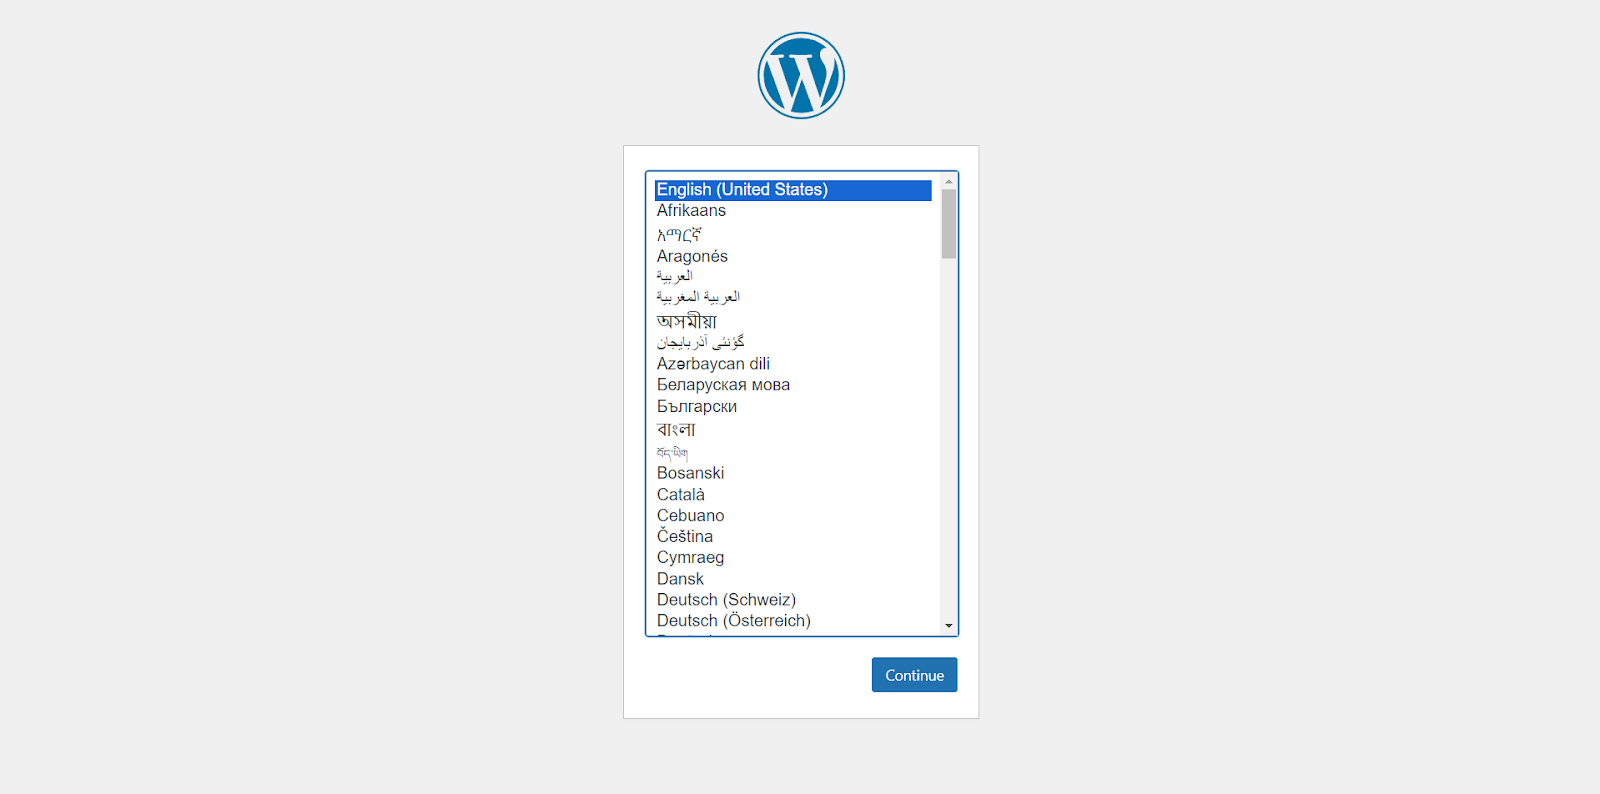
After selecting a language(which you did in the above step), hit the “Let’s go!” button that you see on your screen.
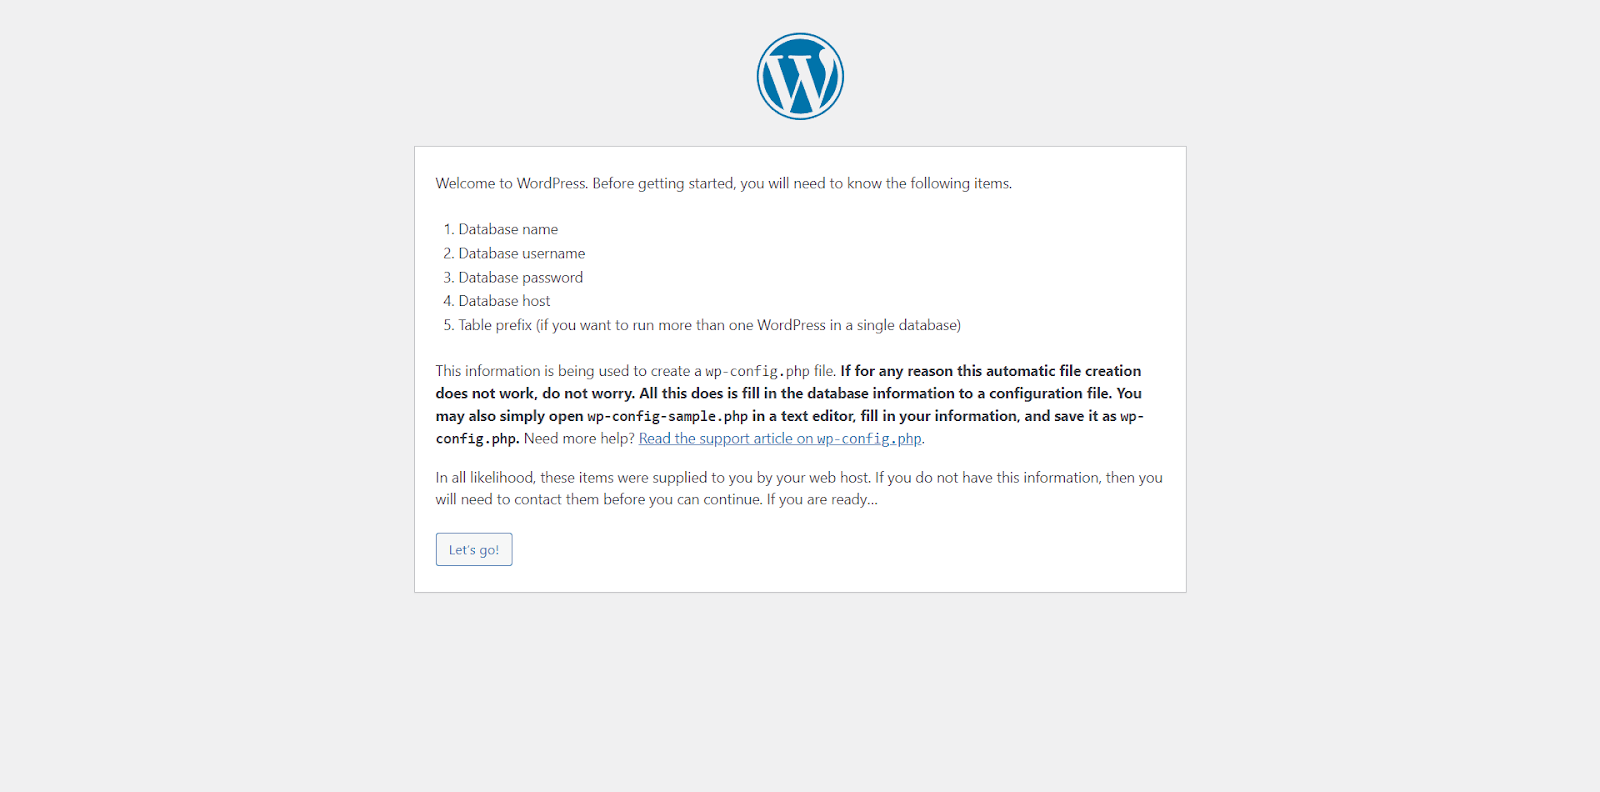
WordPress asks for a list of information to build the ‘localhost’ site. Fill in the database information as follows:
Database name ‒ the name of the database you created in phpMyAdmin.
Username ‒ type “root” as the default username.
Password ‒ it is okay to leave the MySQL database password field blank.
Database host ‒ keep the default “localhost.”
Table prefix ‒ keep the default “wp_.”
After filling all the fields as instructed above, click the “Submit” button.

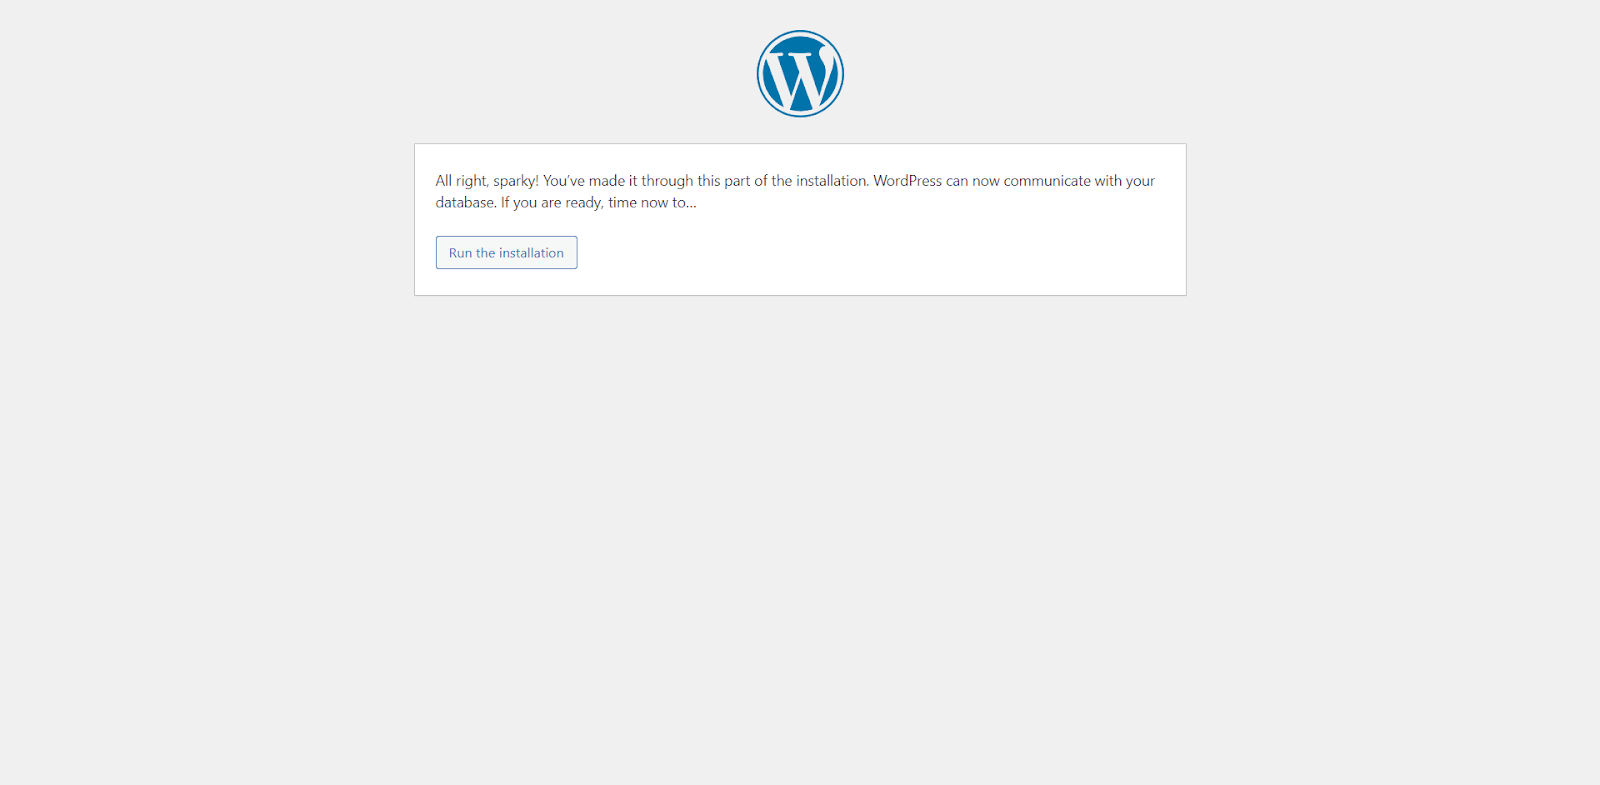
Now click the “Run the installation” button, which will appear on the next screen. It is how will it look below:
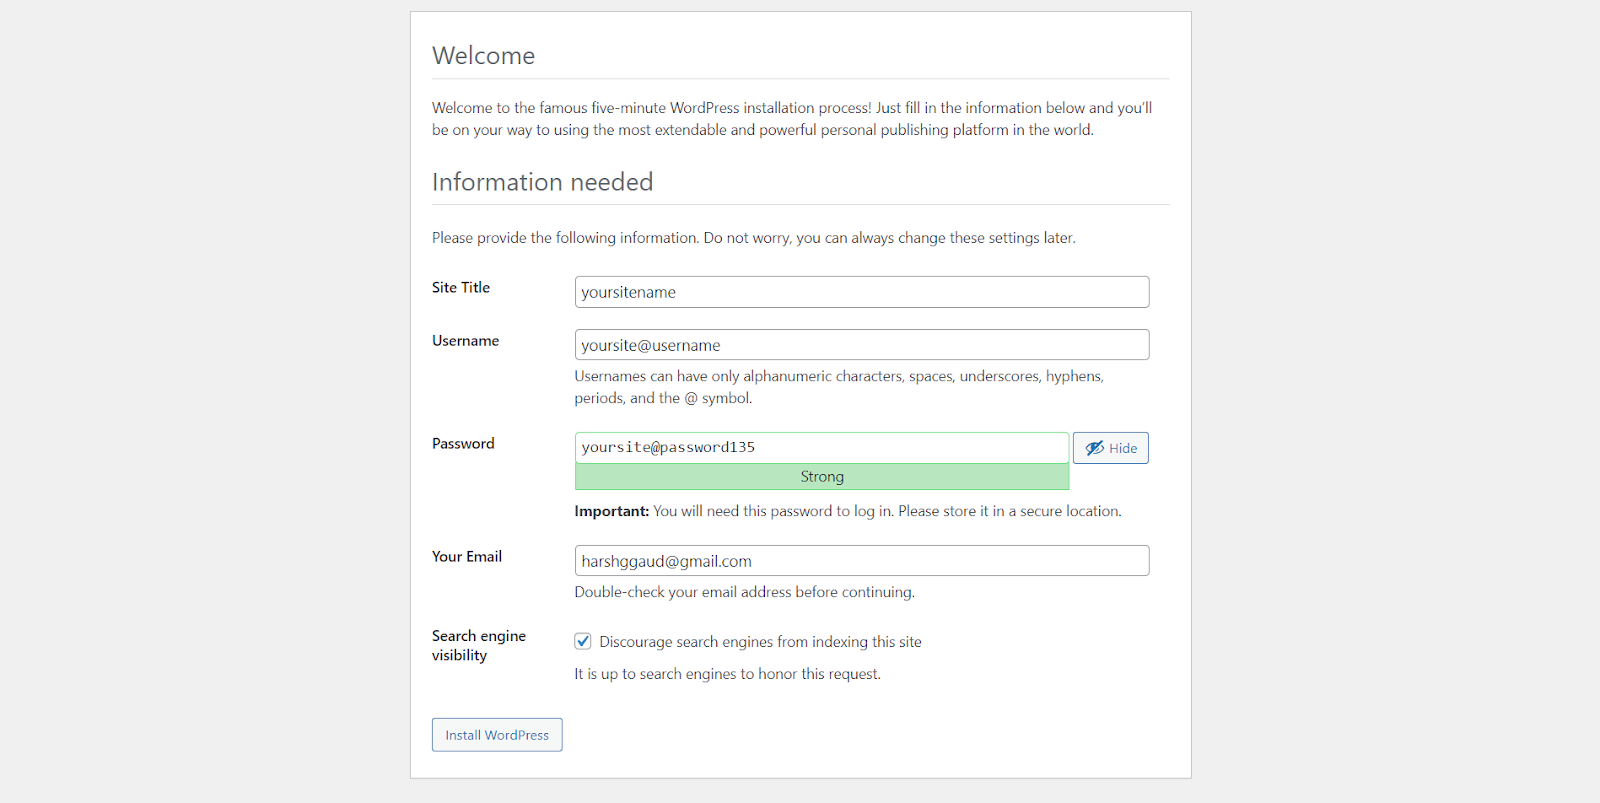
You will now be greeted with a welcome screen, and under the “information needed” heading, you will be asked to enter your credentials for creating a WordPress account. Once you do that, as I did for the demonstration purpose, hit the ‘Install WordPress’ button.’
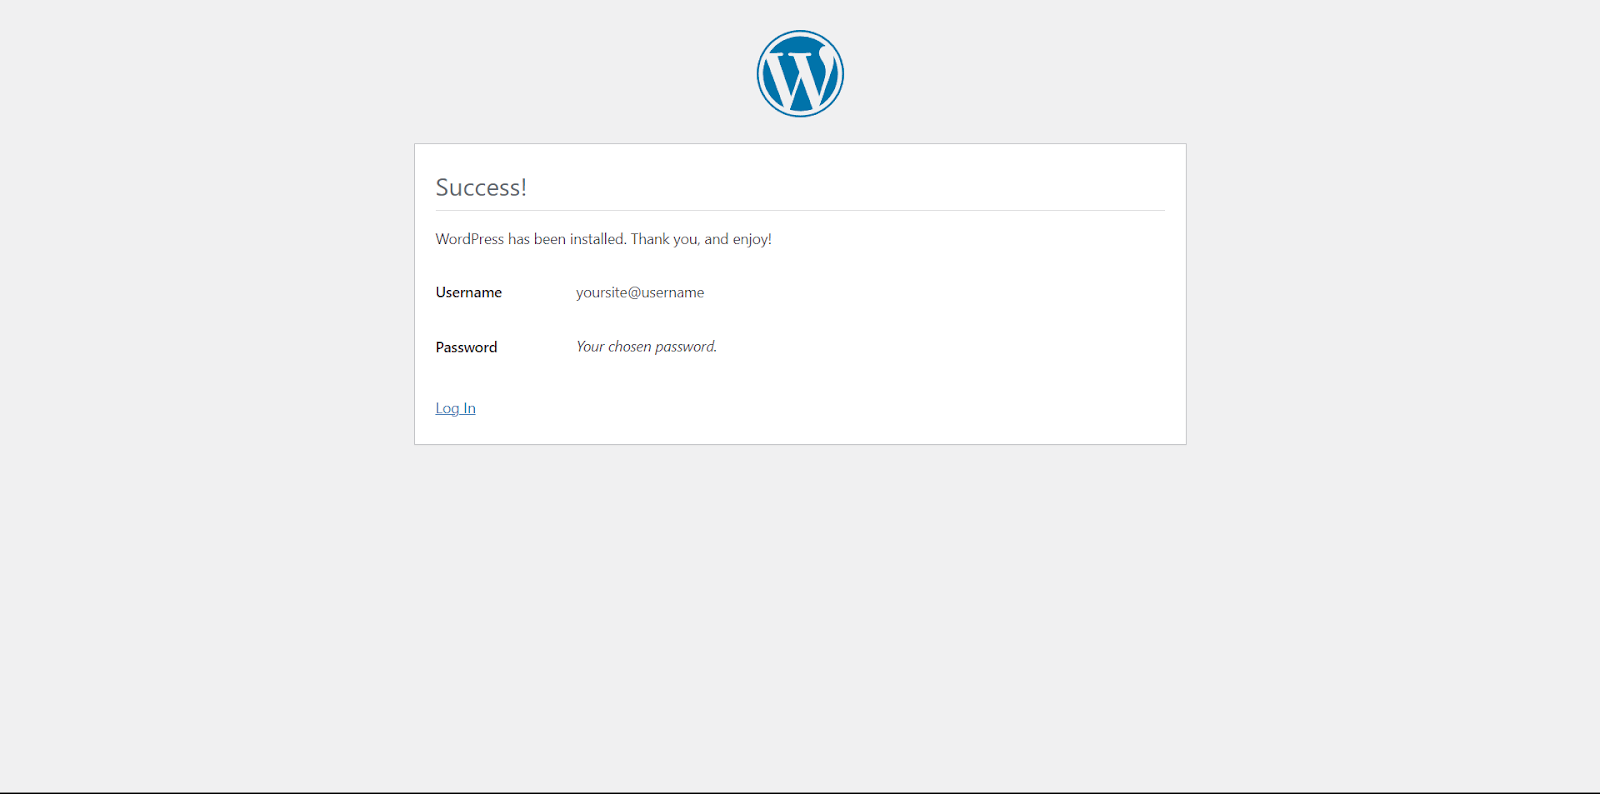
You should now see a ‘Success’ message and a small ‘Log In’ prompt below. Click on it.
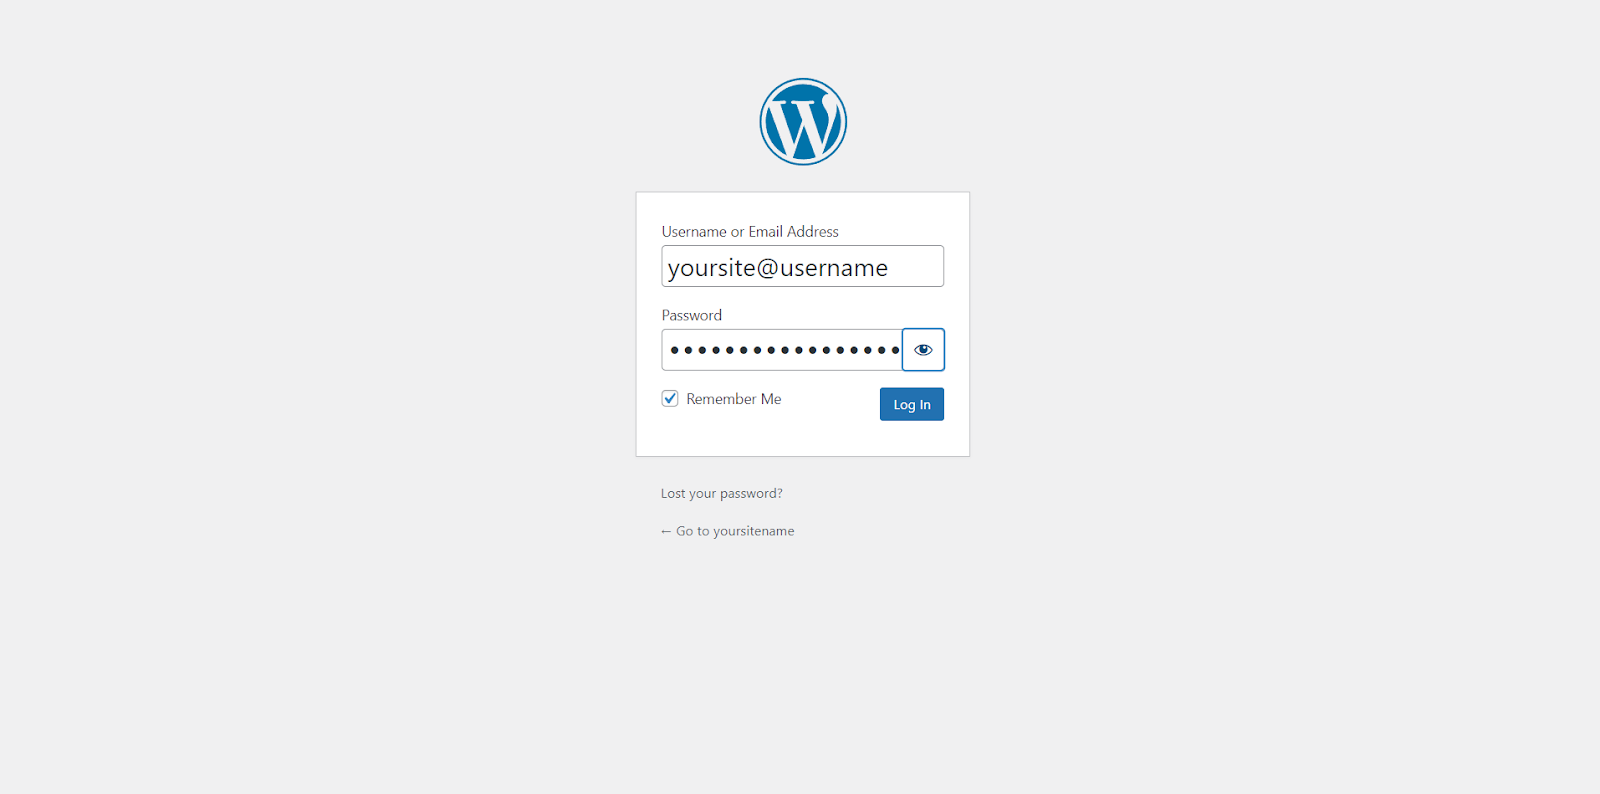
You will be taken to the next screen to enter the credentials you set earlier. You can checkmark the ‘Remember Me’ option and click the ‘Log In‘ button.
For the times when you forget your WordPress password: How To Reset The Password For WordPress By MySQL in 2024
Voila! You can check the box on your to-do list that says “Install WordPress Locally.”

Suggested Read: The Easy Guide To Install WordPress With WAMP
Conclusion
I guarantee that you will be clear about how to install WordPress on localhost if you carefully read the instructions. You can practice with the most popular CMSs using XAMPP; they are free. Install WordPress on your localhost and experiment with its features. Start learning how WordPress functions by using well-known plugins and themes. It is the greatest option for a beginner to learn about WordPress and its operation.
It is enjoyable because CMS makes creating a website simple for people from any background. Yes, using WordPress to create a website is very simple these days. Now that you are familiar with installing WordPress locally, you can create a website to learn more about the platform or check and test any plugins, themes, updates, etc.
WordPress began its journey just as a simple blogging platform, but over time, it also became the most powerful platform for all sorts of websites. Users can quickly build an online ecommerce store with its free plugin WooCommerce or even a multi-vendor marketplace utterly free of cost! So, try it and let me know in the comment section below if there is anything else. I’m always around!
Also Read: How to change your WordPress domain Without Losing SEO Benefits
FAQs
Can any operating system be used to install WordPress locally?
Many platforms allow you to install WordPress locally, but XAMPP tends to be one of the most user-friendly options out there. Moreover, XAMPP is open-source and free, which supports all OS, including Linux, Mac, and Windows. All of the available software versions are listed on the official XAMPP website. After that, you can download the version that works with your system.
What prerequisites must be met to install WordPress locally?
Before installing WordPress on localhost, you’ll need a PC or other fully functional operating system to store your website files. Like a web host’s server for a live website, this will function as a virtual server.
Downloading a local development environment, such as XAMPP, is also required. Vagrant, WAMP, MAMP, and LAMP are some more well-liked choices. Open-source and free is XAMPP. It also functions on various platforms like Linux, OS X, and Windows.
WordPress can be installed on the XAMPP software after it has been downloaded. Additionally, you’ll need to choose the Apache, MySQL, and PHP modules from the control panel.
What are the advantages of using localhost for your WordPress development?
Localhost provides a controlled environment for testing and development, allowing you to experiment with themes, plugins, and content without affecting a live website. It’s faster, and you don’t need an internet connection.
Are there any security concerns with using localhost for WordPress development?
Localhost is generally secure for development purposes, but it’s crucial not to use it as a production environment. Ensure your live website is hosted on a secure server with necessary security measures.
Can I migrate a WordPress site from localhost to a live server?
Yes, you can. Plugins and manual methods are available to migrate a (WP)WordPress site from localhost to a live server. This process involves exporting the database and files and then importing them onto the live server.
