
Countdown timers can generate excitement for upcoming events, product launches, or limited-time offers by leveraging the fear of missing out (FOMO). WordPress countdown plugins are an effective way to harness this strategy.
A countdown timer visually or textually counts down to a specific moment, which can be either fixed or dynamic.
• Fixed Timer: This static timer counts down to a set date, like a website launch or product release, and remains the same for every visitor.
• Dynamic (Evergreen) Timer: This timer starts when a visitor visits your site or a specific page, such as the beginning of an order.
Both types of countdowns build anticipation and excitement, but dynamic countdowns add urgency by showing visitors that time is limited to take advantage of an offer, which can boost conversion and sales rates.
Do You Need a Countdown Timer?
Common uses of countdown timers include promoting sales, counting down to product launches, announcing upcoming events, highlighting limited-time offers, and creating anticipation for new content releases.
You can create urgency in your email marketing campaigns by embedding such timers directly into your emails or by linking to a landing page on your website that features a countdown timer.
Steps to Create a Countdown Timer in WordPress
The Kadence Blocks Countdown Block lets you add a countdown timer to your WordPress website, perfect for creating urgency for a sale or displaying time left until an event. With the free Kadence Blocks plugin, you gain access to an extensive library of WordPress blocks that also includes a countdown block, form block, table of contents block, and more. This comprehensive plugin provides all the elements you need, eliminating the need for a separate WordPress countdown timer plugin.
While Kadence Blocks doesn’t have built-in notifications for countdown expiry, you can use automation tools or plugins to trigger notifications when a timer expires, such as sending an email or updating website content. The countdown timers created with Kadence Blocks are responsive and can be customized for different device views to ensure they look great on desktops, tablets, and mobile devices.
Here’s how to set it up:
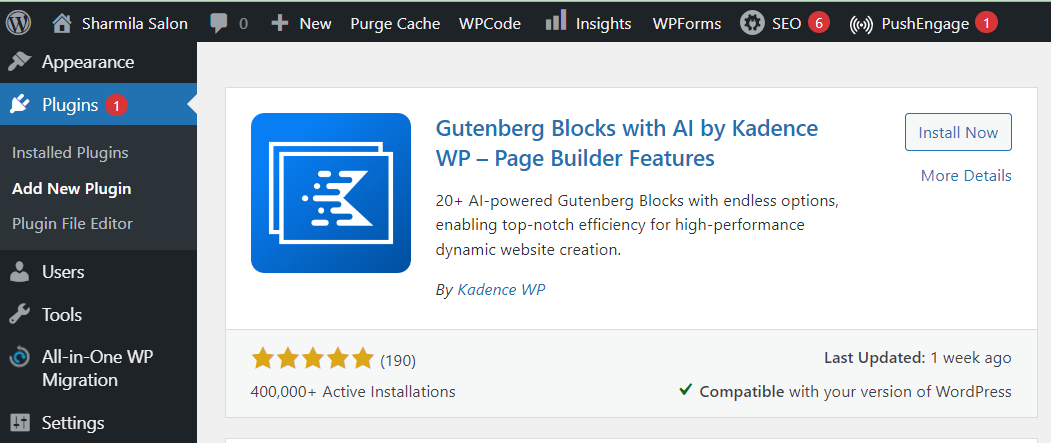
Step 1: Download and Install Kadence Blocks Plugin
• In your WordPress admin dashboard, navigate to Plugins > Add New.
• In the top right search bar, type “Kadence Blocks.”
• When the Kadence Blocks Plugin appears, click the Install Now button.
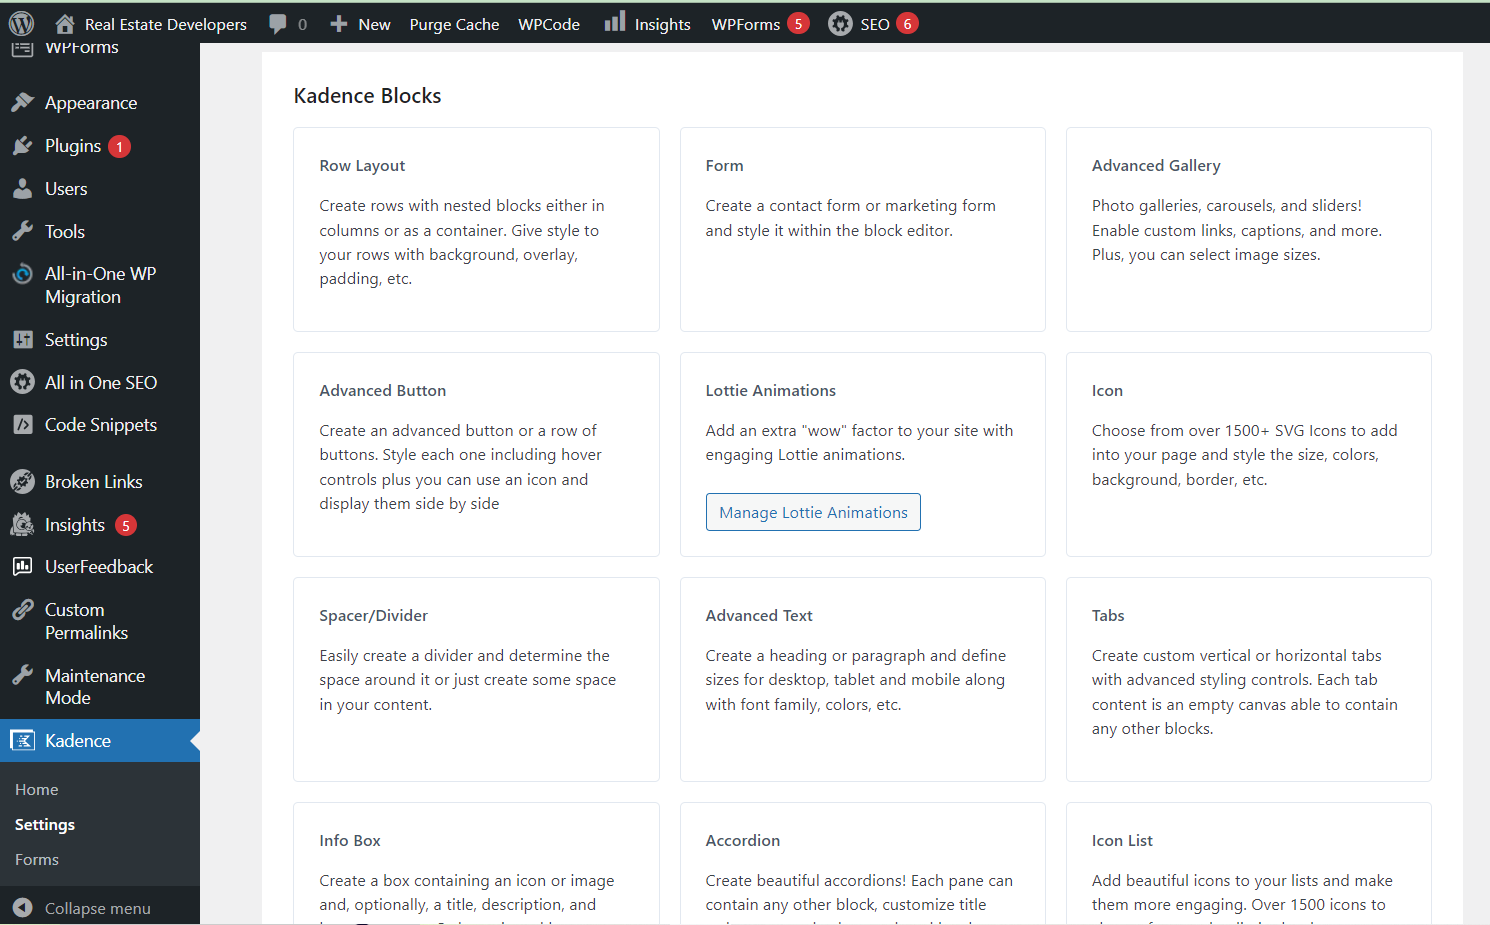
Step 2: Activate the Plugin
• After installation, activate the plugin.
• You’ll be directed to the Kadence Blocks settings screen, where you can deactivate any blocks you don’t need.
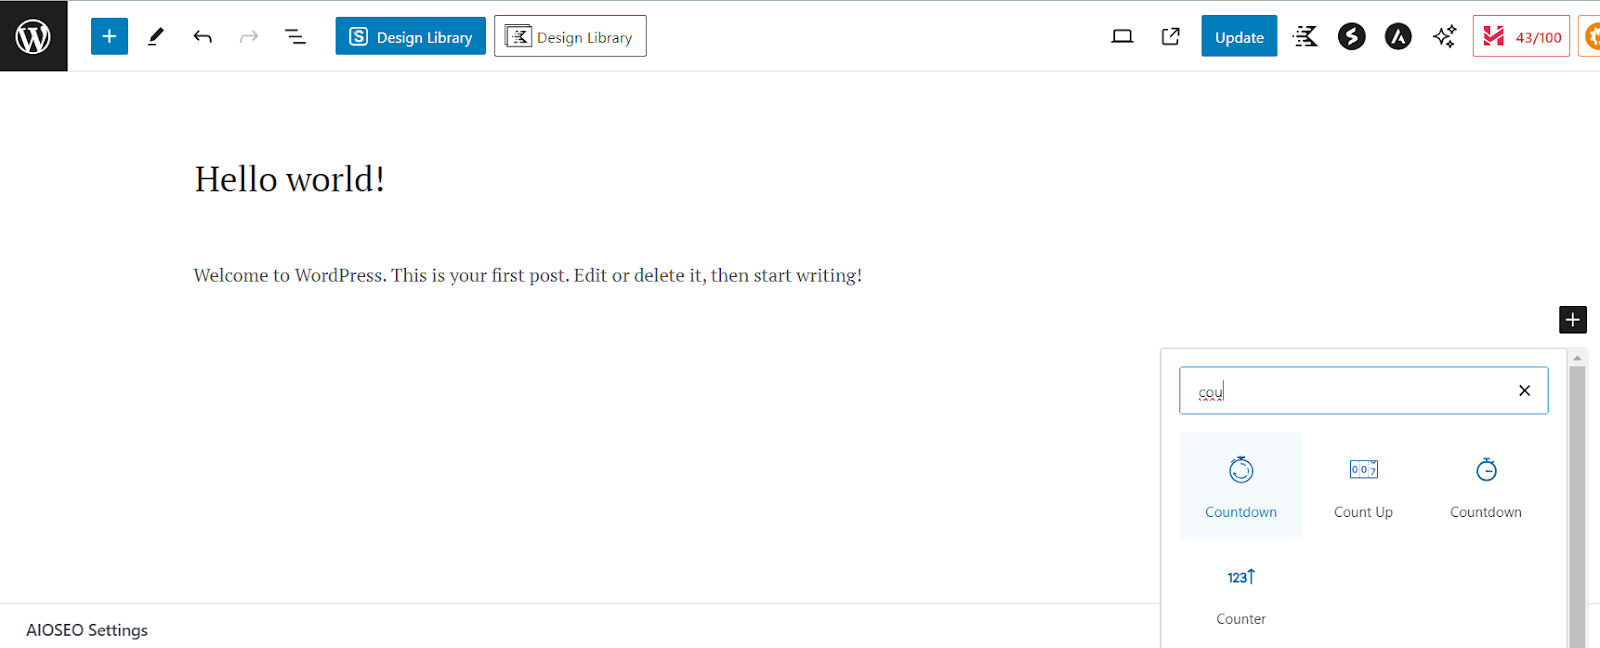
Step 3: Add a Countdown Timer
• Navigate to the page or post where you plan to add a countdown timer.
• Click the “+” icon to open the block section.
• Find and select the Countdown block from the list.
• The timer will be added to your post or page and will be ready for customization.
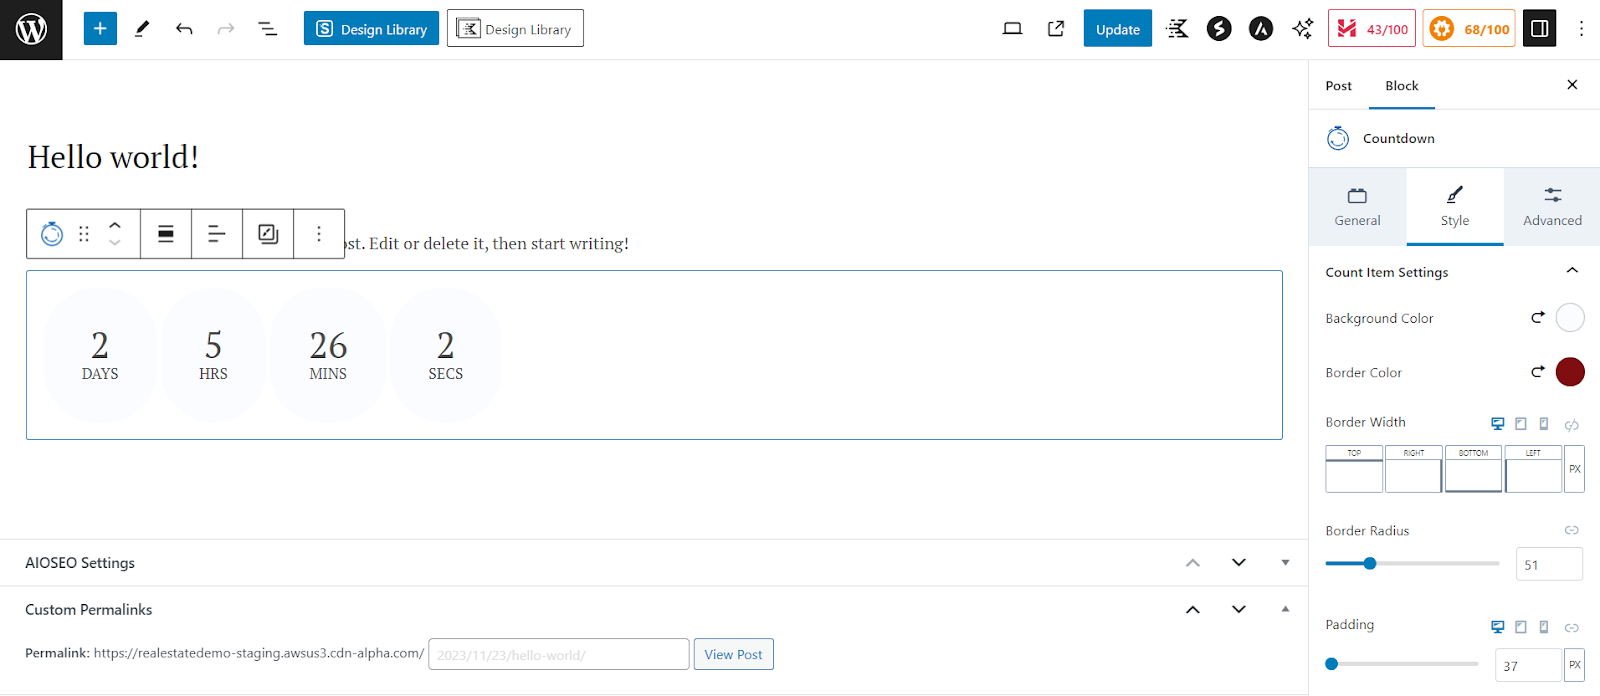
Step 4: Customize Your Countdown Timer Settings & Design
After adding the Countdown block, use the control panel on the right side of your screen to navigate to the block settings. Here, you can customize your timer’s appearance and functionality:
• Countdown Type: Choose between Date or Evergreen (Pro). An Evergreen countdown timer starts when a visitor lands on your site and counts down from a set time.
• Date: Select the end date and time using the Calendar picker and date/time inputs.

• Action on Expire: Options include Show Timer at Zero, Hide (Pro), Replace with Content (Pro), or Redirect (Pro).
• Countdown Layout: Adjust Pre/Post text and labels for days, hours, minutes, and seconds.
• Count Item Settings: Style your countdown timer with background color, border color, border, and padding.
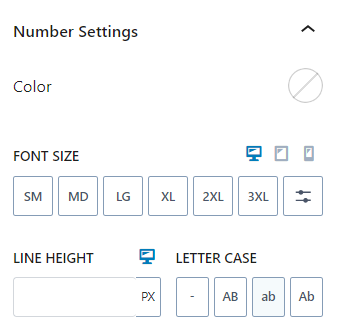
• Number Settings: Customize number color, font size, line height, letter spacing, and font.
• Label Settings: Adjust label font size, color, and font family.
• Container Settings: Configure the space around your countdown timer with background color, border, padding, and margin settings.
• Visibility Settings: Control the visibility of the countdown timer on desktop, tablet, or mobile.
• Advanced: Add an HTML anchor or additional CSS class(es).
With these settings, you can fully customize the design and functionality of your countdown timer.

Advanced Options for Countdown Timers in Kadence Blocks Pro
Kadence Blocks Pro expands your timer capabilities with additional features, including Evergreen countdown timers and enhanced actions upon expiration.
Evergreen Countdown Timers allow countdowns based on when a visitor visits your site, rather than a static date or time, creating a more tailored user experience. Features include:
• Evergreen Hours & Minutes: Set when the timer should expire.
• Campaign ID: Create a unique ID for each timer. To reset the timer for visitors, change this ID. Use the same ID for multiple timers to link them.
• Reset Interval: Specify the number of days until the evergreen timer resets for visitors.
• Verify by IP Address: Adds a delay to countdown rendering if no cookie is found, querying the server database to identify the user by IP address.
Action on Expire Settings provides additional options for post-expiration behavior, perfect for scenarios like ending a sale without manual intervention:
• Hide: Completely hide the countdown timer after it expires.
• Replace with Content: Display a custom message or image after the countdown expires.
• Redirect: Redirect the countdown timer to another link.
Why Do Countdown Timers Increase Sales?
Countdown timers boost sales by leveraging the fear of missing out (FOMO) and creating a sense of scarcity. This scarcity doesn’t have to be real; our brains are wired to respond to the mere possibility of it.
A dissertation by Shipra Gupta from the University of Nebraska highlights that scarcity is a powerful motivator. A key takeaway from the research is: “A sense of urgency is more visible when there are limited time windows to purchase limited products, and thus consumers tend to create ‘urgency to buy’ in their minds.”
Real-world examples support the effectiveness of countdowns. For instance, Edible Arrangements saw an 8% increase in same-day sales after implementing such timers. Even a more modest increase of 4% or 5% in sales from a website countdown timer would be a significant gain. Wouldn’t you agree?
Final Thoughts
Like many effective tools, countdown timers should be used in moderation. If visitors see a countdown every time they visit your site, its impact can diminish.
Even with frequent updates and exciting events, visitors may not distinguish between different countdowns, creating the impression of a “permanent” countdown.
For dynamic counters, be cautious. If a tech-savvy visitor notices the counter resets when they reload the page, it could undermine your credibility. They might realize the urgency is artificial or even question your honesty.
(Don’t worry, the dynamic timers in this list use cookies and IP detection to prevent this issue.)
Use dynamic countdowns wisely, ensuring that your limited-time offers are genuinely limited to maintain their effectiveness.
FAQs
How can I ensure that dynamic timers don’t reset when a visitor reloads the page?
Kadence Blocks Pro uses cookies and IP detection to prevent dynamic timers from resetting, ensuring that the sense of urgency remains genuine.
How can I track the performance of my countdown timers?
While Kadence Blocks doesn’t provide built-in analytics for timers, you can use third-party analytics tools like Google Analytics to assess user behavior and conversion rates related to your countdown timers.
Can I display different countdown timers on different pages of my website?
Absolutely! You can add and customize different countdown timers on multiple pages or posts, each with its own settings and end dates.
