User experience is paramount, especially on mobile devices. Slow-loading websites can land in high bounce rates and decreased engagement. This is where Google AMP (Accelerated Mobile Pages) comes into play. By implementing Google AMP on your WordPress site, you can significantly enhance page speed and improve user experience, driving more traffic and increasing engagement. In this guide, we’ll walk you through the process of setting up Google AMP on your WordPress site, step by step.
What is Google AMP?
Google AMP, short for Accelerated Mobile Project, aims to enhance mobile web browsing by speeding up page loading times. Unlike traditional page speed optimization techniques, Google AMP utilizes a separate lightweight template and streamlined CSS to deliver faster-loading web pages. Additionally, it employs lazy loading of images to further reduce loading times.
However, AMP pages are not automatically displayed to mobile visitors; they are managed by AMP consumers like Google Search. For instance, when using Google on a mobile device, you may notice the AMP icon beneath some search results, indicating that clicking on these results will lead you to a simplified version of the original page.
Benefits of Implementing Google AMP
Benefits of implementing Google AMP on your WordPress site include:
1. Increased Organic Traffic: While Google AMP isn’t a direct ranking factor, it positively impacts impressions and click-through rates (CTR) on search results, potentially improving your rankings. Notably, Google often prioritizes AMP content, like the news carousel, on mobile screens, enhancing visibility and driving more organic traffic to your site. According to Gary Illyes, enabling Google AMP has resulted in higher CTRs for 90% of publishers and increased views for 80% of them.
2. Decreased Page Abandonment: Research shows that 53% of visitors leave the site if it takes more than 3 seconds to load. Enabling Google AMP significantly improves page speed, reducing the likelihood of page abandonment and ensuring a smoother user experience for your site visitors.
Steps to Set Up Google AMP
Step 1: Install and Activate the AMP Plugin
Install and activate the official AMP plugin for WordPress. You can do this by navigating to the “Plugins” section in your WordPress dashboard, clicking on “Add New,” and searching for “AMP.” Once you find the official AMP plugin, click “Install Now” and then activate it.

Step 2: Set up the onboarding process
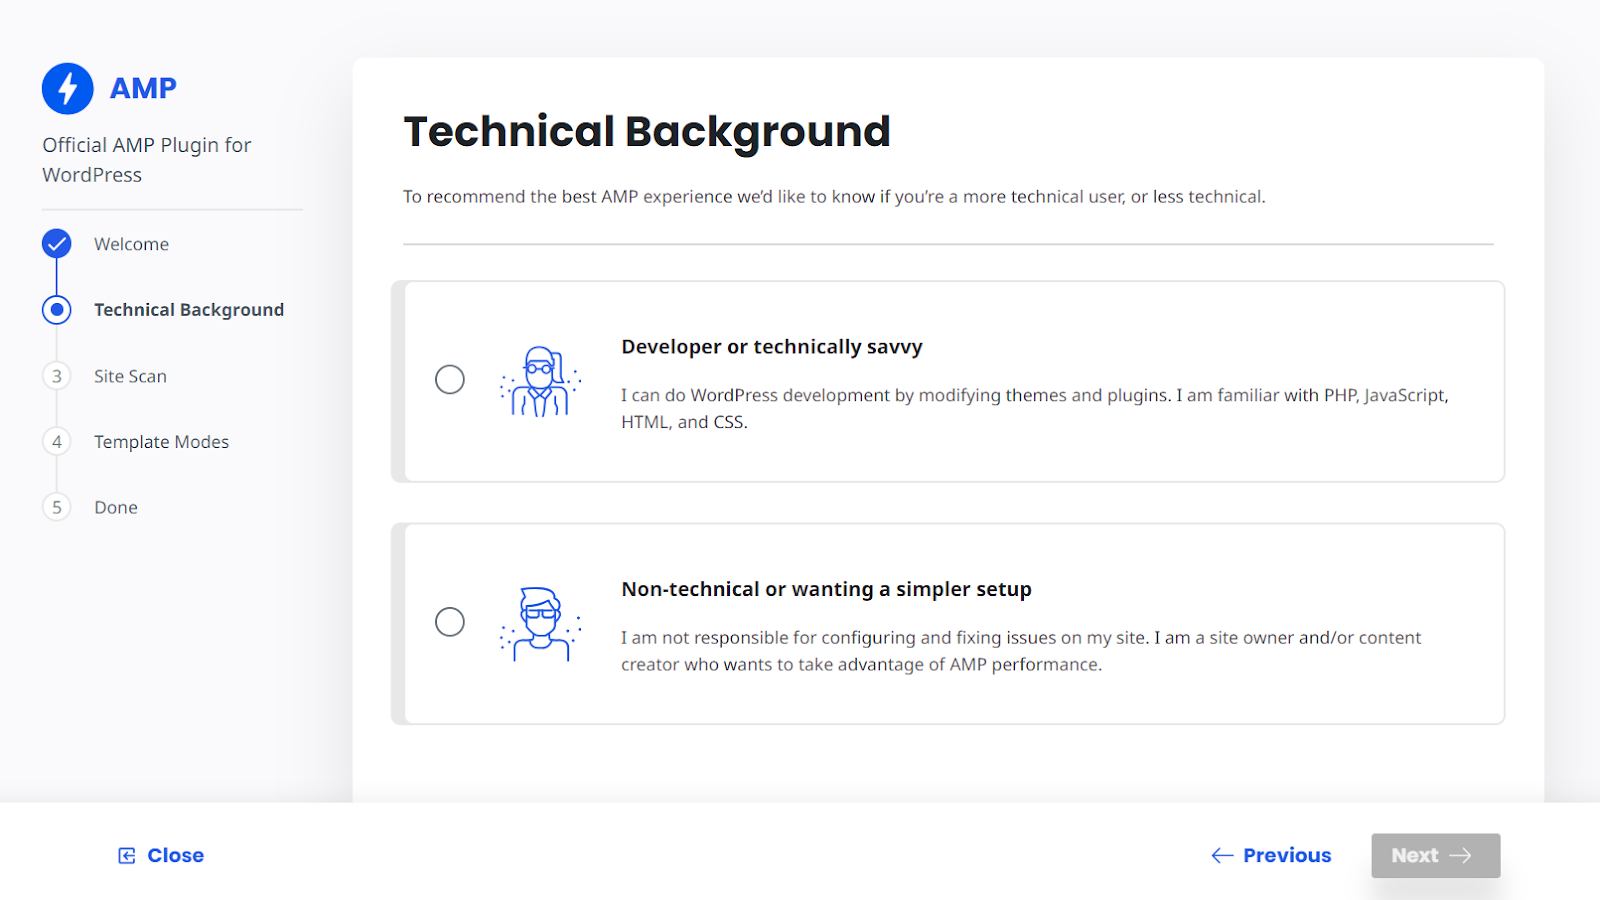
- Technical Background:
This setup is for technical and non-technical users. If you are not a developer, opt for non-technical set up which is an easier way.
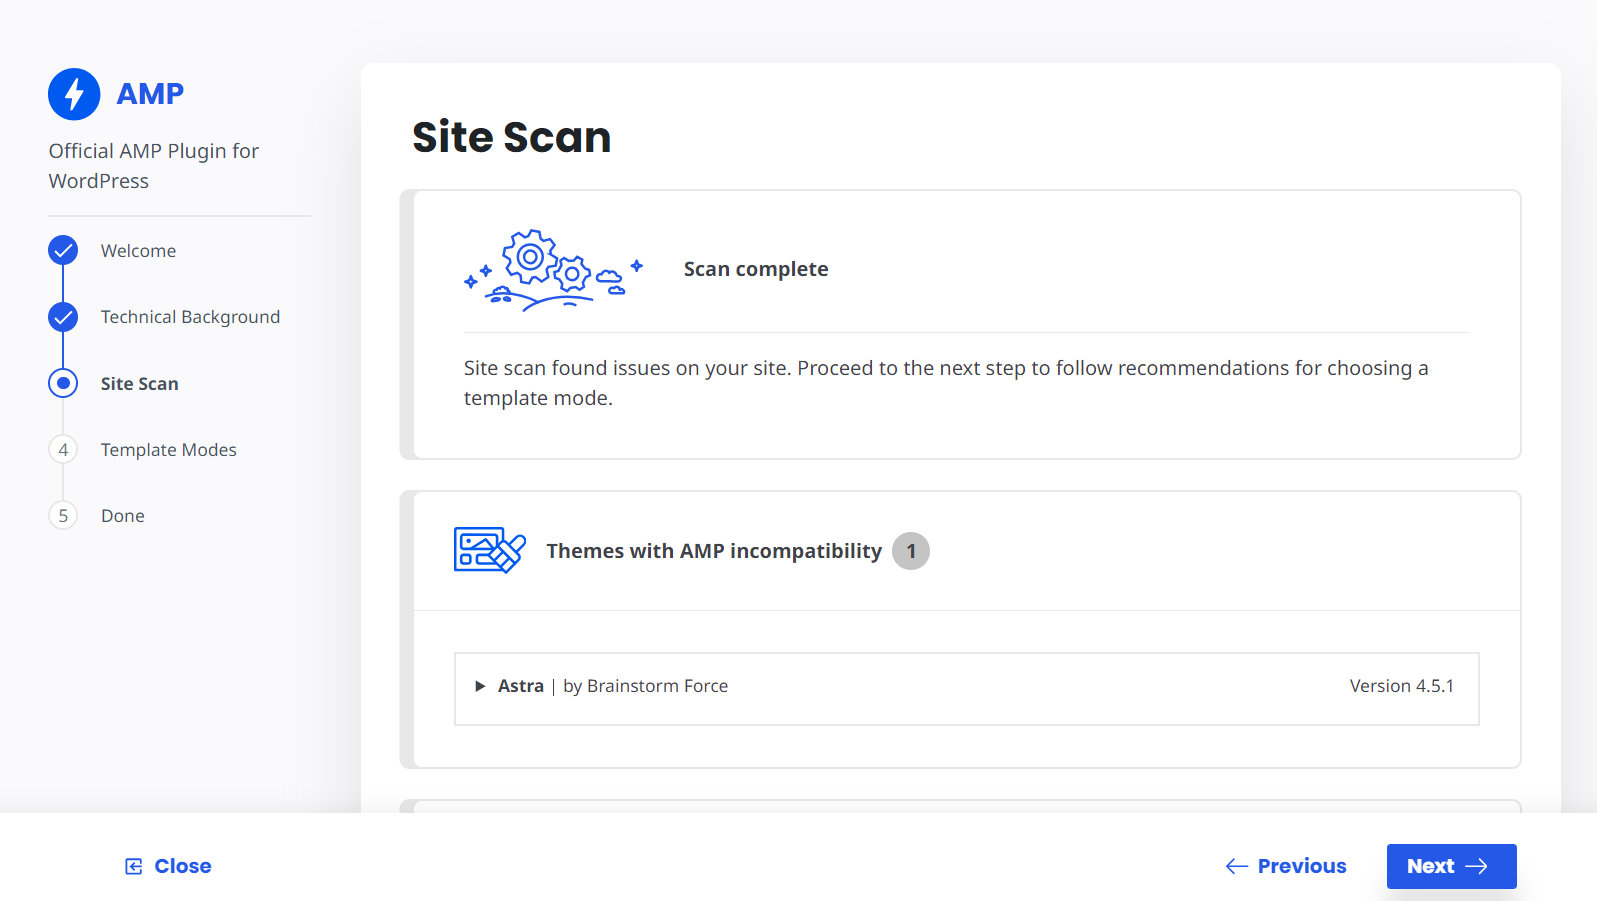
- Site Scan:
This section will scan your site for conflicts or incompatibility with themes or plugins. If there are any issues, it will recommend valuable solutions.
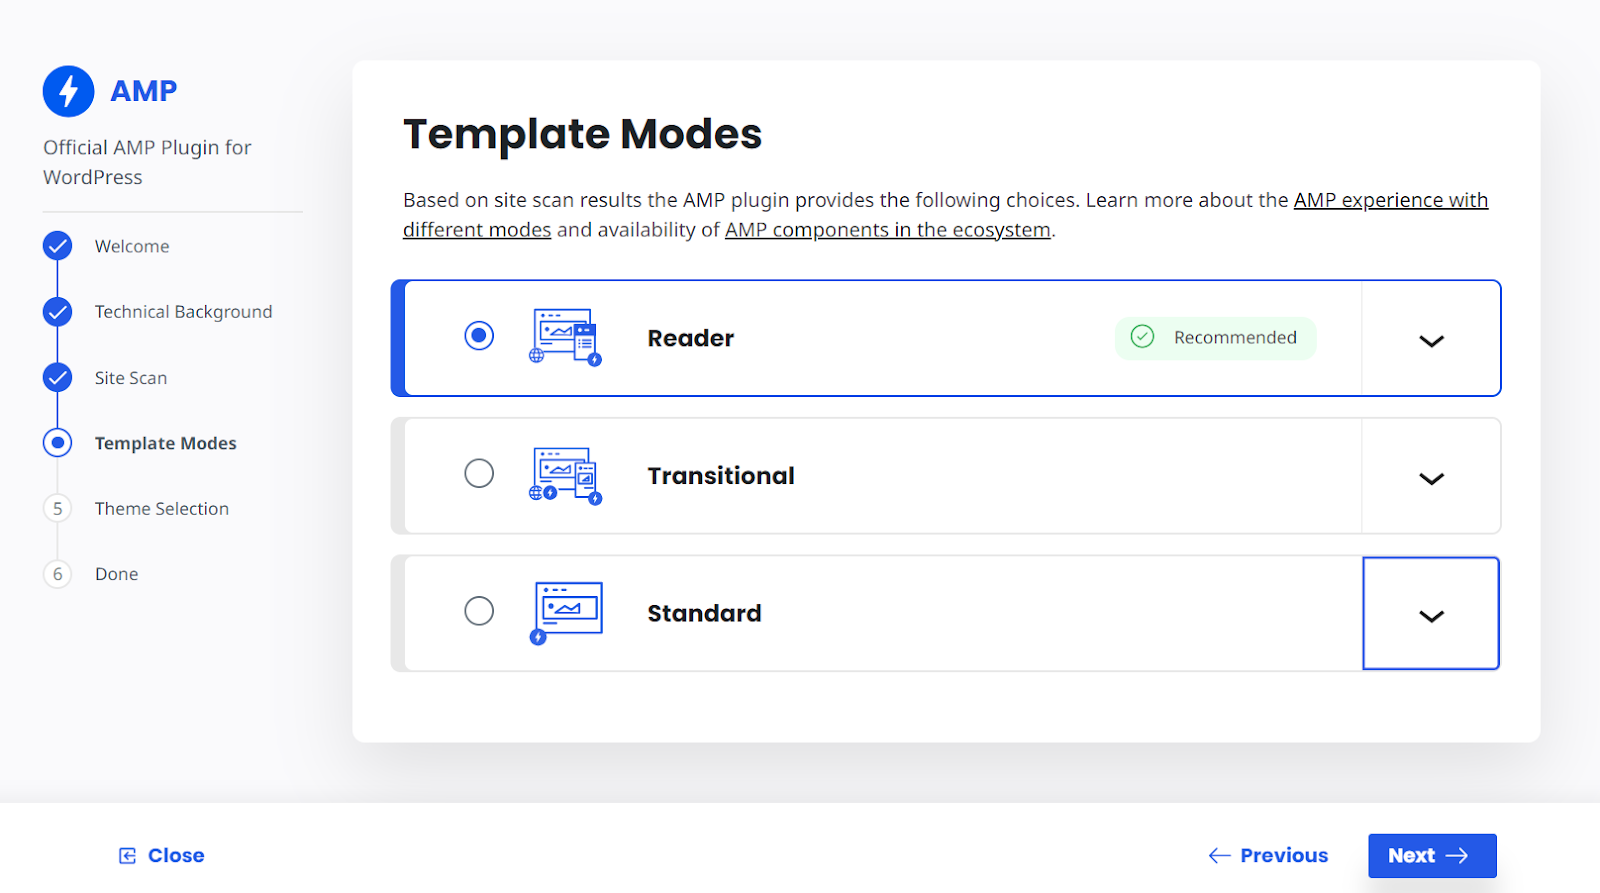
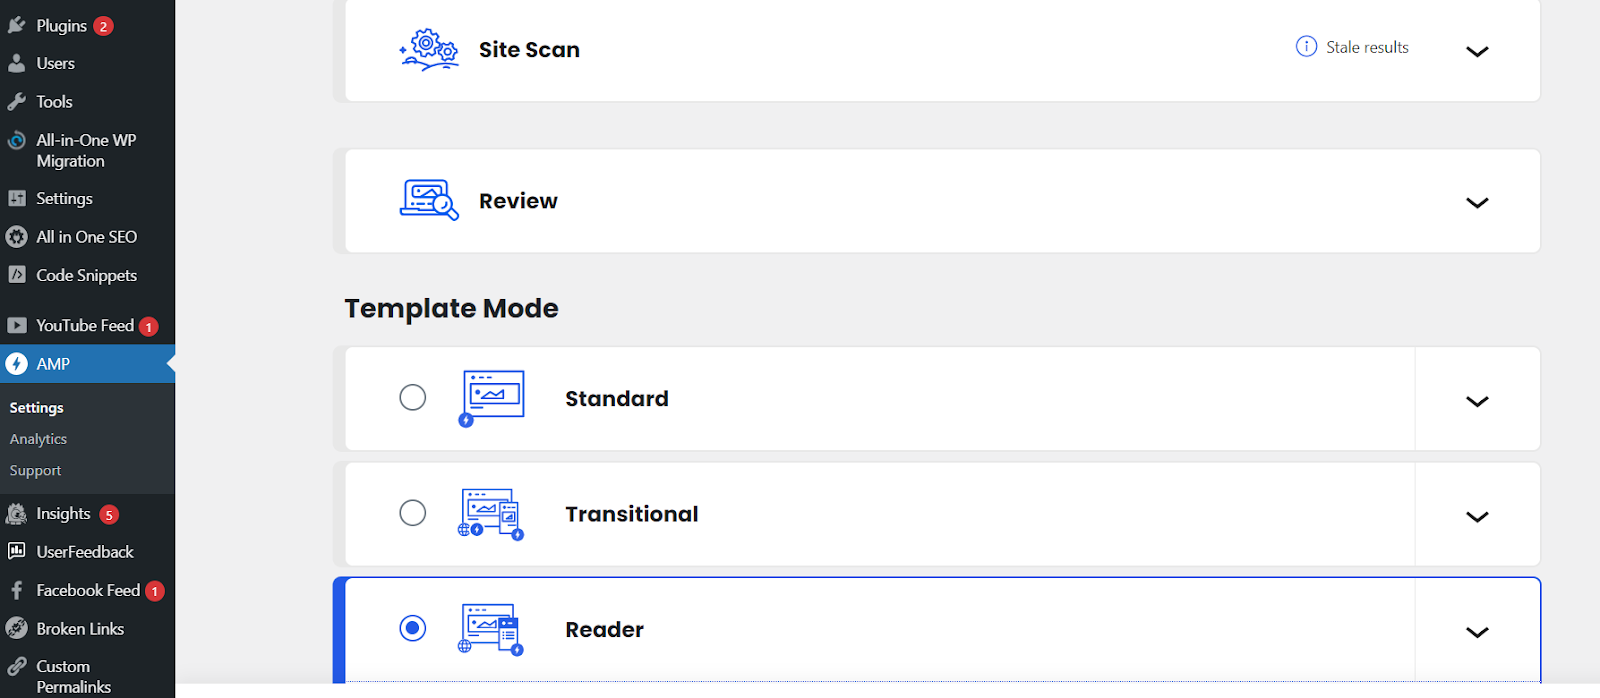
- Template Mode:
Based on the scan report, you can choose which template to go for while setting up your AMP pages.
- Theme Selection:
This section offers themes for your AMP pages that are compatible. Since we already had Astra theme installed on the site, we chose the same one for our AMP pages.

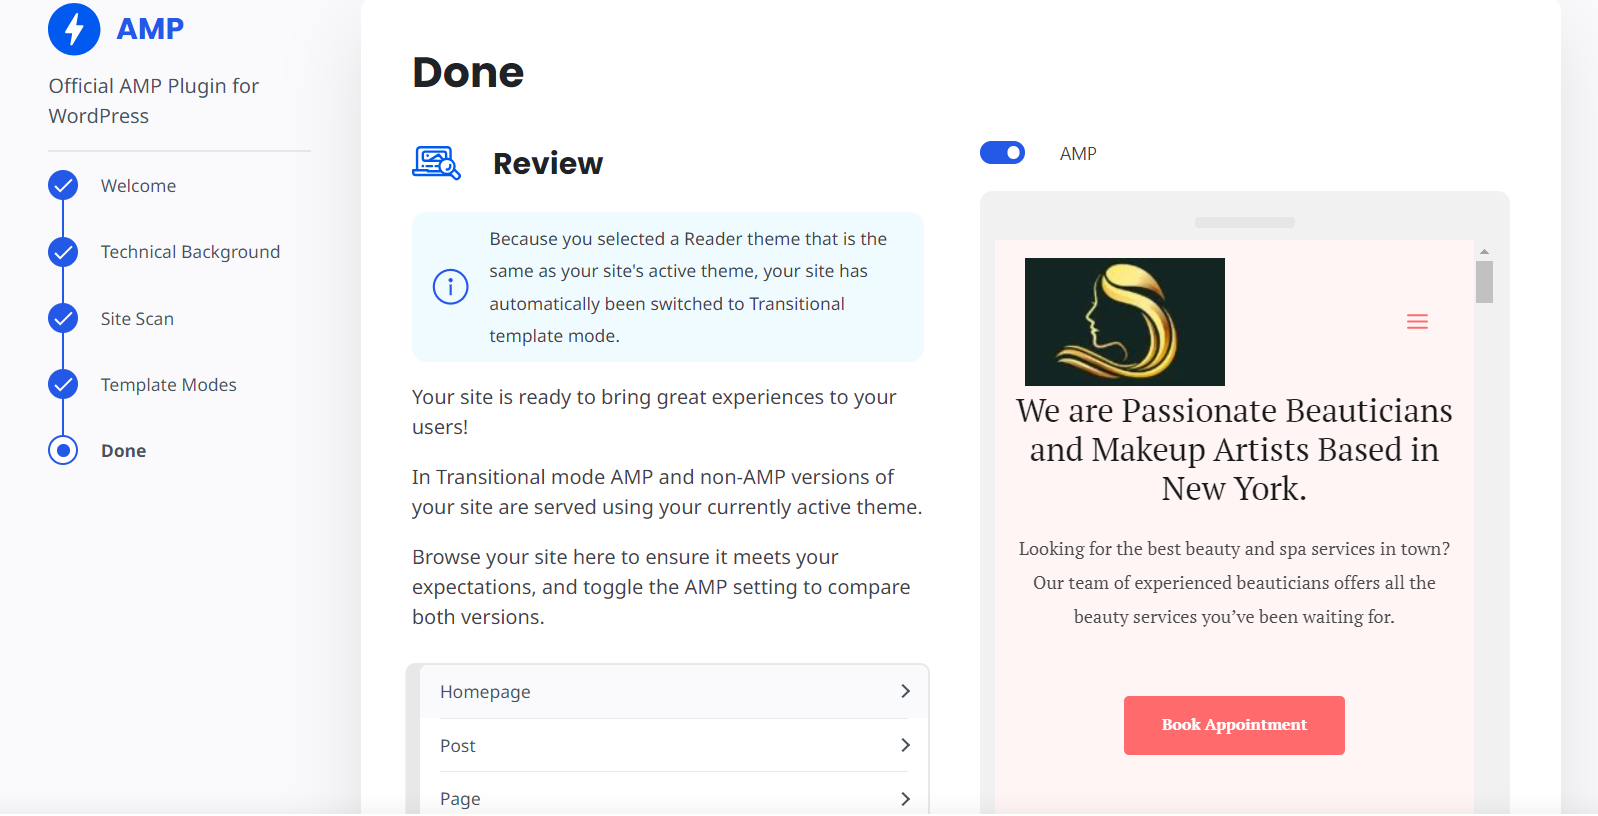
After selecting the theme, it will show you how your pages are displayed as AMP:
Step 3: Configure the AMP Settings
After the onboarding process, you’ll need to configure its settings to ensure optimal performance. Navigate to the “AMP” section in your WordPress dashboard and click on “Settings.” Here, you can personalize various aspects of your AMP pages, such as the scan, design, analytics, and SEO settings. Make sure to review each setting carefully and adjust them according to your preferences.
Step 4: Test Your AMP Pages
Once you’ve configured the AMP settings, it’s crucial to test your AMP pages to ensure they’re functioning correctly. You can do this in the Settings of AMP section. Go to ”Review” and click on the ”Browse Site’ button.

For example, if your post URL is “https://realestatedemo.awsus3.cdn-alpha.com/,” the corresponding AMP URL would be “https://realestatedemo.awsus3.cdn-alpha.com/amp-1.” Make sure to thoroughly test different types of content, including images, text, and videos, to ensure they’re rendering properly on AMP pages.

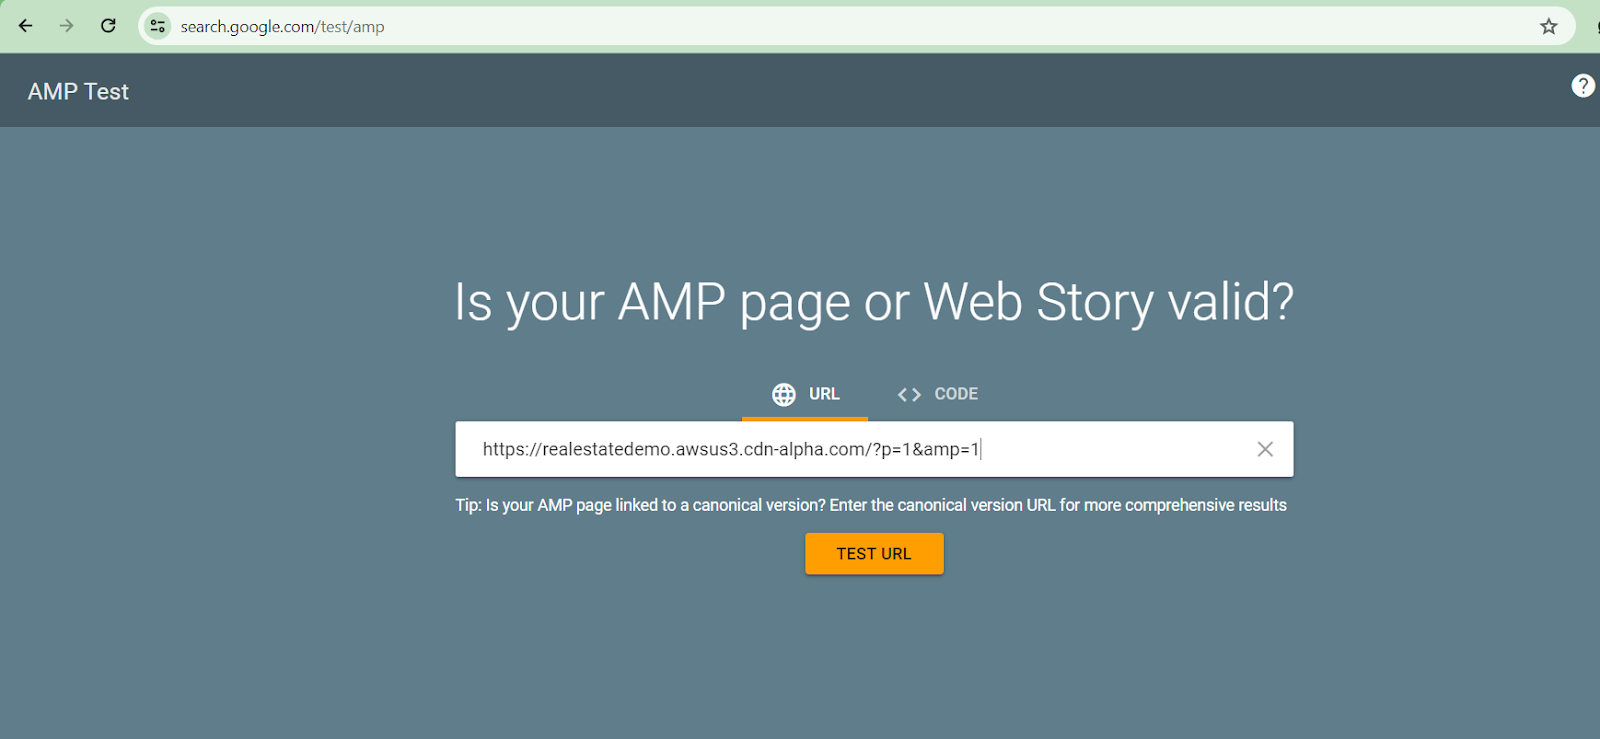
Step 5: Validate Your AMP Pages
After testing your AMP pages, it is essential to validate them using Google’s AMP validation tool. All you have to do is enter the URL of your AMP page into the tool box to check for any errors or issues that need to be addressed. Fix any validation errors promptly to ensure your AMP pages comply with Google’s standards and provide a seamless user experience.
Step 6: Monitor Performance and Make Adjustments
Once you’ve set up Google AMP on your WordPress site, it’s essential to monitor its performance regularly and make any necessary adjustments. Pay attention to metrics such as page speed, traffic, and engagement to gauge the impact of AMP on your site. Use tools like Google Analytics to track AMP-specific metrics and identify areas for improvement.
Conclusion
Setting up Google AMP on your WordPress site can considerably improve user experience and page speed, leading to increased traffic and engagement. By following the steps mentioned in this guide and staying informed about AMP developments, your site can be optimized for mobile users and also remain competitive in the ever-evolving digital landscape.
FAQs
How does Google AMP affect my site’s analytics and tracking?
Google AMP pages use a URL structure different from your regular pages, which can impact how analytics and tracking tools collect data. However, the official AMP plugin for WordPress includes built-in support for Google Analytics and many other tracking services, allowing you to track AMP page performance seamlessly. Make sure to configure your analytics settings correctly to ensure accurate tracking of your AMP pages.
Can I monetize my AMP pages with ads?
Yes, you can monetize your AMP pages with ads just like your regular pages. The official AMP plugin for WordPress supports various ad networks and ad formats, allowing you to display ads on your AMP pages and generate revenue. However, it is essential to ensure that your ads comply with Google’s AMP ad policies to avoid any issues with AMP validation.
Are there any SEO best practices specific to Google AMP?
While Google AMP itself is not a direct ranking factor, there are several SEO best practices to keep in mind when implementing AMP on your WordPress site. These include optimizing your AMP pages for mobile keywords, ensuring fast loading times, and providing high-quality, relevant content. Additionally, it’sit’s essential to monitor your site’ssite’s mobile rankings and traffic after implementing AMP and make adjustments as needed to maintain or improve your SEO performance.
