
Many websites use Amazon Web Services (AWS) for their operations. Typically, a website uses Amazon EC2 for computing power, Amazon S3 for data storage, and Amazon CloudFront as a content delivery network (CDN).
Setting up this stack is more complicated because each service requires configuration to work together. After setup, the operating system and content management system (CMS) must be configured too.
However, setting up all these separate AWS services can be time-consuming, especially if we just need to quickly launch a website for development or testing purposes.
To simplify this process, AWS offers Amazon Lightsail. It combines EC2, S3, CloudFront, and other services into a user-friendly interface. Lightsail provides pre-configured web servers with both hardware and core software ready to go, allowing us to have a website up and running in minutes.
Unlike many AWS services, which have variable pricing, Lightsail has a fixed monthly price. This makes it easier to predict our monthly AWS bill compared to services like EC2, EBS (which provides storage volumes for EC2), S3, and CloudFront, which have pricing based on usage metrics like time, data size, and data transfer.
So, let’s look at how to quickly and simply establish a WordPress website in Lightsail in this post.
Host A WordPress Website On Amazon LightSail
Step 1: Sign up for AWS
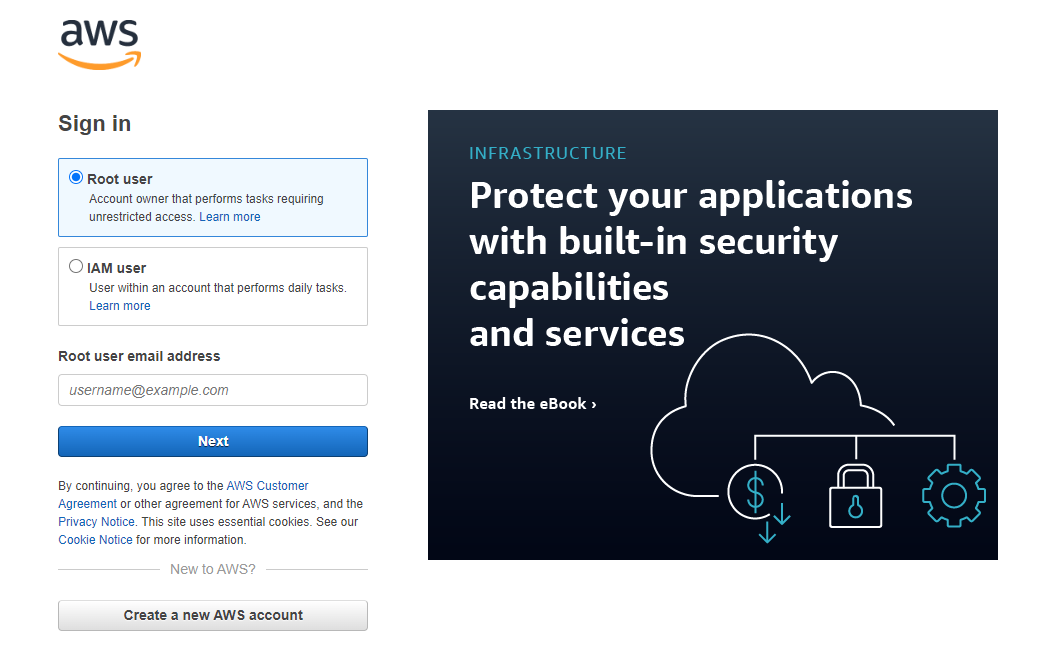
Amazon Lightsail requires an AWS account.
- If you don’t have one, sign up for AWS.
- If you already have an account, sign in to AWS.
Step 2: Create a WordPress Model in LightSail
Follow these steps to create your WordPress instance:
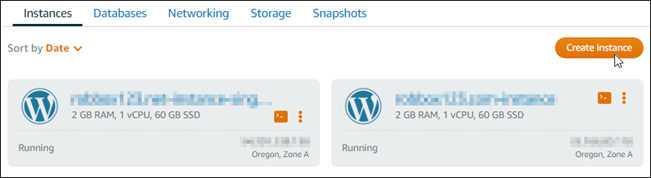
- Sign in to the Lightsail console.
- Navigate to the Instances section and choose “Create instance.”
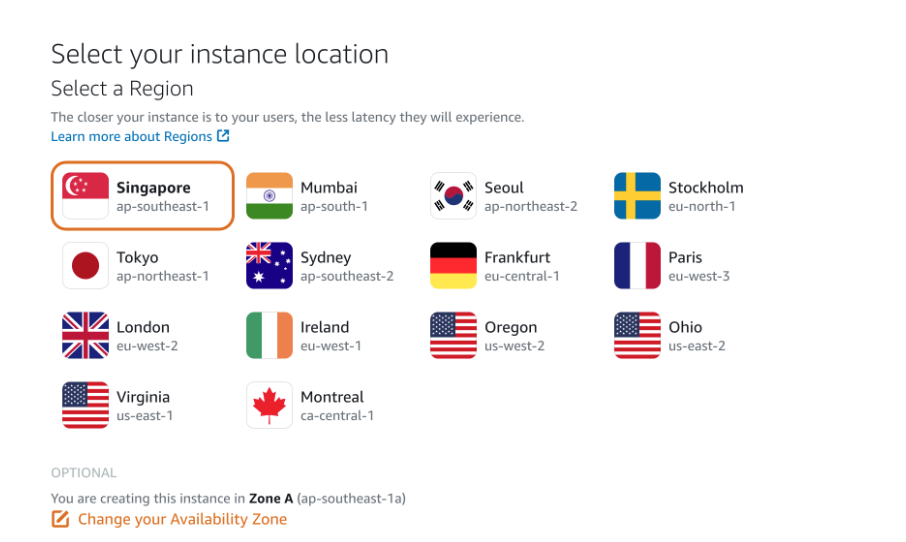
- Select the region and availability zone for your instance.
- Choose “Linux/Unix” for the platform and “WordPress” for the blueprint.
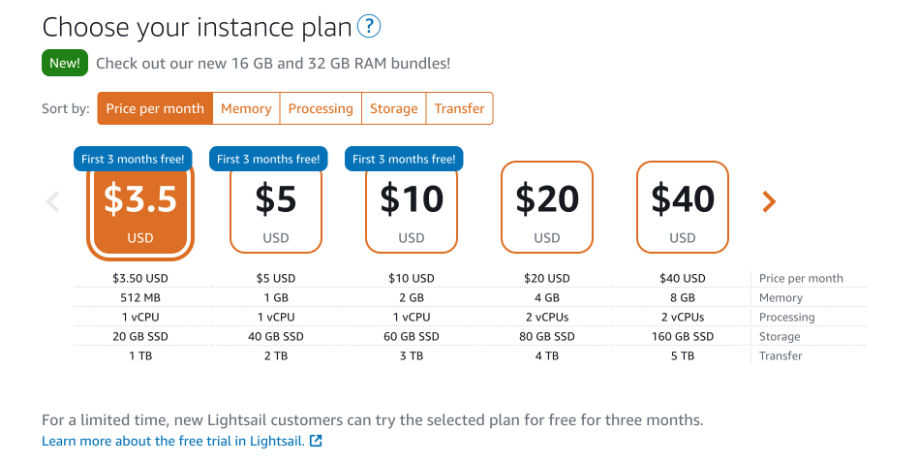
- Select an instance plan based on your requirements.
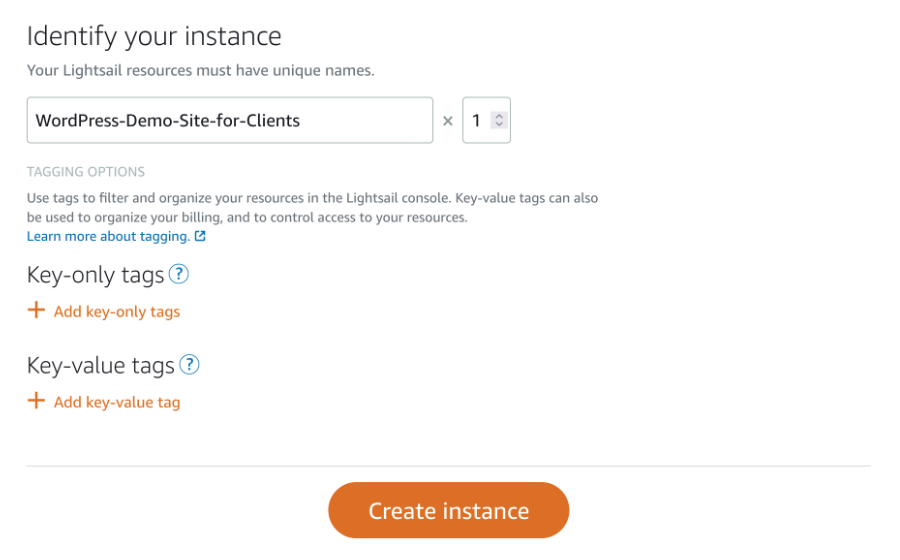
- Please enter a name for your instance, ensuring it meets the specified criteria.
- Click “Create instance.”
Step 3: Setting up your WordPress instance
You have two options to configure your WordPress instance: follow a step-by-step guide or complete tasks individually. Regardless of your choice, you’ll need to set up the following:
- Domain Name Registration: Your WordPress site needs an easy-to-remember domain name that users can use to access it. This can be done through Domain registration in Amazon Lightsail.
- DNS Management: Choose a DNS record management strategy for your domain. DNS records provide the IP address or hostname that a domain or subdomain is linked to to the DNS server. This is crucial for driving visitors to your website.
- Static IP Address: By default, the public IP address for your WordPress instance changes if you stop and start your instance. Attaching a static IP address ensures that it remains the same even if you restart your instance.
- Domain Assignments: Domain assignments link your domain or subdomain to the IP address of your instance by creating address records. This is essential for directing visitors to your website correctly.
- SSL/TLS Certificate: After creating and installing a validated certificate on your instance, you can enable HTTPS for your WordPress website. This encrypts traffic routed to your website through your registered domain, ensuring secure communication.
Option 1: Guided Workflow
To configure your instance using the guided workflow, follow these steps:
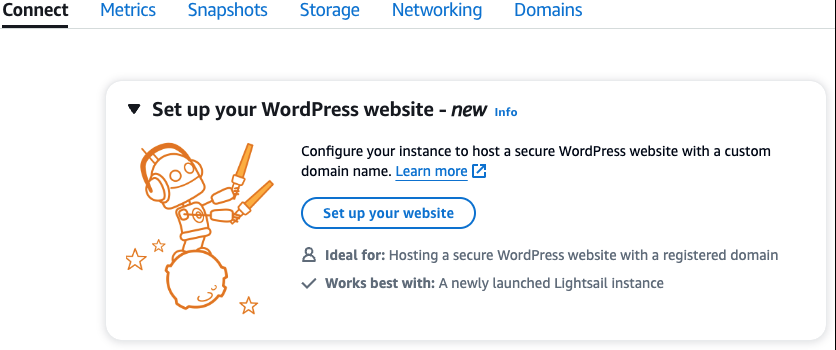
- Go to the instance management page and navigate to the Connect tab. Click on “Set up your website.”
- Choose whether to use an existing Lightsail managed domain, register a new domain with Lightsail, or use a domain registered with another registrar. Proceed by selecting “Use this domain.”
- Configure DNS:
- Select “Lightsail managed domain” to use a Lightsail DNS zone. Continue by choosing “Use this DNS zone.”
- Alternatively, choose “Third-party domain” if your domain’s DNS records are managed by another hosting service. Note that Lightsail creates a matching DNS zone in your account for future use. Proceed by selecting “Use third-party DNS.”
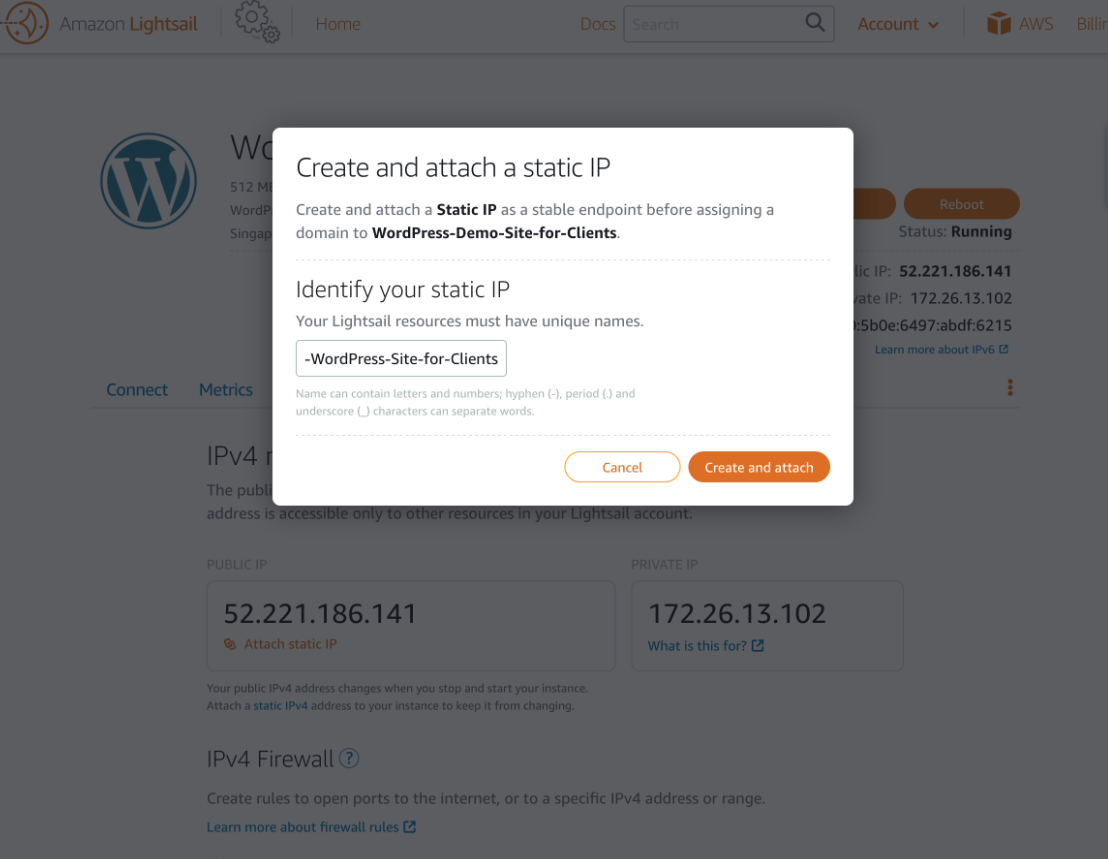
- Create a static IP address:
- Enter a name for your static IP address and click on “Create static IP.“
- Manage domain assignments:
- Click on “Add assignment,” select the domain type, and click on “Add.” Proceed by clicking “Continue.”
- Create an SSL/TLS certificate:
- Choose your domains and subdomains, enter an email address, and select the option to authorize Lightsail to configure a Let’s Encrypt certificate on your instance. Complete the process by clicking “Create certificate.” Lightsail will begin configuring the necessary resources.
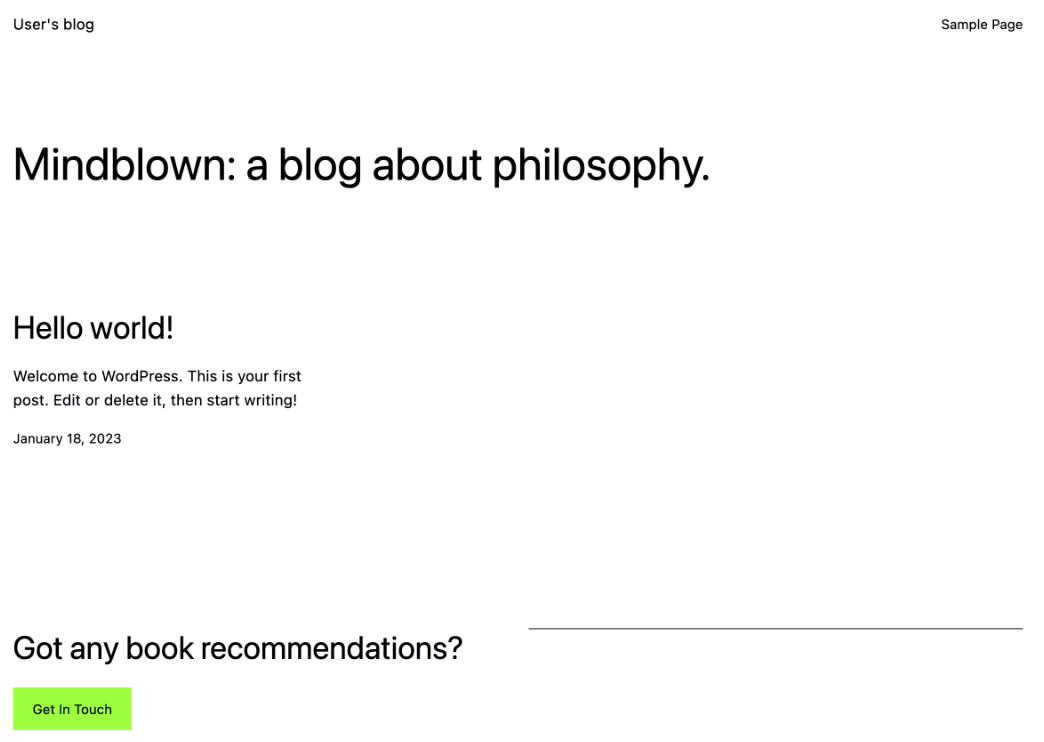
- Once the website setup is complete, verify that the URLs specified in the domain assignments open your WordPress site.
Option 2: Individual Tasks
To configure your instance by completing individual tasks, follow these steps:
- Create a static IP address:
- Go to the instance management page and navigate to the Networking tab.
- Click on “Create static IP.” Specify a name for your static IP address and click on “Create and attach.”
- Create a DNS zone:
- In the navigation pane, select “Domains & DNS.”
- Next, select “Create DNS zone.” After entering your domain, select “Create DNS zone.”
- Manage domain assignments:
- On the DNS zone page, go to the Assignments tab and click on “Add assignment.”
- Choose the domain or subdomain, select your instance, attach the static IP address, and click on “Assign.”
- Create and install an SSL/TLS certificate:
- Follow step-by-step directions to enable HTTPS on your WordPress instance.
- Verify that the URLs specified in the domain assignments open your WordPress site.
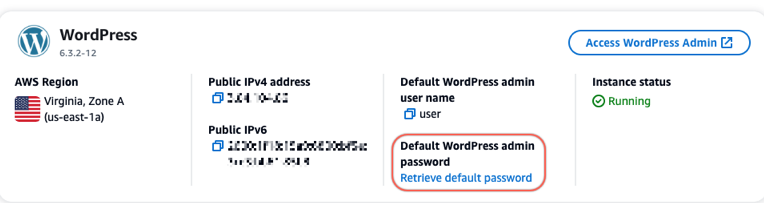
Step 4: Retrieve the Admin Password for Your WordPress Website
To access the administration dashboard of your WordPress website, you’ll need the default password, which is stored on your instance.
- Open the instance management page for your WordPress instance.
- In the WordPress panel, select “Retrieve default password.” This will reveal the “Access default password” at the bottom of the page.
- Click on “Launch CloudShell.” This action will open a panel at the bottom of the page.
- Click on “Copy” and then paste the contents into the CloudShell window. You can either press Ctrl+V with your cursor at the CloudShell prompt, or right-click to open the menu and select “Paste.”
- Take note of the password displayed in the CloudShell window. This password is required to sign in to the administration dashboard of your WordPress website.

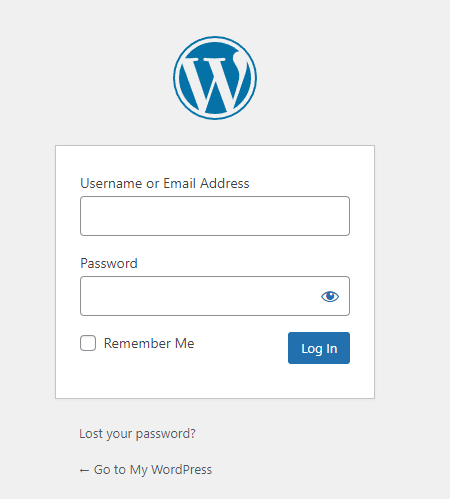
Step 5: Access the Administration Dashboard of Your WordPress Website
Now that you have the password for your WordPress website’s administration dashboard follow these steps to sign in:
- Open the instance management page for your WordPress instance.
- In the WordPress panel, click on “Access WordPress Admin.”
- On the “Access your WordPress Admin Dashboard” panel, under “Use public IP address,” click on the link with the following format:
– https://public-ipv4-address/wp-admin
- Enter “user” for Username or Email Address.
- Enter the password obtained in the previous step.
- Click on “Log in.“
You are now logged in to the administration dashboard of your WordPress website, where you can perform various administrative tasks such as changing user passwords, installing plugins, and changing website themes.
Wrapping Up
Hosting a WordPress website on Amazon LightSail offers a clear and cost-effective solution for individuals and businesses looking to establish an online presence. With LightSail, you can quickly deploy a WordPress instance, configure your domain, secure internet traffic with HTTPS, and access the administration dashboard to manage your website’s content and settings.
The step-by-step guide provided ensures that even beginners can navigate through the process with ease. By leveraging the capabilities of Amazon Lightsail, you can have your WordPress website up and operating in no time, ready to reach your audience and fulfill your online objectives.
FAQs on Amazon LightSail
Can I host multiple WordPress websites on Amazon Lightsail?
Yes, Amazon Lightsail allows you to host multiple WordPress websites on separate instances. Each instance operates independently, providing flexibility and scalability for managing multiple websites.
Is there a limit to the number of visitors my WordPress website can handle on Amazon Lightsail?
Amazon Lightsail instances come with predefined resource allocations, including CPU, RAM, and bandwidth. While these resources are generally sufficient for small to medium-sized websites, high-traffic websites may require additional resources or scaling options available through Amazon Lightsail’s features.
How do I back up my WordPress website hosted on Amazon Lightsail?
Amazon Lightsail offers automatic snapshot backups, for instance, allowing you to create backups of your WordPress website’s data and configurations. You can schedule regular snapshots or manually create them through the Lightsail console for added security and disaster recovery.
Can I use Amazon Lightsail to host my WordPress website and add custom themes and plugins?
Yes, you have full control over your WordPress website hosted on Amazon LightSail, including the ability to install custom themes and plugins. You can access the administration dashboard to install and activate themes and plugins to customize your website according to your preferences and requirements.
