WordPress is a tool that’s meant to improve how websites work. It brings a fresh approach to creating websites. This is great for businesses because it offers a lot of flexibility when making new content for people all around the world. You can also add features to your website using plugins to help you achieve your business goals.
Using plugins helps you manage your content better and creates an interesting experience for your audience. If you want to make your content stand out, you can add tabs to make it more interactive and attractive. Setting up tabs is one of the first things you do when customizing a WordPress theme.
Tabs are really important for e-commerce websites. You see them all the time when you shop online. When a website organizes information about a single product on one page with different sections, those sections are usually called tabs.
What more can you do with Tabbed Content?
Using tabs provides you with the capability to include more details about a topic in a limited amount of space. This is commonly seen in situations where product descriptions, technical specifications, and user reviews are all presented in one section. Users can simply click on the content tabs to access further information on the topic they’re interested in.
Tabs are quite helpful when you need to condense a large amount of information into a compact space. For instance, if you have five paragraphs on your website and want to reduce the page’s visual length, you can place each paragraph in its own tab, effectively shortening the page. Of course, this approach should be used when it makes sense to organize your content into tabs.
Tabbed elements can also be employed to showcase your staff members. Since most tabs support images, you can include pictures and biographical information about individuals involved in specific projects or working within your company.
When you incorporate tabs into your WordPress website, you unlock various possibilities for enhancing your content’s layout. Enhancing the visual appeal of your site is a key factor in attracting and retaining fans and followers.
How to Easily Add Tabs to WordPress
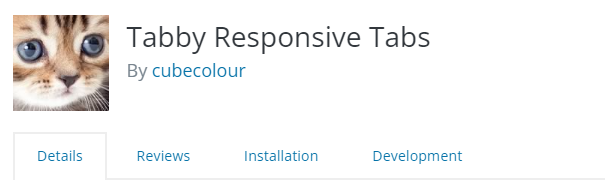
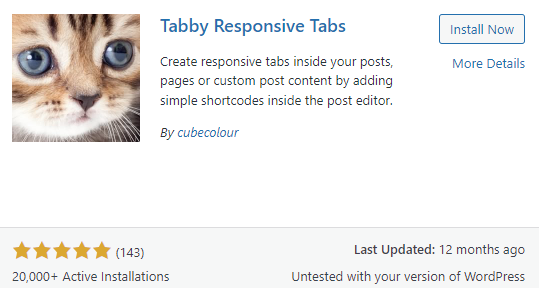
To add tabs in WordPress, I will use the “Tabby Responsive Tabs” Plugin. Moreover, there are several other plugins available for adding tabs, including:

All of the above are easy to use; each of them uses a shortcode to implement tabs in a post or page. The only difference is the customization and premium features; the one I’m going to show you is free to use and implement.
Let’s get started by installing the plugin. Go to your WordPress dashboard and go to Plugin > Add New, then search for Tabby Responsive Tabs (or download it from here).
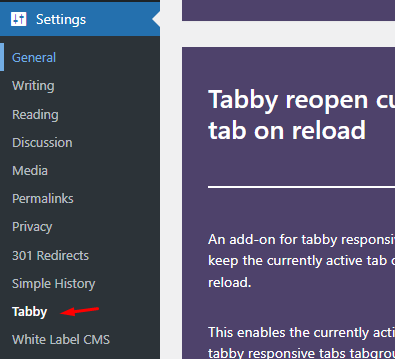
Next, click on Install Now, then Activate; after activation, you’ll find the Plugin in Settings> Tabby.
You can create a tab group using two shortcodes: [tabby] and [tabbyending]. Both must be used as shown below:
To begin a new tab, use the [tabby] shortcode, like this:
[tabby title="tabname"]Set “tabname” to the name of your tab instead.
Then, add the tab’s content right after the shortcode.
After the content of the last tab in a tab group, include a [tabbyending] shortcode.
Here’s an example:
[tabby title="First Tab"]Example 1: Lorem ipsum dolor sit amet, consectetur adipiscing elit. Vivamus sagittis luctus tortor, quis dapibus ipsum porttitor vel.

[tabby title="Second Tab"]Example 2: Lorem ipsum dolor sit amet, consectetur adipiscing elit. Vivamus sagittis luctus tortor, quis dapibus ipsum porttitor vel.

[tabby title="Third Tab"]Example 3: Lorem ipsum dolor sit amet, consectetur adipiscing elit. Vivamus sagittis luctus tortor, quis dapibus ipsum porttitor vel.

[tabbyending]You can make as many tabs as you like, but don’t go overboard.
To finish making a tab, you need to put in the second shortcode at the very end of your text. It should look like this:
[ht_message mstyle=”info” title=”” show_icon=”” id=”” class=”” style=”” ][tabbyending][/ht_message]This step ensures that your tabs will show up properly on your post or page. If you forget to do this, you’ll just end up with a messy bunch of text that doesn’t look nice.
Conclusion
Adding tabs to your WordPress posts and pages is a valuable technique for enhancing content organization and user engagement. Whether you choose to use plugins, HTML and CSS, or the WordPress block editor, the key is to keep your website’s design and user experience in mind. By implementing tabs effectively, you can provide a cleaner, more organized browsing experience for your visitors, ultimately leading to increased user satisfaction and potentially improved SEO rankings.
FAQs on Tabs on WordPress
1. Can I add tabs to my existing WordPress posts and pages?
Yes, you can add tabs to both new and existing WordPress posts and pages. Simply edit the content and follow the method that best suits your needs: using plugins, HTML and CSS, or the block editor.
2. Do tabs affect SEO on my WordPress website?
When implemented thoughtfully, tabs can improve user experience and engagement, potentially leading to better SEO performance. Organized content and improved user engagement often contribute to higher search engine rankings.
3. How can I style my tabs to match my website’s design?
Depending on the method you choose, you can use CSS to style your tabs. Plugins like “Tabby Responsive Tabs” offer built-in customization options. If you opt for manual HTML and CSS, you have full control over the design and can tailor it to your website’s aesthetics.