
After finishing our first steps in the WordPress series, we now begin a new series centered on the powerful content management system Joomla. Speaking about Joomla, we refer to one of the best CMS (Content Management System) for general purposes: powerful, versatile, and a great community behind it. It is used on millions of websites, including those of various government institutions worldwide, which certainly should give us an idea of how robust it is.
Make your WordPress site’s Load Blazing Fast Just by moving to Nestify. Migrate your WooCommerce Store or WordPress Website NOW.
Joomla! It is open source and free, even for commercial purposes. The development team is constantly above the project, quickly releasing versions and correcting safety problems that may arise. It is a highly professional option for personal and small or large business projects that can be extended by new components that allow you to customize and develop it further.
Download Joomla!
We started by downloading the CMS, the compressed file that contains all the code of Joomla! The recommendation is to get the download directly from the official site: www.joomla.org.
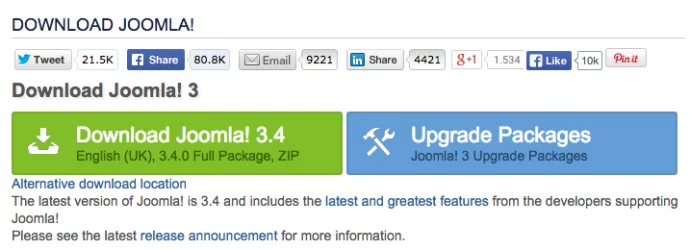
Apart from English, Joomla is available to download in different languages, providing customized versions of CMS. We will explain how to install the language packs of your choice, so you would not need to opt for that option.
Once you downloaded the zip code with Content Manager, unpack it and place it on our web server. You can use your web server locally if you set one up or upload files via FTP to the server.
Start Joomla for the first time.
Installing Joomla has been dramatically simplified, allowing almost all settings semi-automatically, with a web interface. Accessing Joomla for the first time will begin our process.
You will see that it is simply a wizard that asks us every one of the data we need, starting with the general site configuration.
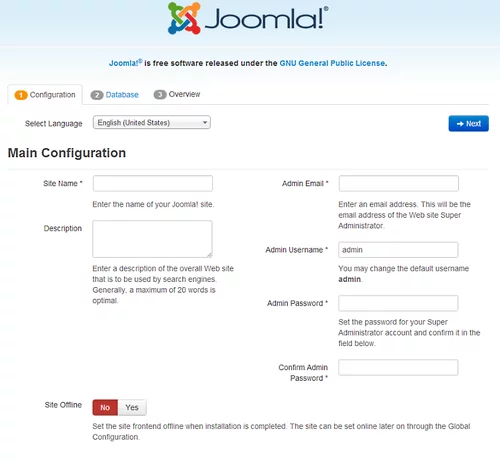
In this step, you can change the language and fill in our website’s general data. We click Next to continue.
Then they ask us to configure the database, for which we introduce all parameters for the requested connection. If you are installing Joomla locally, you probably know. If you are installing directly on the server, see your name. Control panel to get the information you need.
The database that Joomla need should be previously created. If not, the wizard will try to make it for us, but it is likely that PHP does not have permission to create databases in remote hosting. In that case, it is preferable to have made it before.

In the wizard’s third step, we offer a summary of our configuration. And you can choose whether you want to install a package of sample data in the CMS.
These sample data are interesting if you are doing the first exploration of Joomla to see how the information is organized within the CMS to start learning to understand. For more experienced users, this option is not required.
Another exciting thing in this wizard screen is to check if you have activated every feature required on your server. If one is marked “o,” you should correct it before continuing.
It is done! Joomla is installed on your system!
Before use, you must delete the installation files for obvious safety reasons. Joomla will not let you continue until you have not done. In the wizard itself, you will find a button for Joomla. Do it, but you can delete the “installation” folder if it is not enabled.
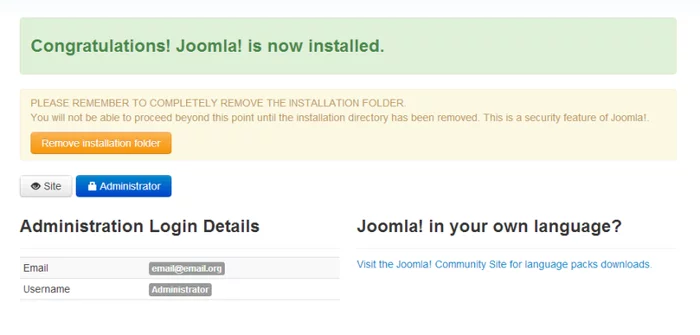
Joomla is ready to use
On this screen, you can access both the front (the site users see) and the portion of Administration, for which you will have to authenticate with the data administrator created during installation.
