Have you heard of the popularity of AMP pages? When you enable Accelerated Mobile Pages (AMP) on your website, loading speed on mobile devices significantly improves. AMP achieves this by stripping down certain features that can slow down your site. However, this means that some functionalities, such as contact forms, may not work correctly on AMP-enabled pages, potentially causing layout and design issues.
But what if we told you there’s an easy way to create AMP-friendly contact forms?
With a powerful and user-friendly WordPress plugin, you can build contact forms that function perfectly on AMP. In this stepwise tutorial, we will guide you through the process of creating an AMP contact form on your WordPress site.
Let’s get started.
Steps to Create an AMP-Friendly Contact Form in WordPress
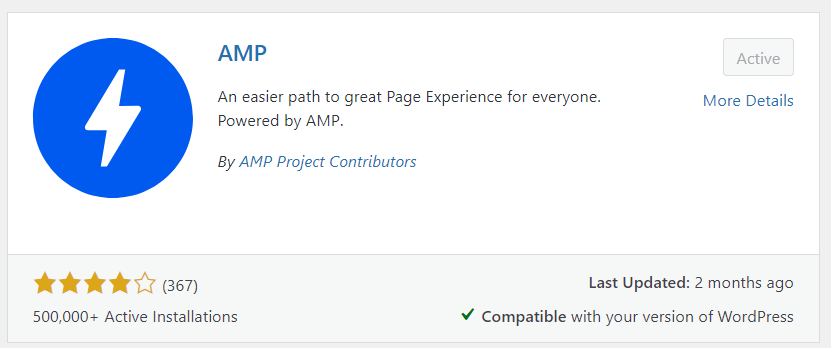
Step 1: Install the AMP WordPress Plugin
Before we go into creating a contact form with WPForms, you need to install the official AMP WordPress plugin. This free plugin is straightforward to set up AMP-friendly contact forms. Once activated, it will automatically add AMP support to your site.
If this is your first time installing the AMP plugin, refer to our detailed guide on setting up AMP on WordPress for step-by-step instructions. With the plugin up and running, you’re ready to create AMP-friendly contact forms.
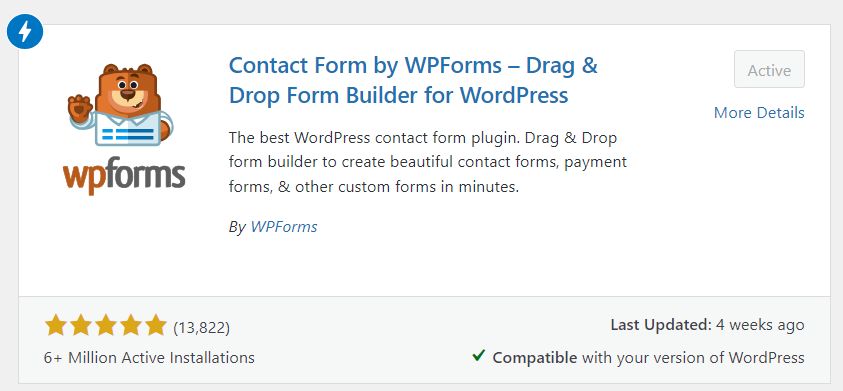
Step 2: Install the WPForms WordPress Plugin
Next, navigate to your WordPress dashboard and go to the Plugins section. Click “Add New,” search for “WPForms,” then install and activate the form-building plugin.
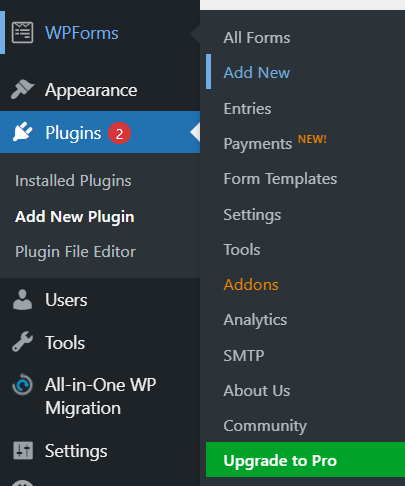
Once activated, you will see WPForms in the left-hand side panel of your dashboard. For this tutorial, we’ll use the free version of WPForms. However, if you need more features, consider exploring WPForms Pro plans, which offer:
– Integration with payment services
– Additional form templates
– Easy integration with email marketing platforms
– File upload capabilities
– Spam protection
– Surveys and polls
With WPForms installed, you’re ready to create your first form.
Step 3: Create a WordPress Form
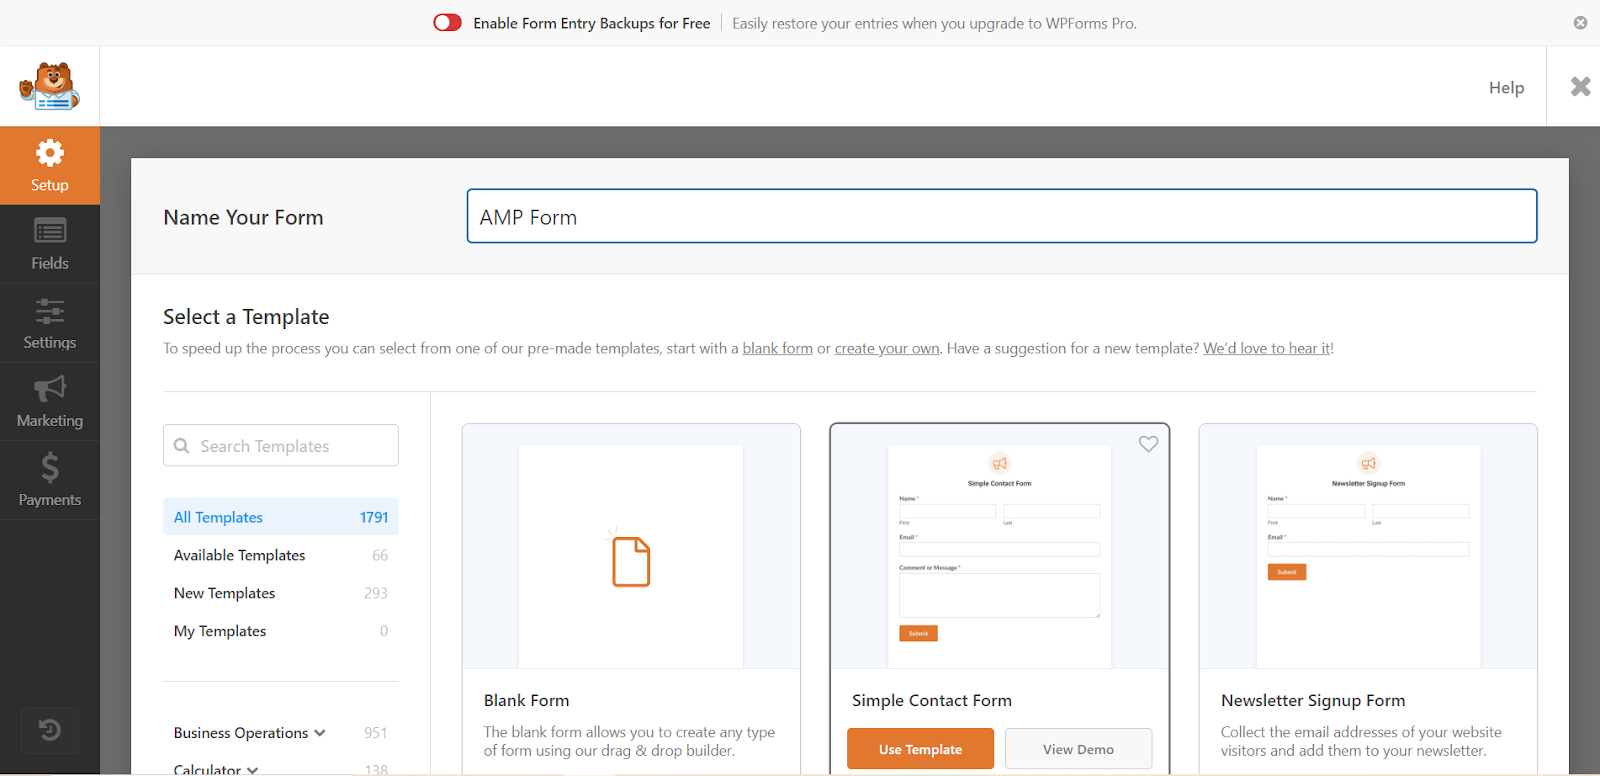
It’s time to create a contact form using the WPForms Lite plugin. First, install and activate WPForms Lite. Once activated, navigate to WPForms » Add New to create a new AMP-friendly contact form.
On the Setup page, you’ll see default form templates designed to speed up the AMP-friendly contact form creation process. You can start from scratch using the template of blank form. For our purposes, click on the Simple Contact Form template.
This will bring you to the Form Builder page, where you can add or remove fields. For example, to add a subject field, simply drag and drop the ‘Single Line Text’ from the left panel into your form. To rename a field, click on it in the right panel and adjust the label in the left panel. You’ll see the changes live as you make them, which is very convenient. Edit other form fields similarly.
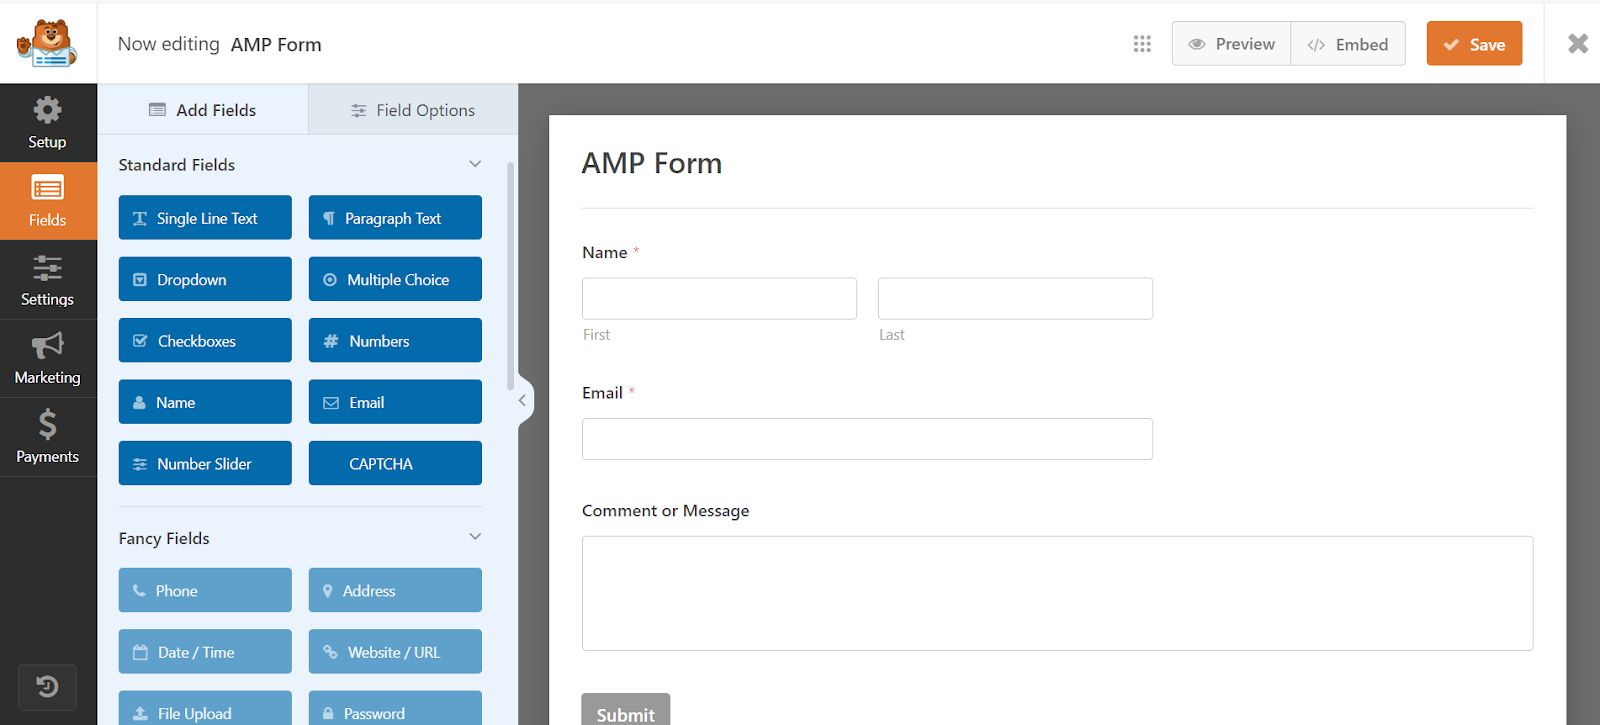
After customizing your form, go to the Settings page to adjust notification and confirmation settings. Don’t forget to save the changes made by you by clicking on the ‘Save’ button at the top-right corner of your screen.
That’s it! The WPForms Lite plugin will automatically ensure full AMP compatibility for your form. Additionally, you can enable reCAPTCHA support to protect your AMP contact form from spam.
Step 4: Register Your Website to Get reCAPTCHA Keys
To prevent contact form spam, WPForms supports three types of CAPTCHA:
– Custom CAPTCHA
– reCAPTCHA
– hCaptcha
In this tutorial, we’ll focus on reCAPTCHA, Google’s spam filtering service that safeguards your website from spammers and automated bots. To use reCAPTCHA, you need to register your site on the Google reCAPTCHA website to obtain the site key and secret key.
Follow these steps:
1. Go to the Google reCAPTCHA website.
2. Click on the Admin console button in the top-right corner of the screen.
3. Register your site to receive the necessary keys.
Once you have the keys, you can add reCAPTCHA support to your AMP-friendly contact form.
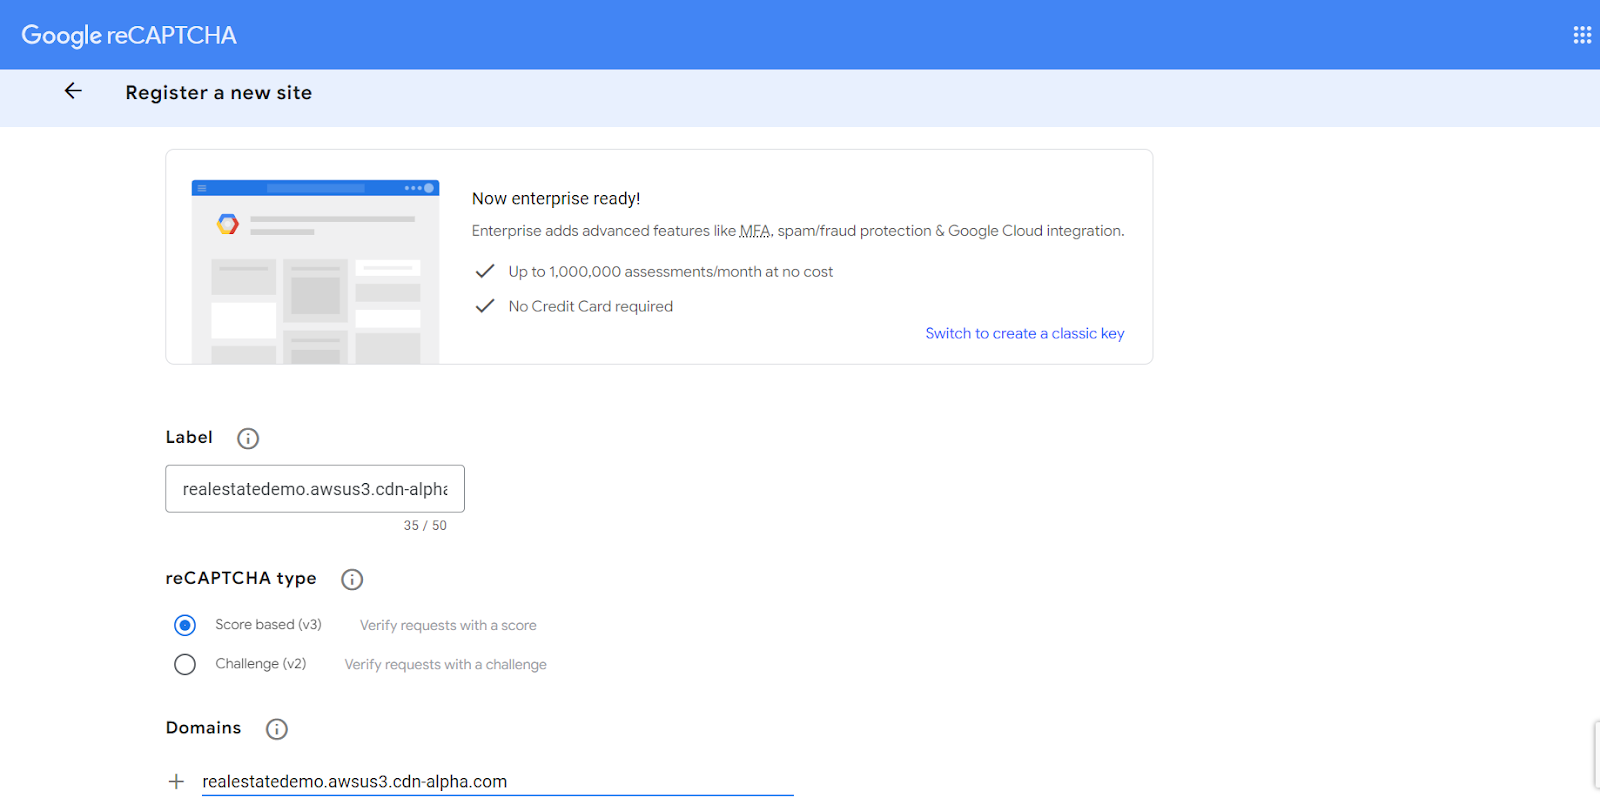
Next, you need to choose the type of reCAPTCHA you want to use. Note that AMP doesn’t support reCAPTCHA V2, so you must select “reCAPTCHA V3” to ensure compatibility with your AMP-friendly contact form.
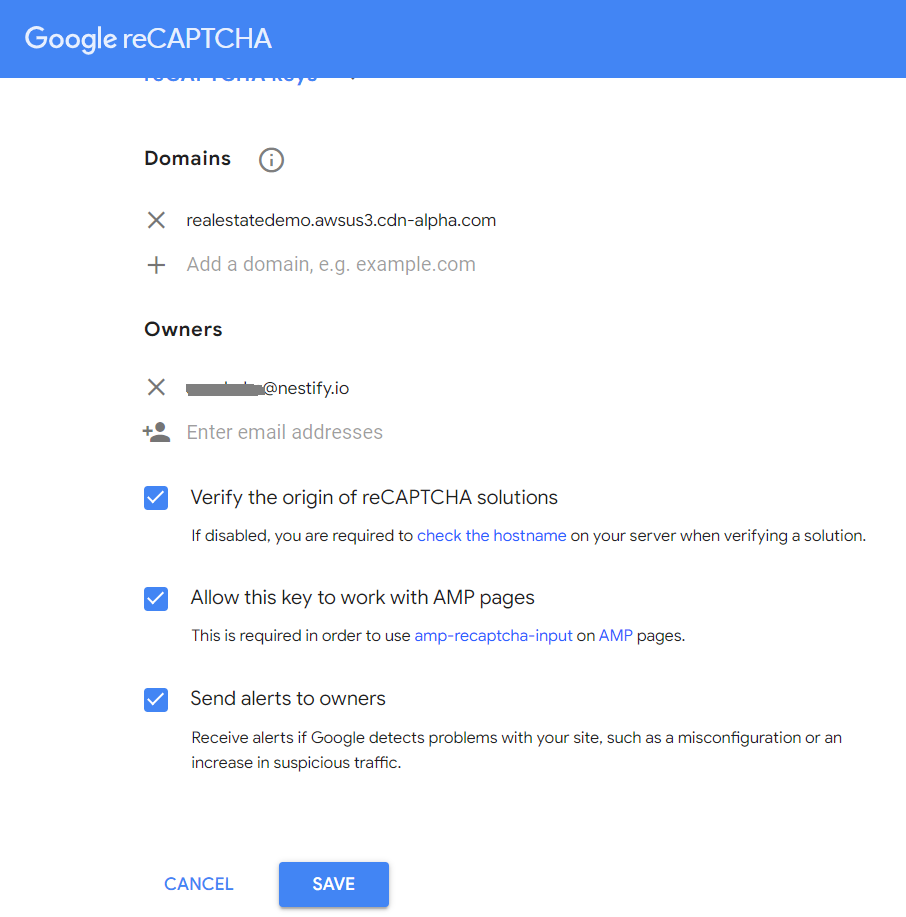
In the Domain field, enter your website’s domain name (without https:// or www). You can add one or more domains or subdomains by clicking the plus (+) icon.
Your email address will be automatically listed in the Owners field, but you can add additional email addresses if needed.
Check the “Accept the reCAPTCHA Terms of Service” box. The next step is to scroll to the bottom of the page and submit it.
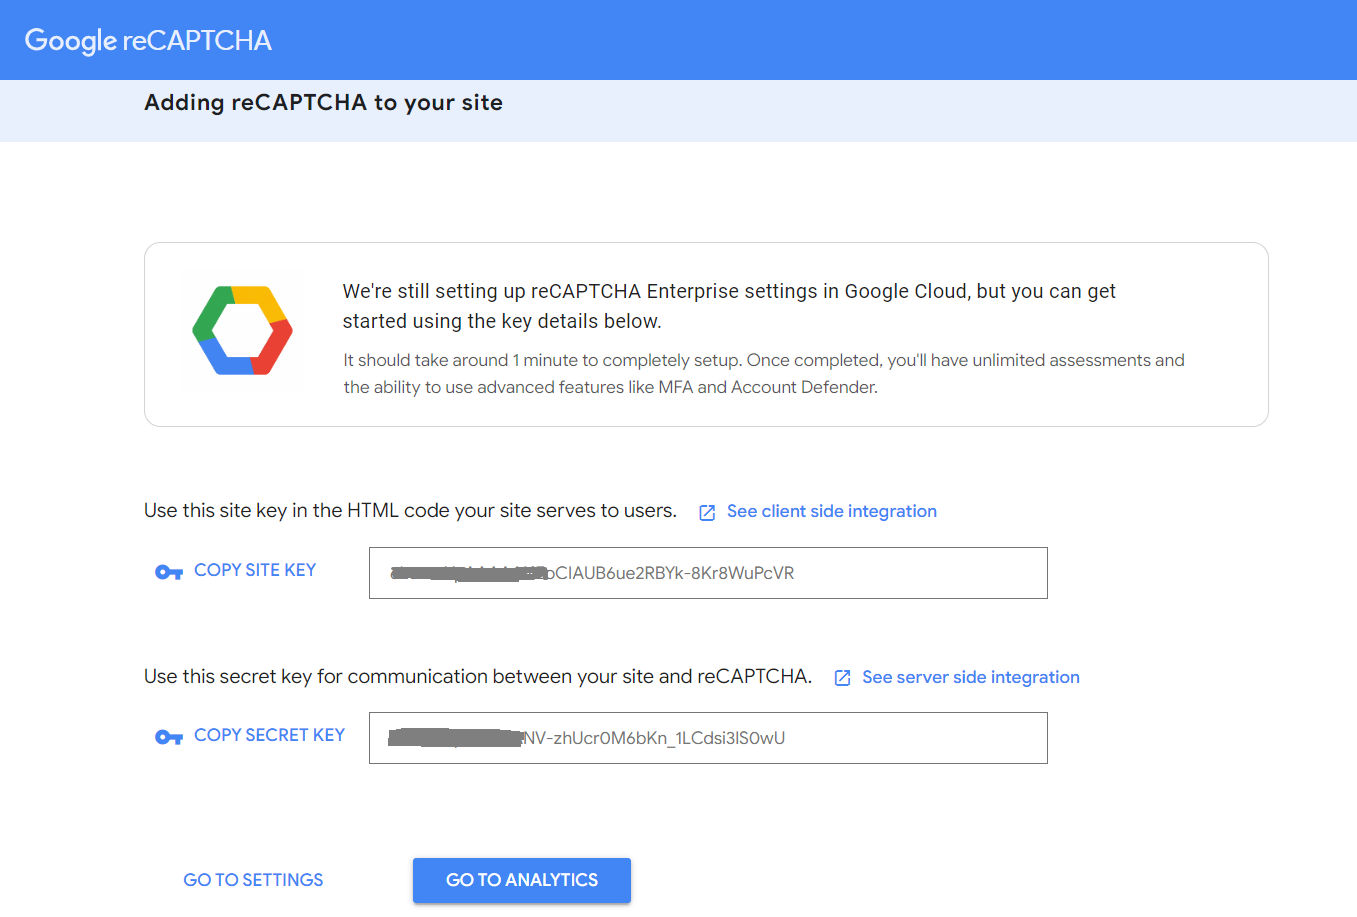
You will see a success message along with your site key and secret key. Copy these keys as you will need them for your WordPress site.
Before you proceed, click the Go to Settings link. Scroll to the bottom of the page and check the “Allow this key to work with AMP pages” box to ensure reCAPTCHA V3 functions on AMP pages. Lastly, click the Save button to store your changes.
Step 5: Add reCAPTCHA to Your Contact Form
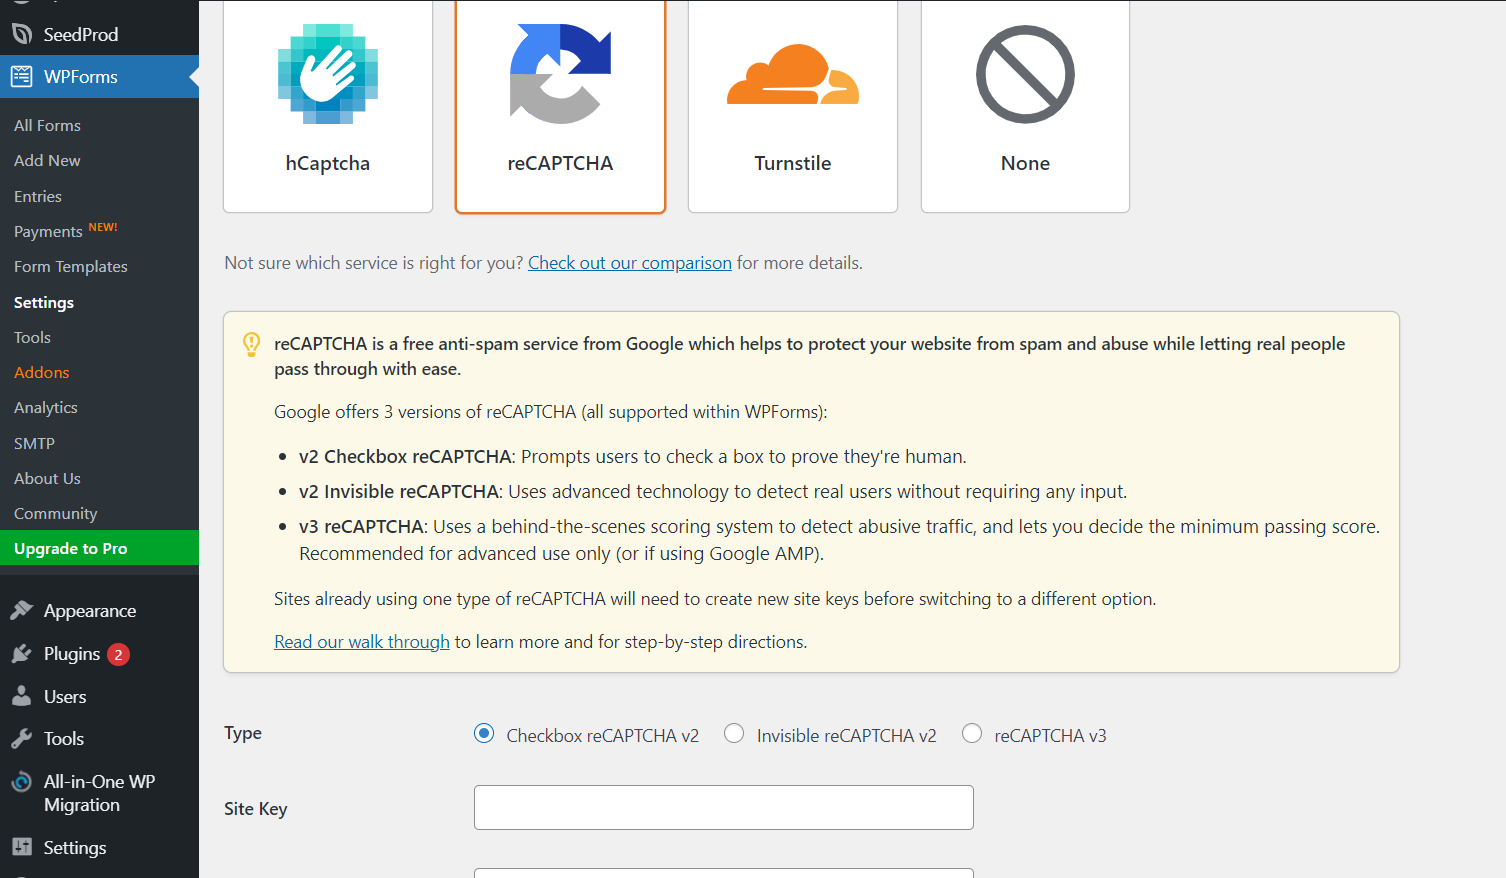
To begin, add the site key and secret key to your website. Navigate to your WordPress site and access the WPForms » Settings on your WordPress dashboard. Then, click on the reCAPTCHA tab to adjust the settings.

Select “reCAPTCHA v3” as the type and paste the site and secret keys into the respective fields. Once completed, scroll down and click the Save Settings button to apply the changes.
Step 6: Add reCAPTCHA to AMP-friendly contact form
Now it’s time to integrate reCAPTCHA into your AMP-friendly contact form. Go to WPForms » All Forms and click on the title of your form to open it. Then, navigate to the Settings » General page » Spam Protection and Security and check the “Enable Google v3 reCAPTCHA” option.
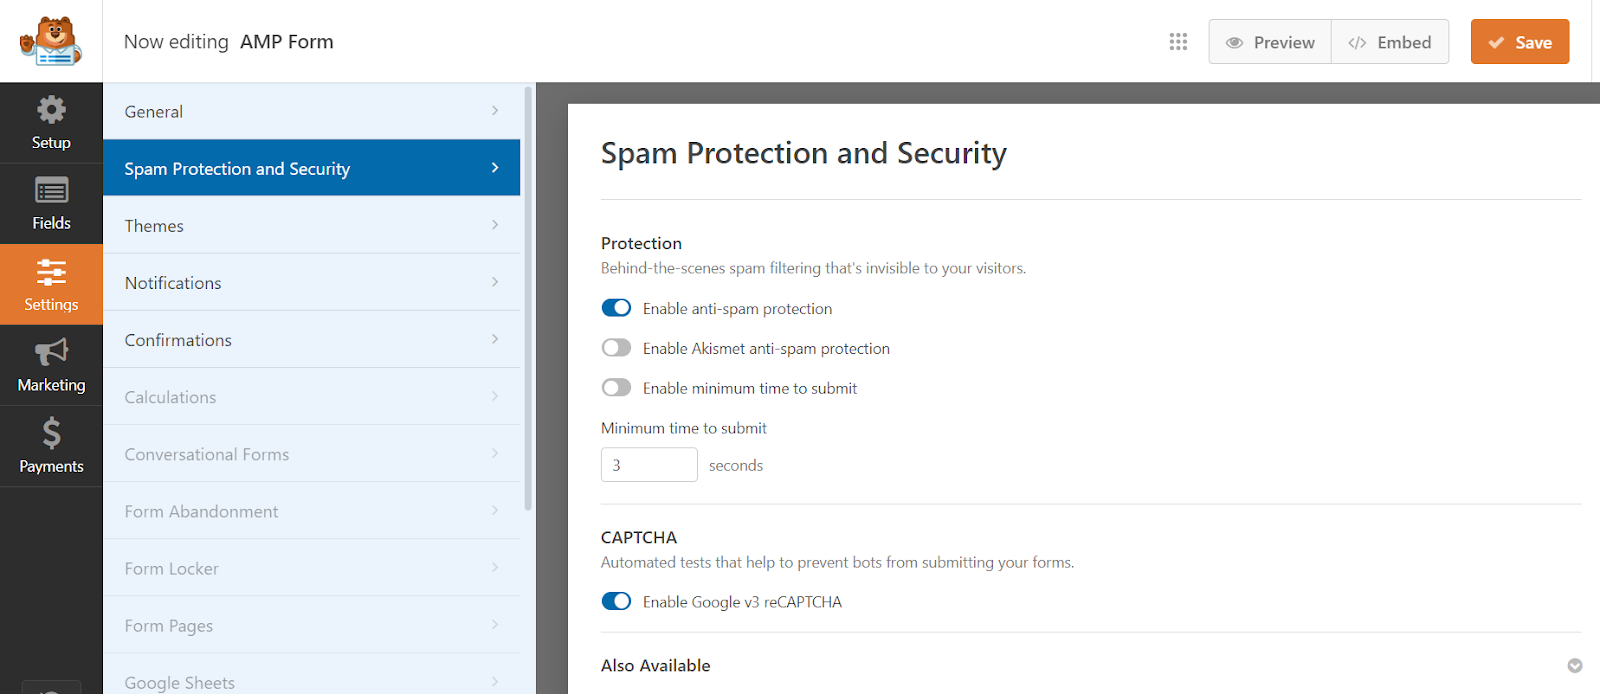
Make sure to click on the Save button to save your changes.
Conclusion
By following the steps outlined in this guide, you can seamlessly integrate AMP support into your contact forms using WPForms and ensure they remain fully functional and secure. With AMP compatibility and added security measures in place, you can confidently connect with your audience on any device and streamline communication on your WordPress site. Start implementing these steps today to elevate your website’s mobile experience and foster meaningful interactions with your visitors.
FAQs
Will adding AMP to my WordPress site affect my existing content?
Adding AMP to your WordPress site should not significantly impact your existing content. However, some features or functionalities that are not compatible with AMP may need to be adjusted or replaced to ensure seamless performance on mobile devices.
Are there any limitations to using AMP on WordPress?
While AMP offers many benefits for mobile optimization, there are some limitations to consider. Certain dynamic or interactive elements, such as JavaScript-based features, may not be fully supported in AMP. Additionally, customizations and plugins that are not AMP-compatible may require adjustments to ensure compatibility.
How do I test if my AMP-friendly contact forms are working correctly?
You can test the functionality of your AMP-friendly contact forms by accessing your website on various mobile devices and browsers. Additionally, you can use AMP testing tools provided by Google to check for any errors or issues with your AMP pages and forms.
