
In the world of blogging and website design, attention to detail is crucial. One aspect that generally gets overlooked but can greatly impact the readability and overall appearance of your content is line spacing. In WordPress, changing line spacing may seem like a daunting task, especially for beginners. However, with a little guidance, you can easily customize the line spacing in WordPress to suit your preferences and improvise the visual appeal of your website.
In this blog post, we will walk you through the process of changing line spacing in WordPress. Whether you’re a seasoned WordPress user or just starting out, this step-by-step guide will equip you with the knowledge and skills to effortlessly adjust line spacing in WordPress website. So, let’s get started and make your content more visually appealing and reader-friendly!
Understanding WordPress Text Formatting: The Basics
In order to effectively change line spacing in WordPress, it’s important to have a solid understanding of text formatting basics. By familiarizing yourself with the key concepts and terminology, you’ll be better equipped to make informed decisions when it comes to adjusting line spacing.
Fonts and Typography
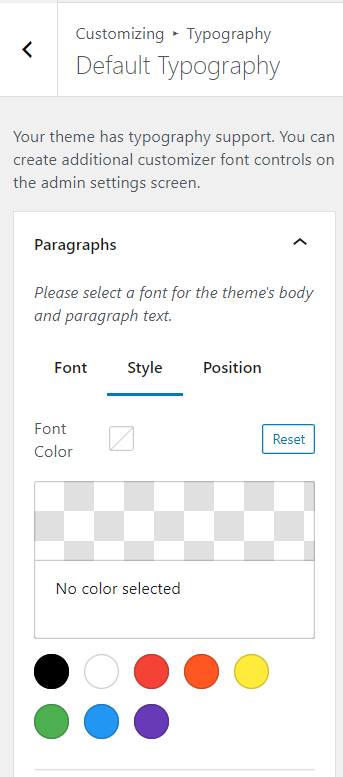
Fonts play a crucial role in determining the overall look and feel of your website’s content. In WordPress, you have the flexibility to choose from a wide range of fonts to suit your style and brand. Understanding typography basics such as font families, sizes, and styles will help you create visually appealing text.
Also Read: How To Change The Font Color On WordPress
Paragraphs and Line Breaks
Paragraphs and line breaks are essential for organizing your content and improving readability. In WordPress, paragraphs are created automatically when you press the Enter or Return key. Line breaks, on the other hand, are used to create single line spacing within a paragraph. It’s important to maintain consistent spacing between paragraphs and lines to ensure a pleasant reading experience for your audience.
Line Spacing and Leading
Line spacing, also known as leading, refers to the vertical space between lines of text. It plays a significant role in assessing how readable and visually pleasing your content appears. Proper line spacing helps avoid cluttered text and makes it easier for readers to follow along. WordPress provides various options to adjust line spacing, allowing you to customize it according to your preferences.
Text Alignment
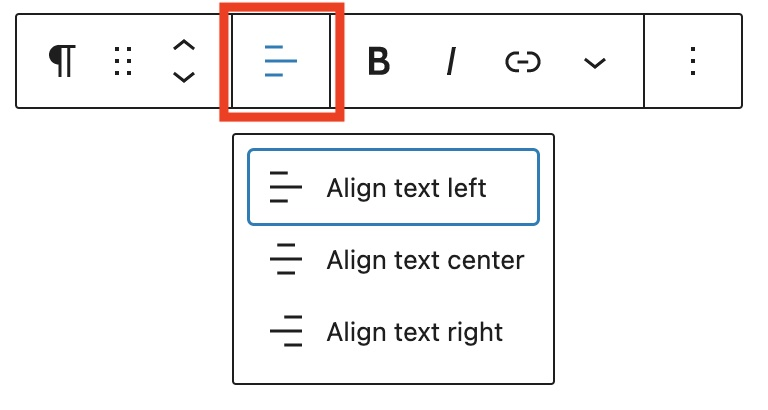
Text alignment is another aspect of text formatting that affects the overall presentation of your content. WordPress offers four main options for aligning text: left-aligned, right-aligned, centered, and justified. Choosing the appropriate alignment can greatly impact the readability and visual balance of your text.
Text Indentation
Text indentation refers to the space added at the beginning of a line of text. It can be used to develop a visual hierarchy and improve the structure of your content. WordPress provides easy ways to adjust the indentation of paragraphs and lines to enhance the overall appearance of your text.
By understanding these fundamental concepts of text formatting, you’ll have a solid foundation to dive into the process of changing line spacing in WordPress. So, let’s move on to the next section and explore the WordPress editor interface where line spacing changes are made.
Exploring WordPress Editor: Where Line Spacing Changes Are Made
Once you have a grasp of the basics of text formatting in WordPress, it’s time to explore the WordPress editor interface where line spacing changes are made. The WordPress editor is where you create and edit your content, and it offers a range of tools and options to alter the appearance of your text.
Familiarizing with the WordPress Editor Interface
Before diving into line spacing changes, it’s important to become familiar with the WordPress editor interface. The editor provides a user-friendly environment for creating and managing your content. Understanding the different components and features of the editor will make it easier for you to navigate and make the desired changes.
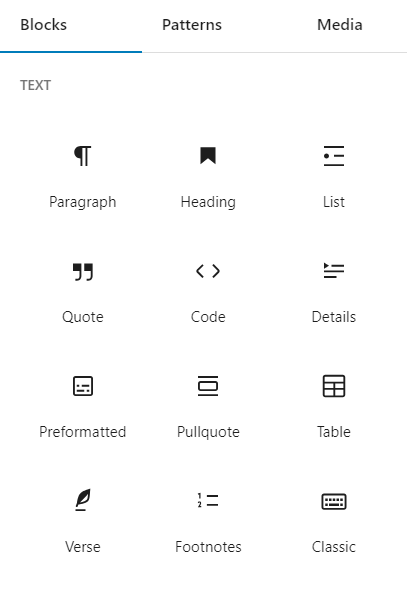
Locating the Text Formatting Tools
Within the WordPress editor, you’ll find a set of text formatting tools that allow you to modify various aspects of your text, including line spacing. These tools are conveniently located within the editor’s toolbar and provide quick and easy access to the formatting options you need.
Understanding the Role of Line Spacing in WordPress For Text Readability
Before making any changes to line spacing in WordPress, it’s important to understand the impact it has on the readability of your text. Line spacing significantly affects how easily your content can be read and understood by your audience. By adjusting line spacing appropriately, you can enhance the legibility and flow of your text, making it more enjoyable for your readers.
In this section, we will explore the WordPress editor interface, learn where to find the text formatting tools and understand the role of line spacing in text readability.
By familiarizing yourself with these aspects, you’ll be well-prepared to proceed with making line spacing changes in the following sections. So, let’s dive into the WordPress editor interface and unlock the potential to customize line spacing in your content.
Step-by-Step Guide: How to Change Line Spacing in WordPress
Changing line spacing in WordPress is a relatively simple process once you know where to find the necessary tools and options. In this step-by-step guide, let’s take you through the process of changing line spacing in your WordPress website.
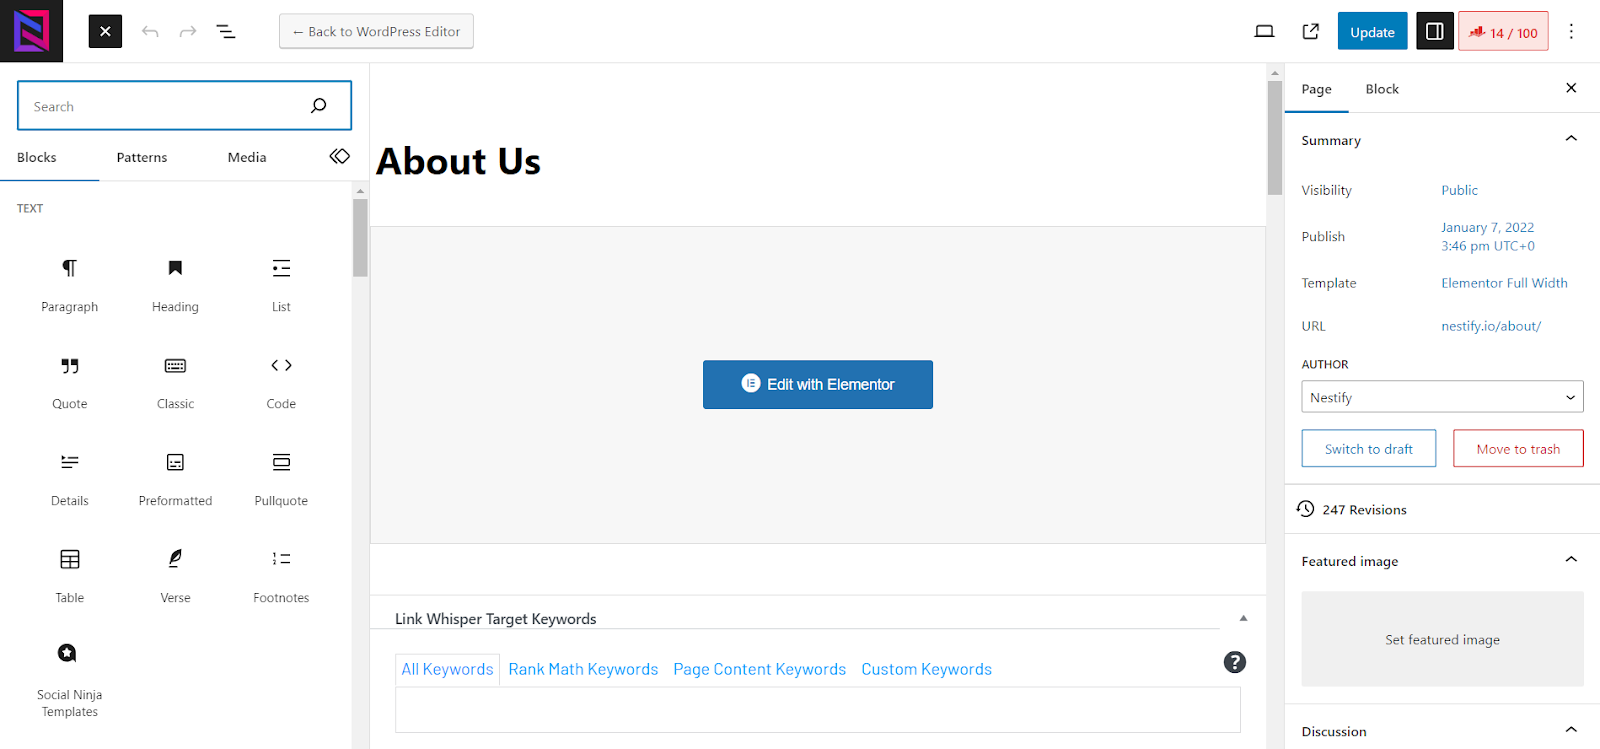
Accessing the WordPress Editor
The first step is to access the WordPress editor, where you can make changes to your content. To do this, log in to your WordPress website dashboard and go to the post or page you want to make changes to. Click on “Edit” to access the editor mode and access the content you wish to modify.

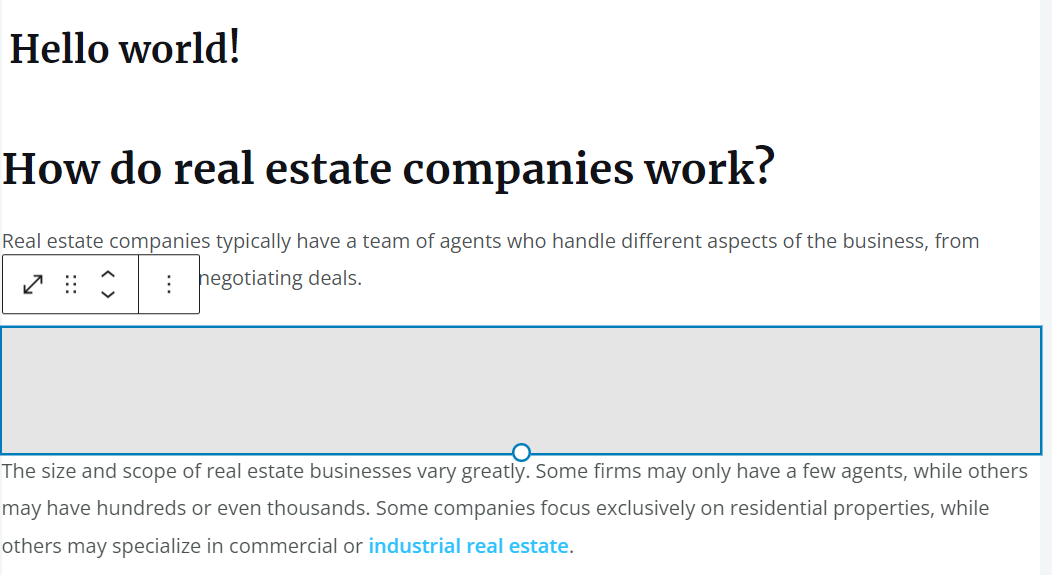
Selecting Text and Changing Line Spacing in WordPress
Once you are in the WordPress editor, you need to select the text for which you want to change the line spacing. You can do this by clicking and dragging your cursor over the desired text. Alternatively, you can access the keyboard shortcuts to select the entire paragraph or line of text.
With the text selected, you can now proceed to change the line spacing. In the editor toolbar, locate the text formatting options. Look for the icon or dropdown menu that represents line spacing. Click on it to reveal the available options for line spacing in WordPress.
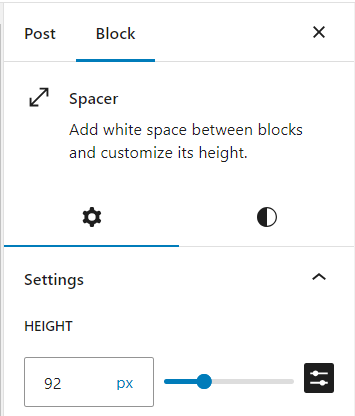
Depending on your WordPress theme and installed plugins, you may have different line spacing options to choose from.
Common options include single spacing, 1.5 spacing, and double spacing. Select the desired line spacing option that best suits your content.
Previewing and Saving Changes
After you have adjusted the line spacing in WordPress, it’s a good practice to preview your changes before saving them. This allows you to see how the modified line spacing affects the overall appearance of your content. To preview the changes, click on the “Preview” button within the editor. This will open a new tab or window where you can view the updated content.
If you are satisfied with the changes, you can proceed to save them. Click on the “Save” or “Update” button within the editor to save the modified line spacing. Your changes will now be viewed in the selected text.
Congratulations! You have successfully changed the line spacing in WordPress. By following this step-by-step tutorial, you can easily customize line spacing to improve the readability and visual appeal of your content.
Advanced Techniques: Using HTML and CSS for Line Spacing
While the previous section covered the basic method of changing line spacing in WordPress, there are advanced techniques that provide even more control over customization options. By utilizing HTML and CSS, you can achieve precise line spacing adjustments and create unique styles for your content. In this section, we will explore these advanced techniques to further enhance your line spacing in WordPress.
Understanding the Basics of HTML and CSS in WordPress
CSS (Cascading Style Sheets) and HTML (Hypertext Markup Language) are two main building blocks of web design. HTML presents the structure and content of a webpage, while CSS controls the presentation and styling. Familiarizing yourself with the fundamentals of HTML and CSS will allow you to make more advanced line spacing changes in WordPress.
How to Change Line Spacing Using HTML
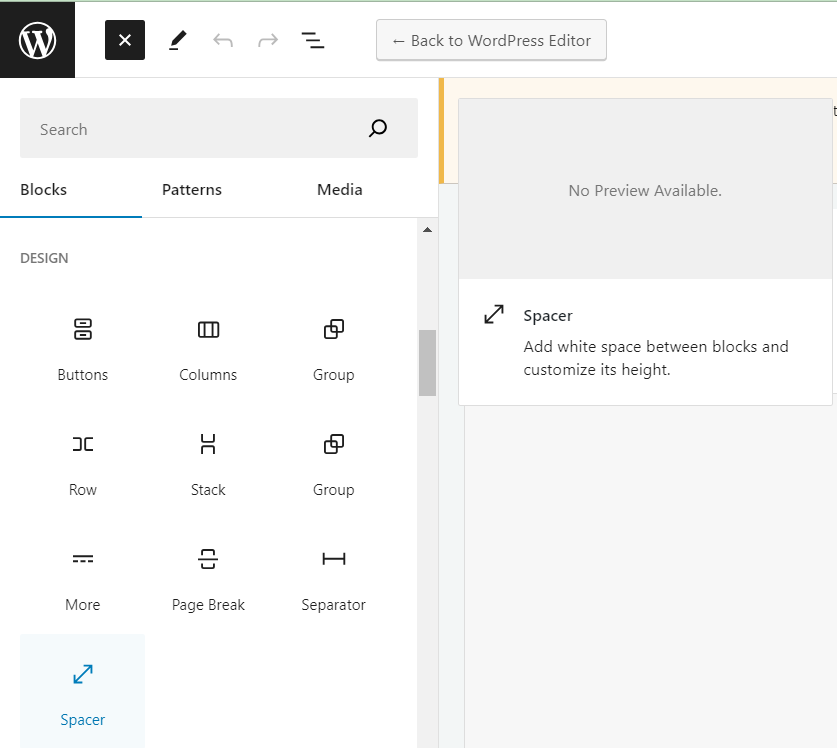
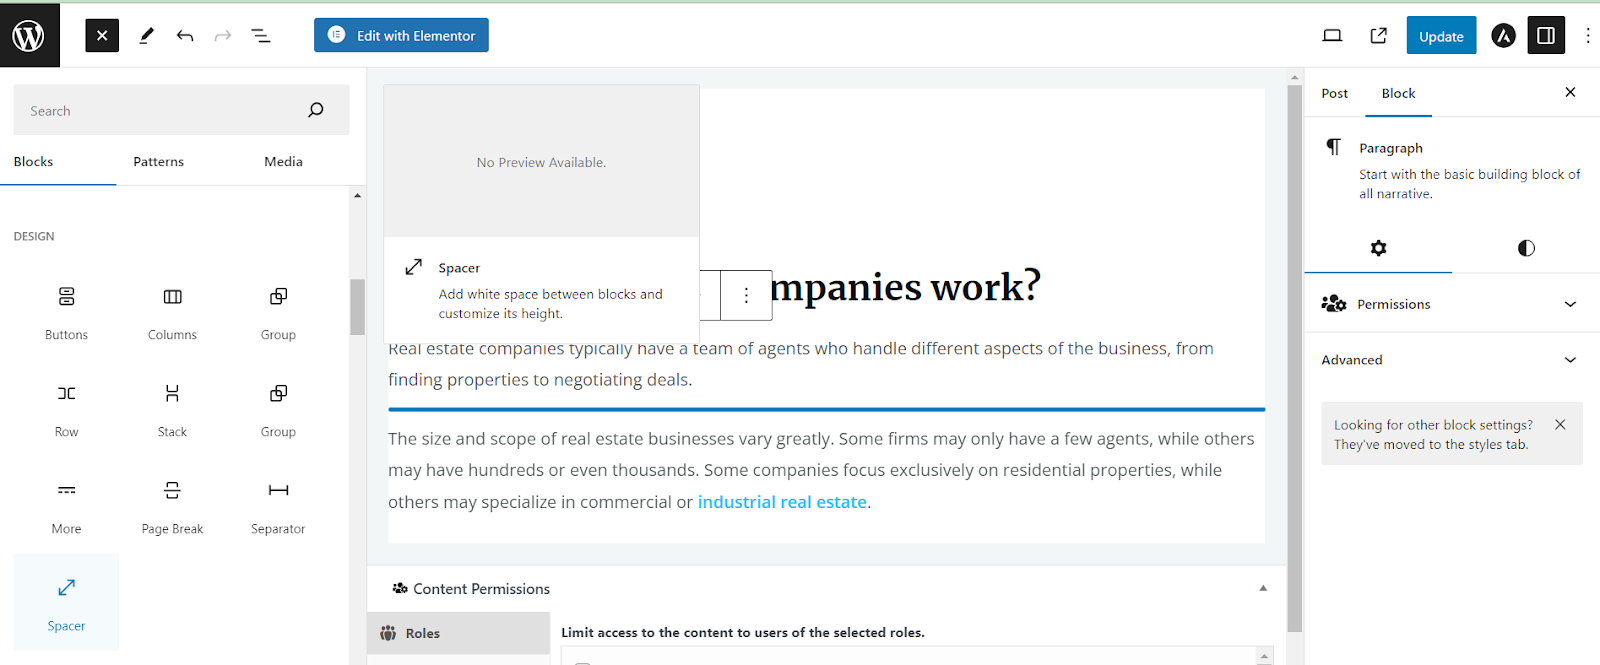
With HTML, you can directly manipulate the line spacing of specific elements within your content. Go to a block where you want to add a spacing and click on the 3 dots to search for HTML text.
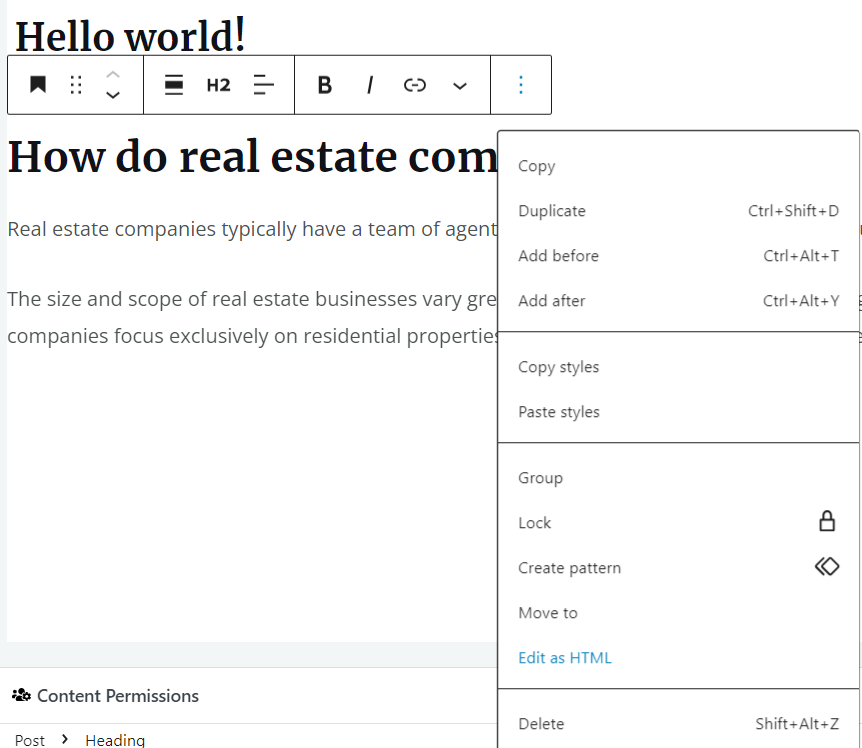
By using the <p> tag for paragraphs or the <span> tag for inline text, you can add line spacing attributes to control the spacing between lines. But adding too many <p> becomes tedious, instead enter the following code in the <HEAD> section:
<style type="text/css"> p.space {line-height:250%;} </style>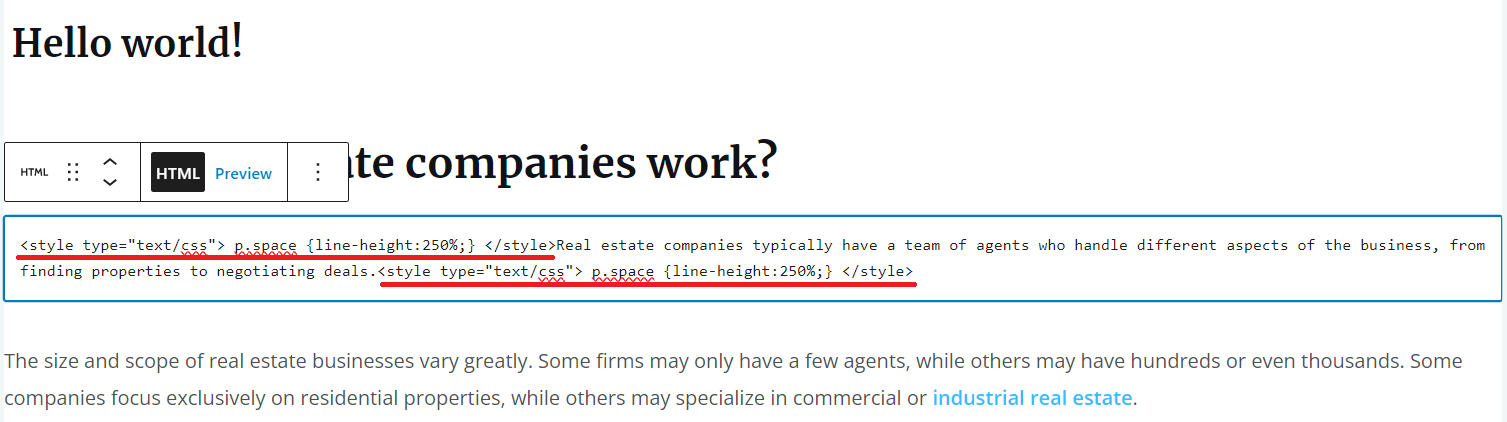
Here, the term “250%” represents the line spacing, which is 2.5 times the default spacing. You have the flexibility to set it to any desired value. To apply this spacing to a specific section in the body of your webpage, enclose that section with the tags <p class=”space”> and </p>. All lines within these tags will be spaced according to your specified value.
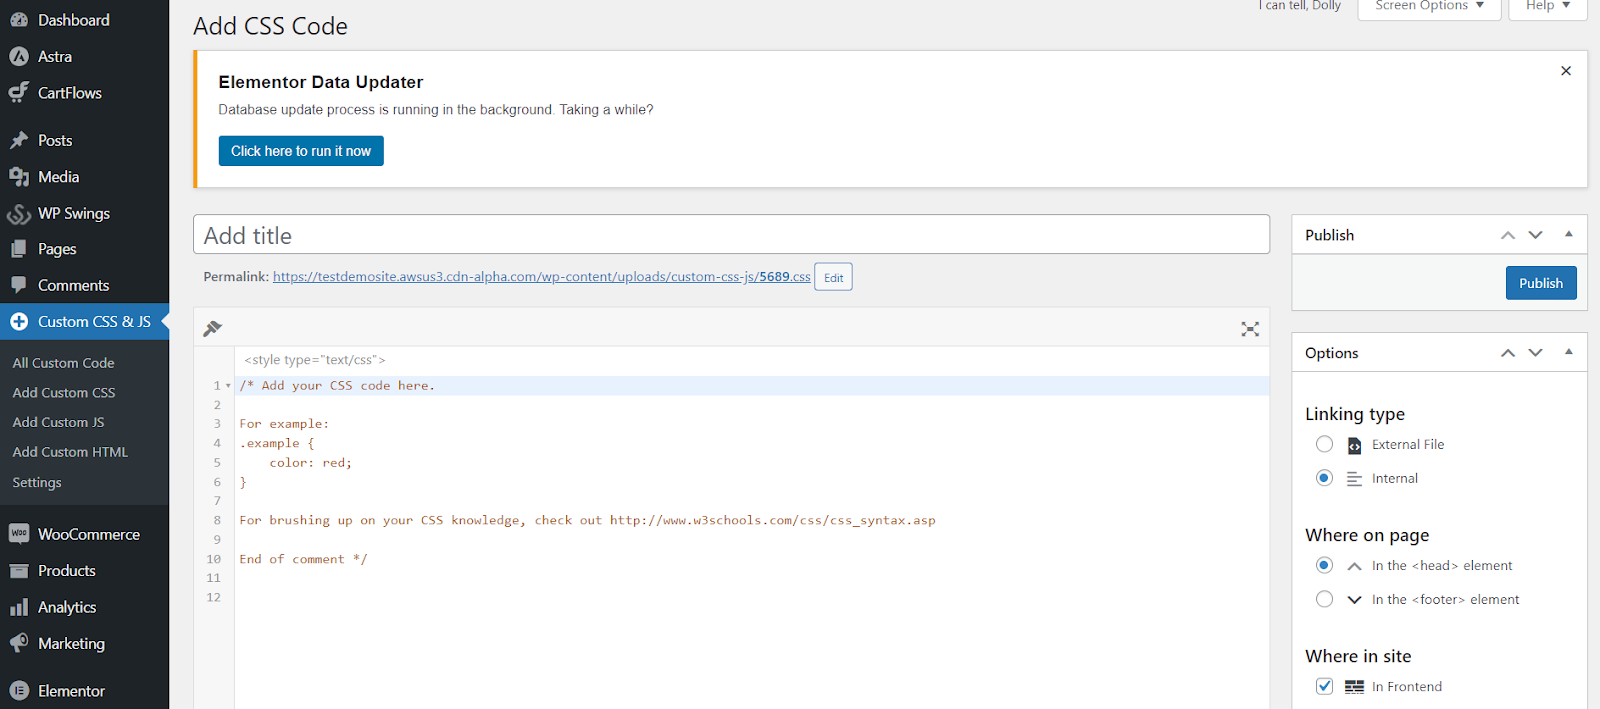
How to Change Line Spacing Using CSS
CSS offers even more flexibility when it comes to line spacing adjustments. By targeting specific classes or IDs assigned to elements in your WordPress theme, you can apply CSS rules to modify line spacing site-wide or for specific sections. We will guide you through the CSS code required to change line spacing and demonstrate how to apply it effectively.
By utilizing HTML and CSS, you can unlock advanced techniques for changing line spacing in WordPress. These methods provide greater control and customization options, allowing you to achieve the precise line spacing you desire.
Troubleshooting: Common Issues and Solutions in Changing Line Spacing in WordPress
While changing line spacing in WordPress is generally a straightforward process, you may encounter some common issues along the way. In this section, we will address these issues and provide troubleshooting solutions to help you overcome any challenges you may face.
Why Line Spacing Changes are Not Reflecting?
If you have made changes to the line spacing in WordPress, but they are not reflecting on your website, there may be a few reasons for this. It could be due to caching issues, where your browser or a caching plugin is still showing the old version of your page. Another possibility is that the line spacing changes are being overridden by your theme’s stylesheet or a custom CSS rule. We will discuss troubleshooting steps to resolve these issues and ensure that your line spacing changes are visible.
Dealing with Inconsistent Line Spacing Across Different Devices
Sometimes, line spacing may appear inconsistent across different devices or screen sizes. This can be attributed to responsive design or different default styles applied by various devices. We will explore techniques to ensure consistent line spacing across different devices by using CSS media queries or adjusting default styles.
Conclusion
Mastering the art of adjusting line spacing in WordPress is a valuable skill for any content creator or website owner. By understanding the simple yet powerful tools at your disposal, such as the visual editor and custom CSS, you can enhance the readability and aesthetics of your site. Whether you prefer a clean and compact look or a more spacious and relaxed feel, WordPress provides the flexibility you need to tailor your content presentation. So, dive into your site settings, experiment with line spacing, and watch your content come to life with a professional and polished appearance.
